Android Studio is software declared as the official IDE for Android application development. It is used to make Android applications. Android Studio is simple to use software and comes with various features to help Android app developers.
Following are the steps to install Android studio in windows:-
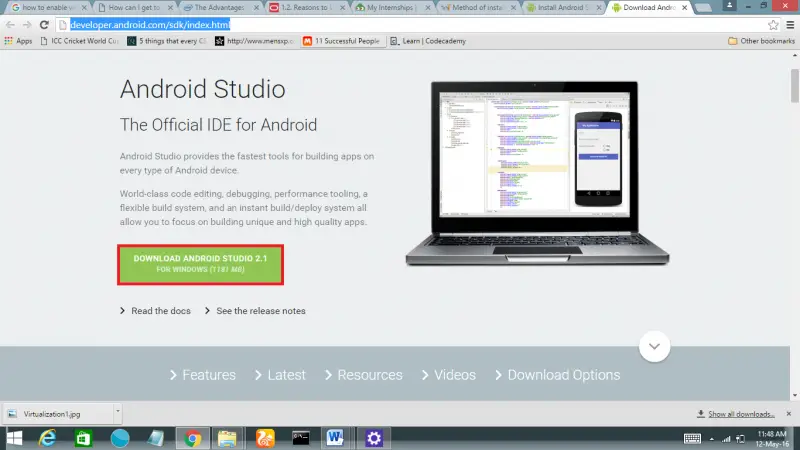
1. Download Android Studio setup from the Internet.
Wait until the download completes.Now ,Go to the Downloads folder.
2. Run the setup.Then the software installation process will begin as shown below.
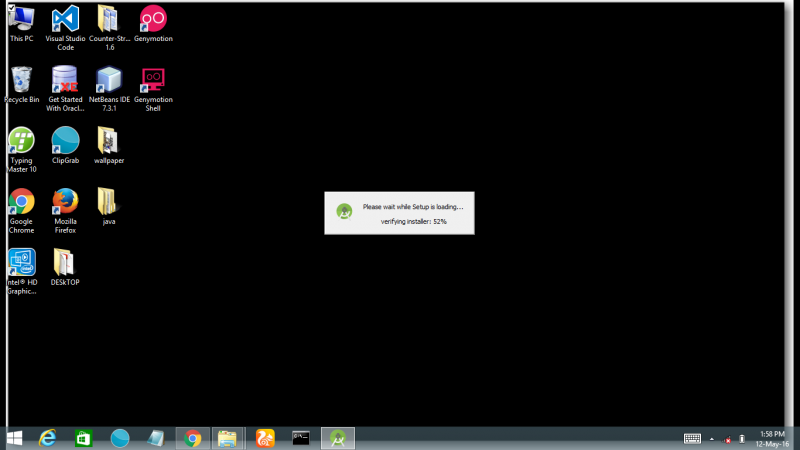
Loading will take some time.
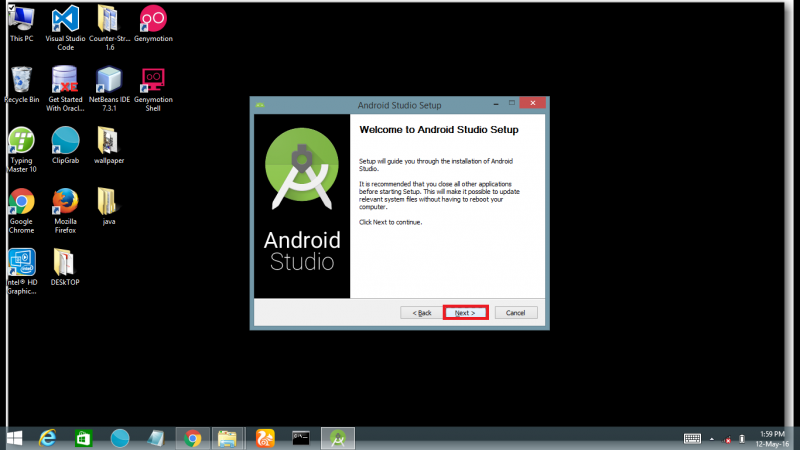
3. After the loading completes, A “Welcome” window will appear as shown below.Click “Next” to proceed.
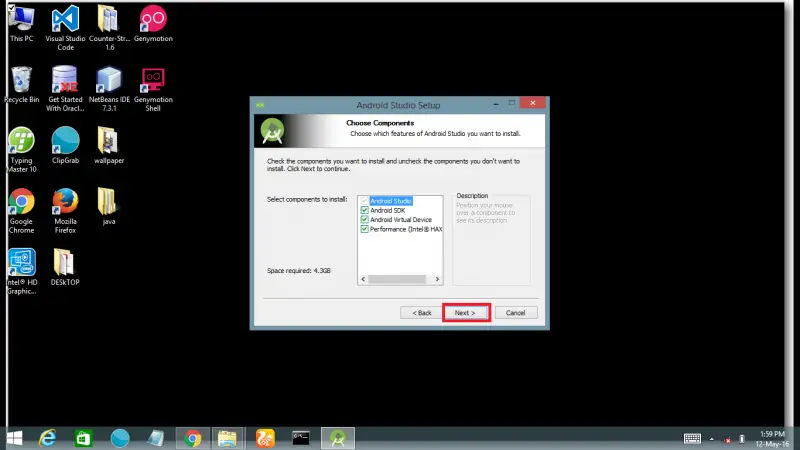
4. Now, you have to select the components you want to install.Android Studio is checked by default.If you don’t want any component then you can uncheck it.
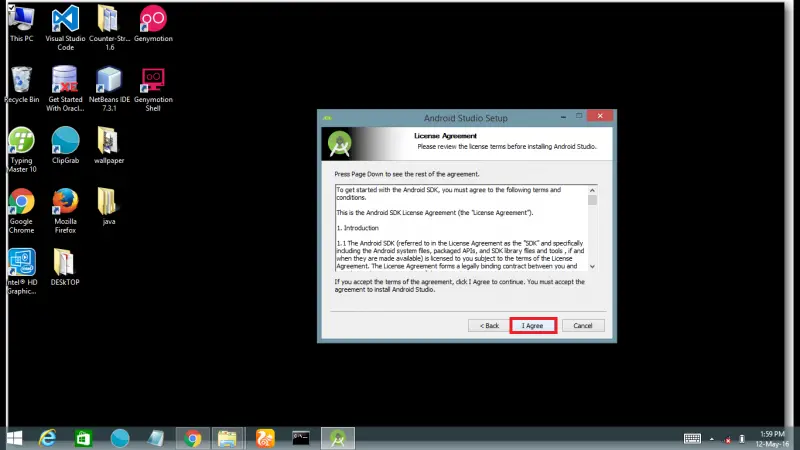
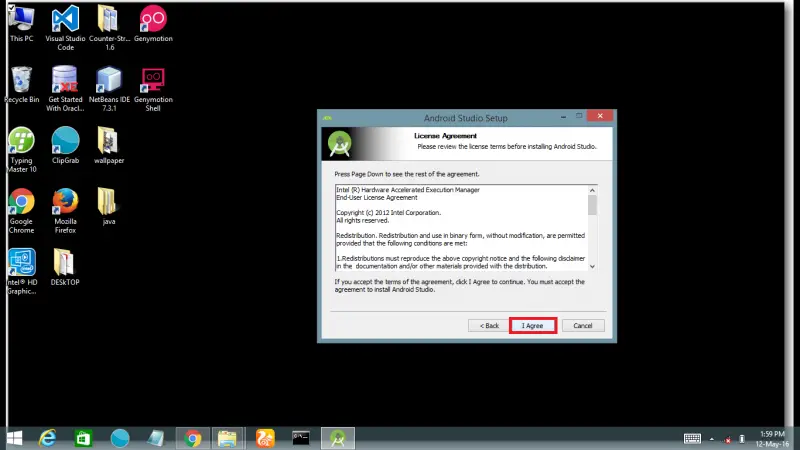
5. Two windows will appear one after another,which is agreement by the Android studio software.You have to click on “ I agree” in both the windows if you agree to the agreement.
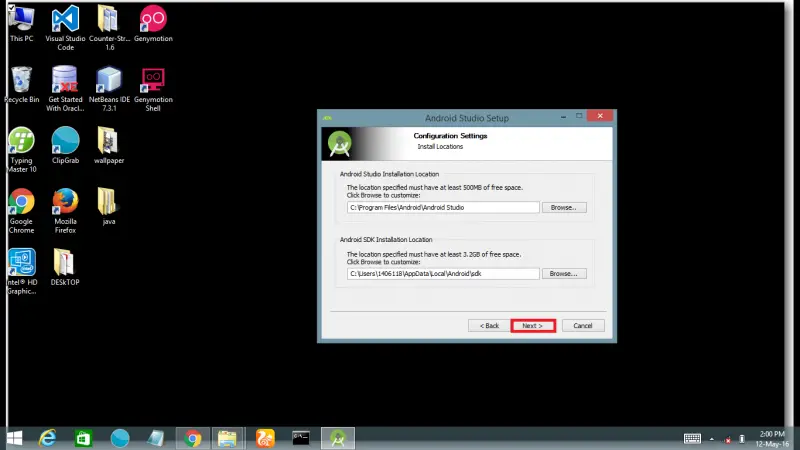
6.Next, If you don’t want to install Android studio and Android SDK at default location then specify the location otherwise it will be installed in default location.Then press “Next”.
7. Now, You have to set the maximum amount of RAM available for the HAXM or else It will be set to 2 GB as default, Then press “Next”.
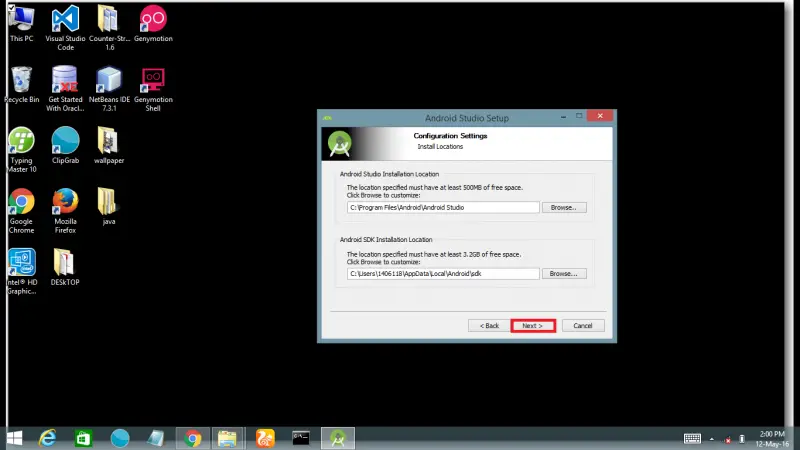
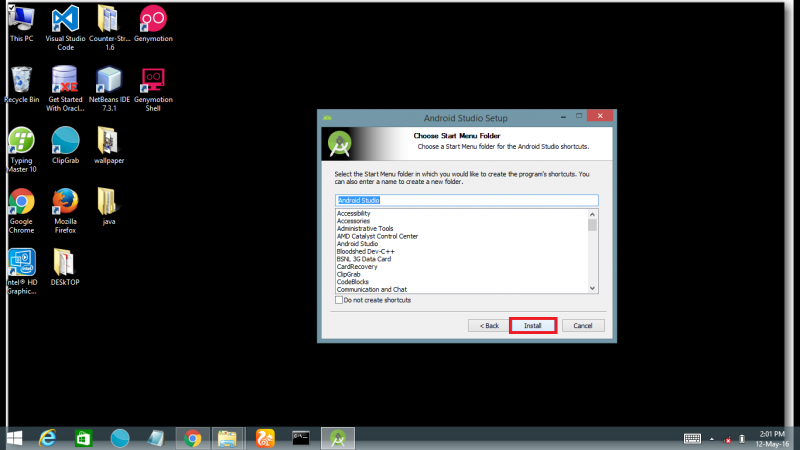
8. Now you have to select/create the start menu folder in which you would like to create program’s shortcut.By default, it is set to “Android Studio”, You can change it if you want.Then click “Install”.Then the installation process will begin.
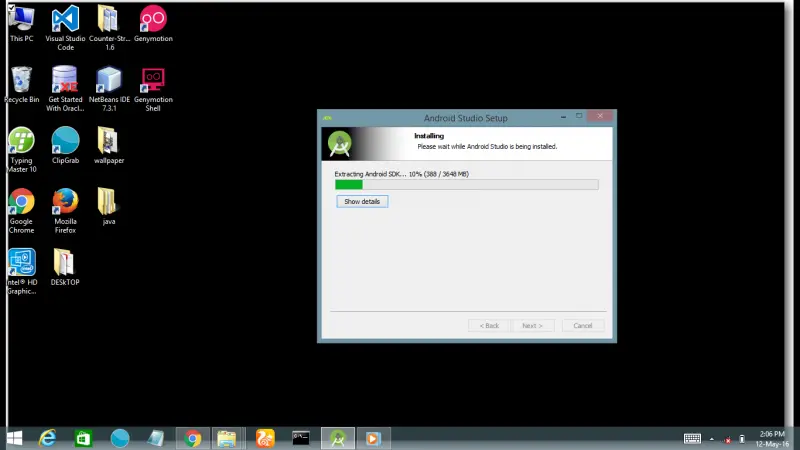
Installation Process will take few minutes.
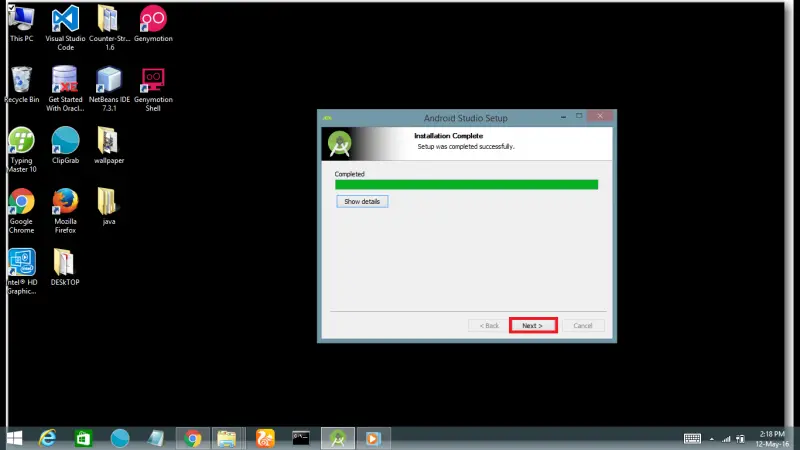
9. After some time, the installation will complete.Then click “Next”.
10.Now click “Finish” to close the installation window and open Android Studio or uncheck the option then click “finish” if you don’t want to open Android studio.
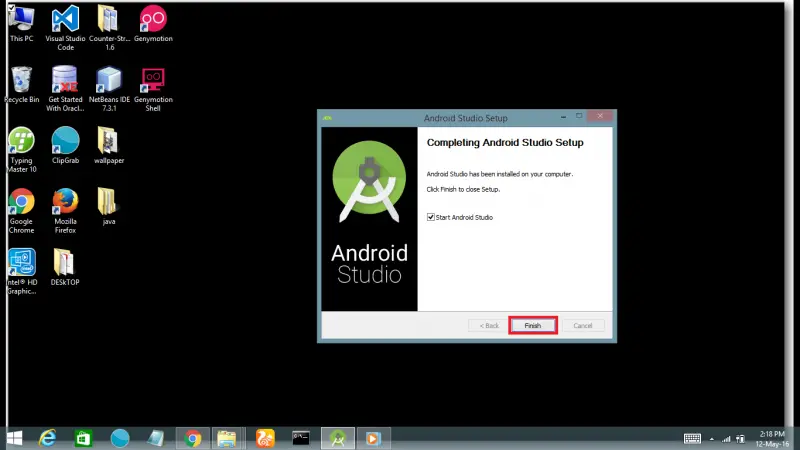
Android Studio is successfully installed on your computer.Now you can make android application of your own.
………………………………………………………………………………………………………………………………………………………..


