Understanding HTTP Error Codes 504 And How To Solve Them
Can someone explain to me what does the error 504 mean and how it can be fixed? Is this error caused because of the Client or the server?
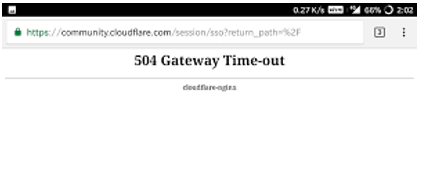
504 is HTTP status code also known as Gateway time out, an error which means that the main server is not getting any response from the backend server within the stipulated amount of time. The server can either be gateway server or a proxy server.
The reason for this error is because there is a poor net connection between the servers for the backend service has low performance compared to the server or the time duration between the services is too small. This error is a server-side error. To fix this Timeout error, we can either restart all of our networking devices or check the proxy server settings of a browser or refresh and reload the webpage.
The 504 error in websites is an HTTP status code which means one server didn’t receive a timely response from another server that it was accessing while trying to load the page. This problem is actually between servers which you have no control over.
The server is taking so long to respond that it’s “timing out” which can happen if the server is not working properly or it is down. Because this error is usually a network error between servers on the internet, the problem is probably not with your device or computer or internet connection. When you encounter this problem, there are few things you can try to troubleshoot the problem.
You can press F5 on your keyboard to refresh the page or CTRL + F5 to force refresh. If this doesn’t work, check your proxy settings if you are using a proxy and make sure your settings are correct. Another option is to change the DNS servers on your computer. To change your DNS servers, click “Start”, “Control Panel”, “Network and Internet Connections”, and then “Network Connections”.
Right-click your connection and select “Properties”. In “General” tab, scroll down and select “Internet Protocol (TCP/IP)” then click “Properties”. On the next screen, enter your new DNS servers in “Preferred DNS server” and “Alternate DNS server”. Note that this option is only available if you are using a static IP address or if the option “Use the following IP address” is selected.
When you are finished, click “OK”.