How to create a file transfer protocol (FTP) server on Windows 7? Describe the ways to add FTP server to add a new site, if it’s not created during installation?
Describe The Steps To Create A File Transfer Protocol Server(FTP) On Windows 7

The steps to create a File Transfer Protocol server(FTP) on Windows 7 is described below:
Step 1: Go to Start, then to Control Panel.
Step 2: Search Programs & Features and click on that.
Step 3: Click on Turn Windows features on or off on the left sidebar menu.
Step 4: The Windows Features box will take some time, then go down and click on the Internet Information Service section and click on plus sign to expand it.
Step 5: Expand the FTP server by clicking on the plus sign.
Step 6: Click on the FTP service and then click on ok.
Step 7: Wait for the FTP service to install and finish.
Now, you’ll need to open up the IIS Management Windows to add a new site.
Step 1: Open Internet Information Service and Expand your Server.
Step 2: Expand the folder that are named as sites.
Step 3: Right-click on sites and click the Add FTP Site option.

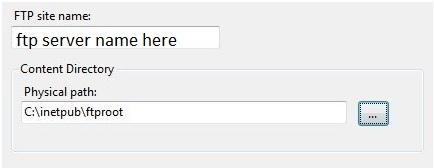
Step 4: Enter the site name on wizard Windows.
Step 5: Enter the location on which you want to save the file information as a default path.

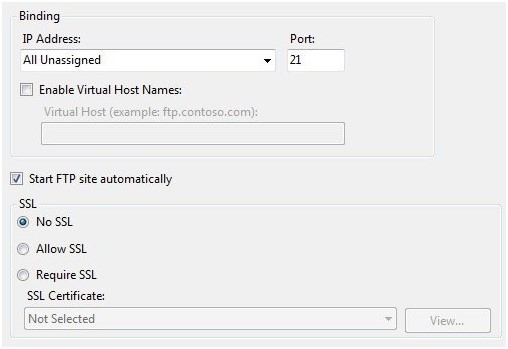
Step 6: If you have don’t set the host location, then set the IP Address: field to “All Unassigned” and the port at 21.

Step 7: You’ll need to set-up the Authentication and Authorization portion of the FTP to specify the correct permission for users.


