
Outlook New Message 2010
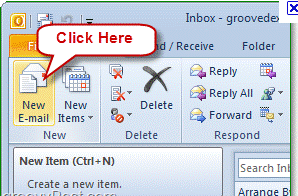
To create a new message in Microsoft Outlook 2010, open up MS Outlook and click on New.
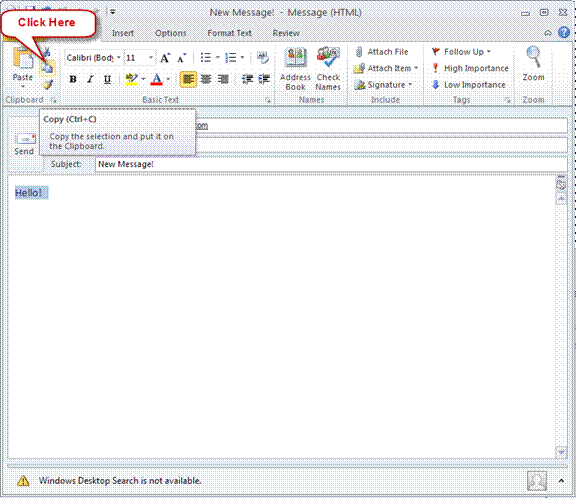
You can copy a particular selection from the document and then place it on the Clipboard.
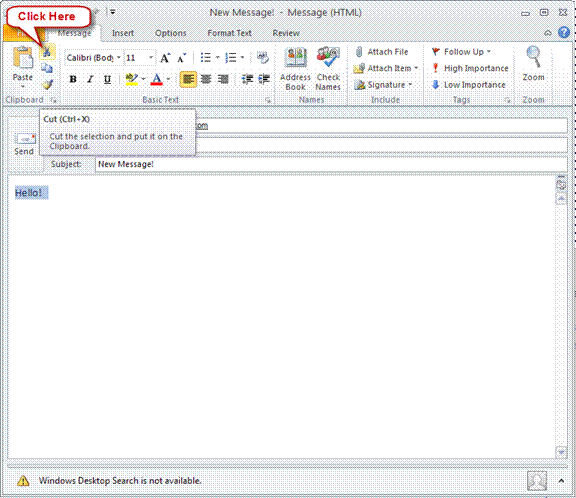
You can cut a particular selection from the document and then place it on the Clipboard.
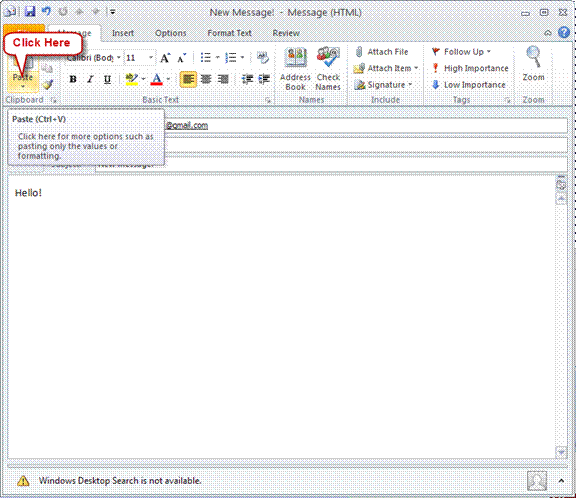
The Paste option allows you to paste more options like values and formatting text.
You can also paste the contents f the clipboard.
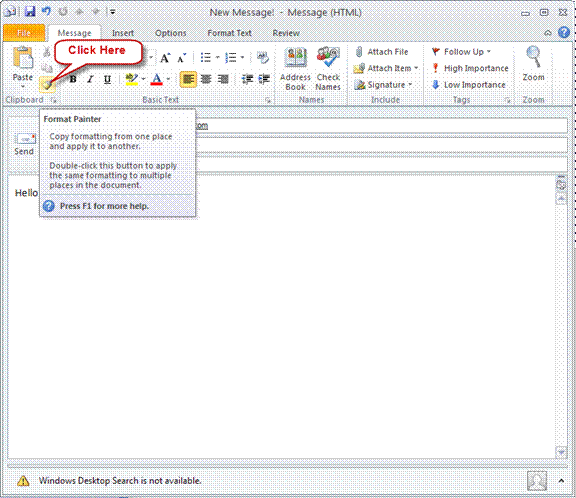
You can the formatting from one place of a document and place it on another.
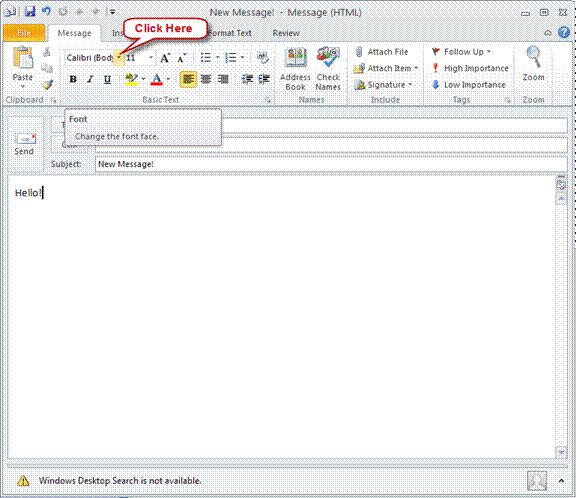
The font can be changed by using the Font option.
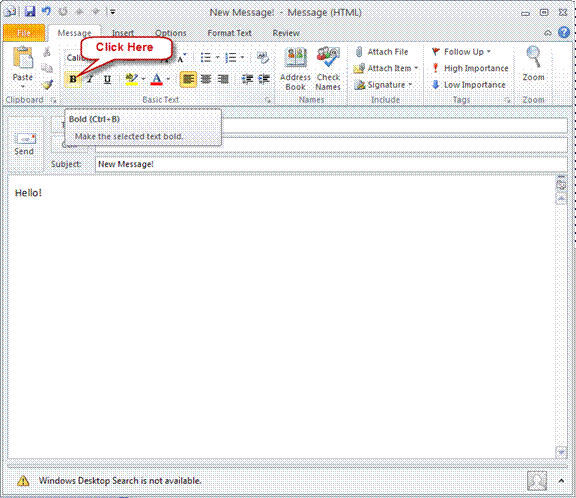
You can make the selected text bold by using the Bold icon.
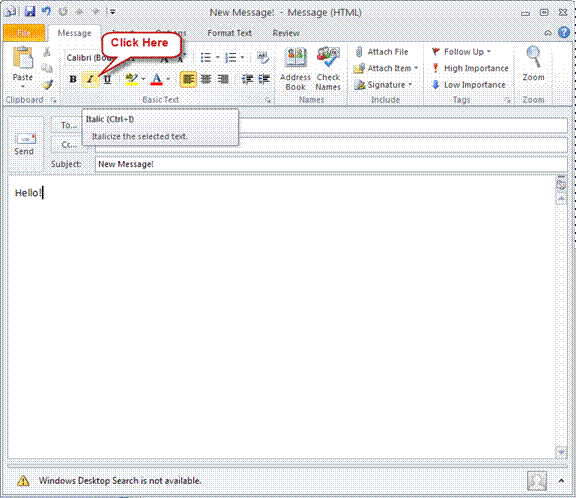
You can italicize the selected text by using the Italicize icon.
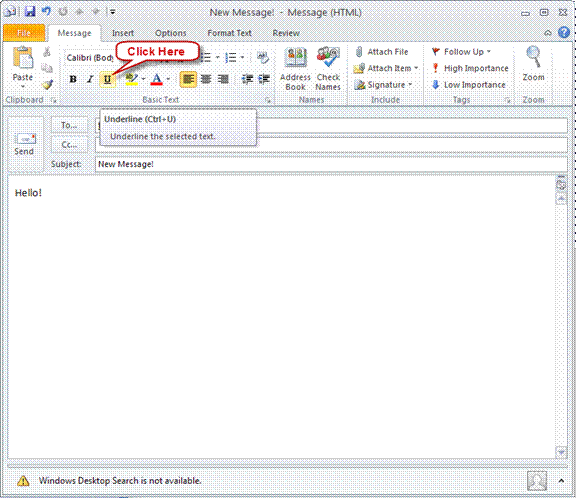
You can underline the selected text by using the Underline icon.
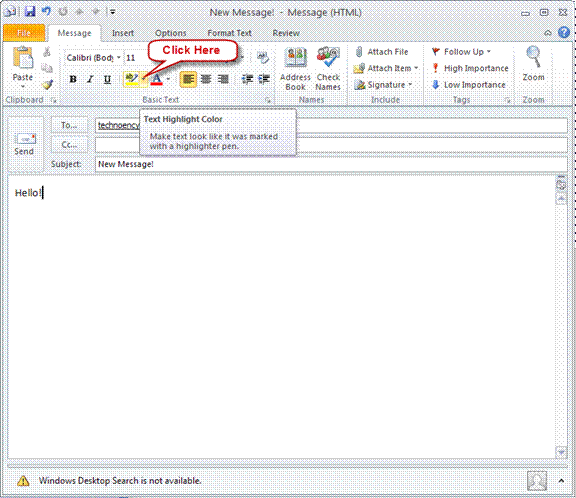
The Text Highlight Color feature allows you to highlight texts and make it appear as if it was highlighted by a highlighter pen.
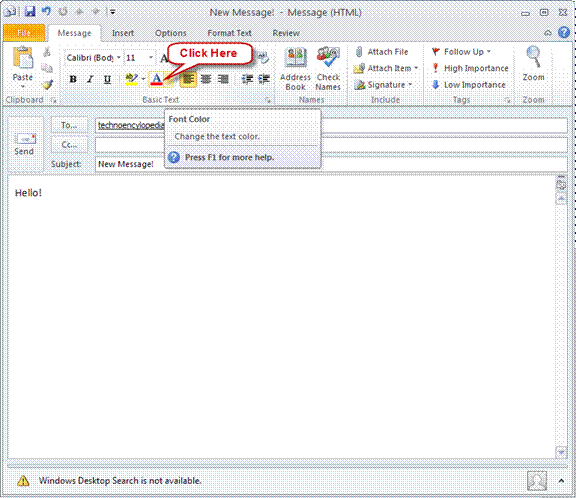
Change the color of the font using the Change font color option.
Grow the size of the font by using the Grow font option.

Shrink the size of the font by using the Shrink font option.

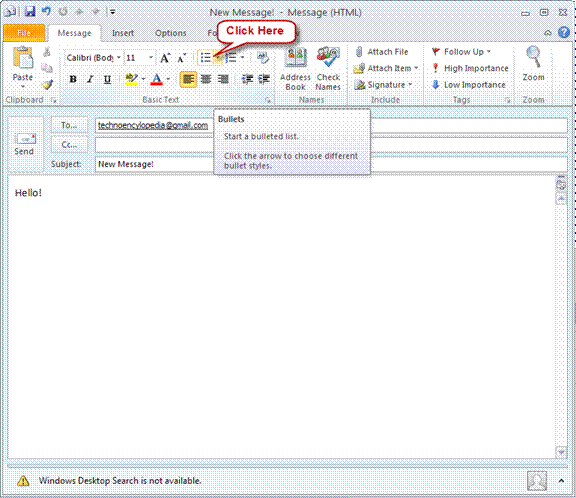
Create a bulleted list by clicking on the Bullets icon.
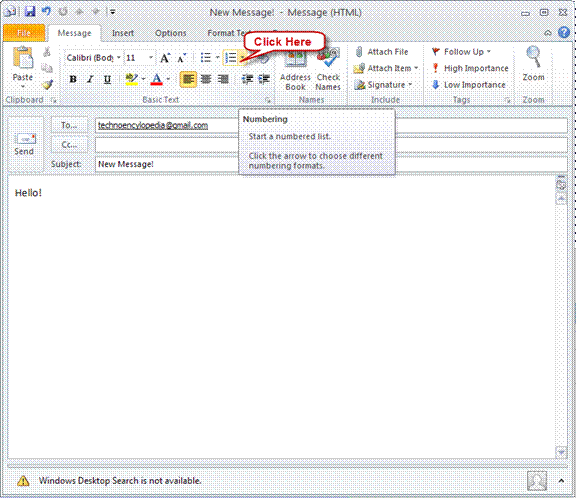
Create a numbered list by clicking on the Numbering icon.
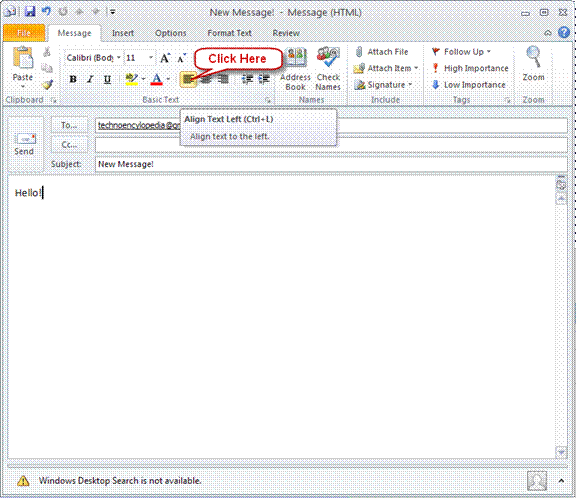
You can align all the text to the left side of the page by choosing the Align text left option.
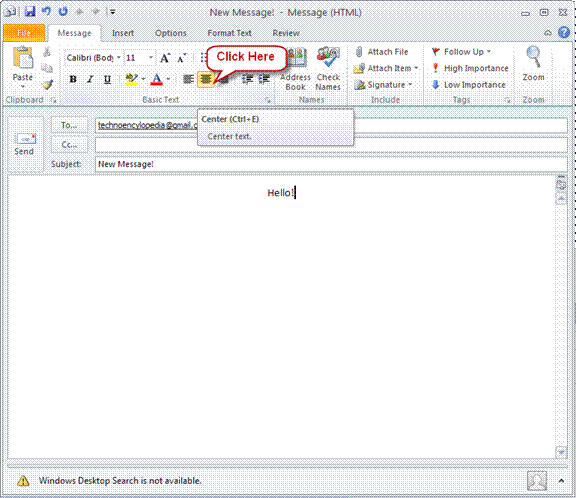
You can align all the text to the center of the page by choosing the Center option.
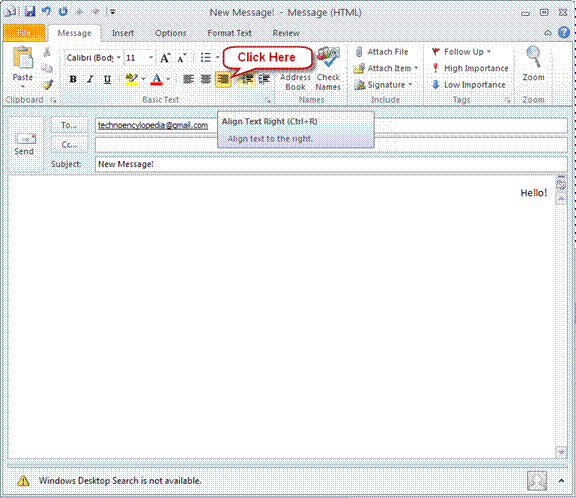
You can align all the text to the right side of the page by choosing the Align text right option.
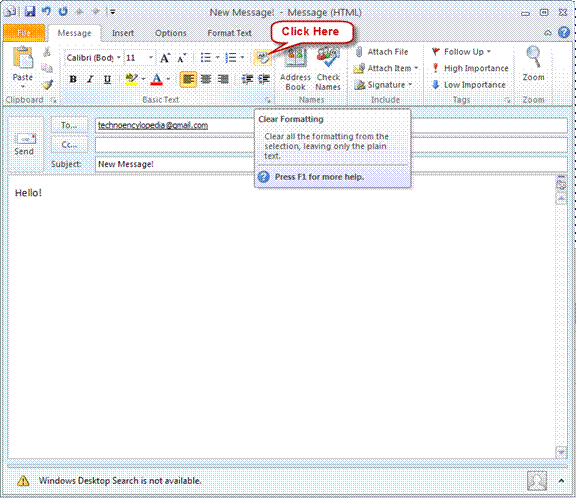
You can clear all the formatting you have done to the text and leave it plain by clicking on the clear formatting icon.
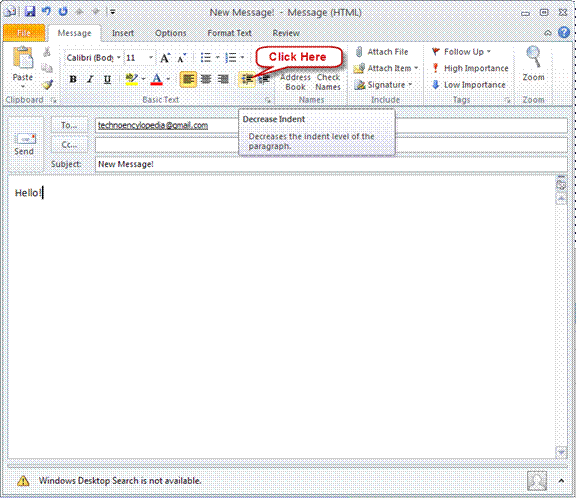
Decrease the indent level of the text by clicking Decrease indent option.
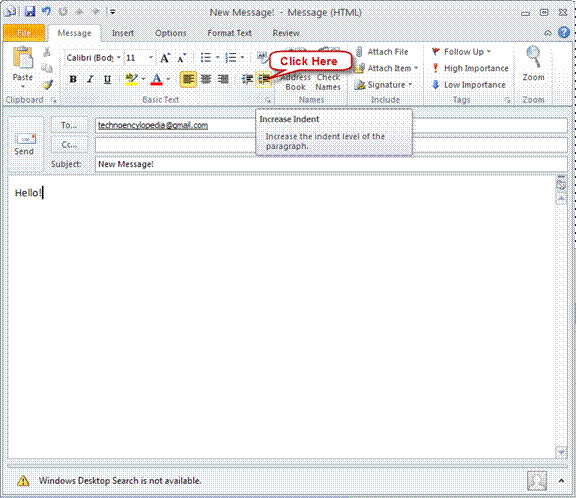
Increase the indent level of the text by clicking Increase indent option.
Change the size of the font by using Font Size option.
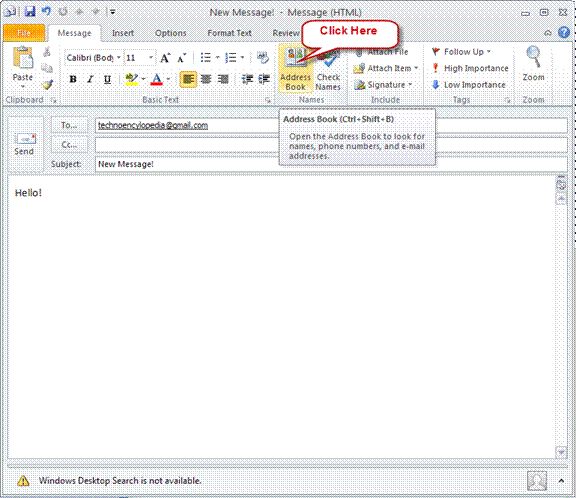
You can open up address book and search for contacts, names, e0mail addresses and other information by clicking on Address book option.

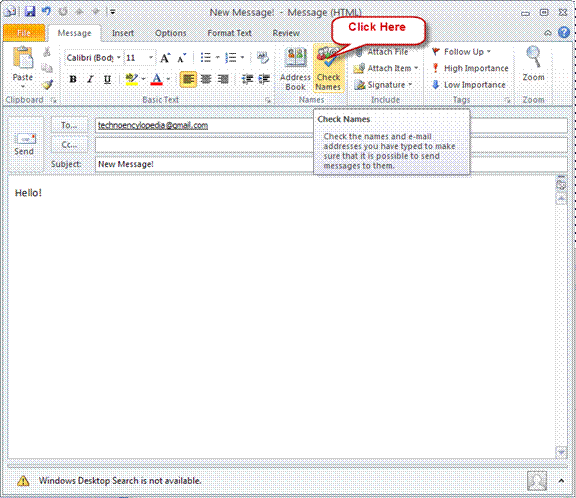
The names and email addresses that you typed can be checked for if it is possible to send them. You can do this by clicking on Check Names option.
Attach a file to the email using the Attach File option.
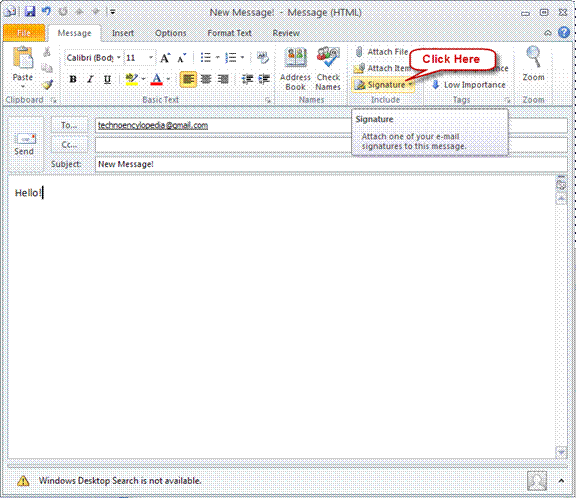
One of your email signatures can be attached with the email using the Signature option.

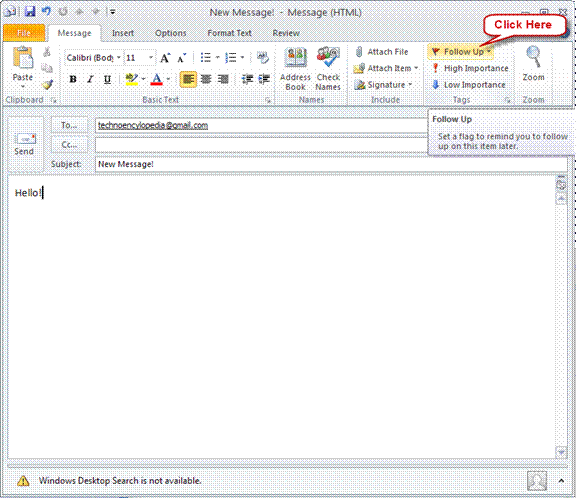
The Follow Up option lets you to set a flag to remind you of this item later.
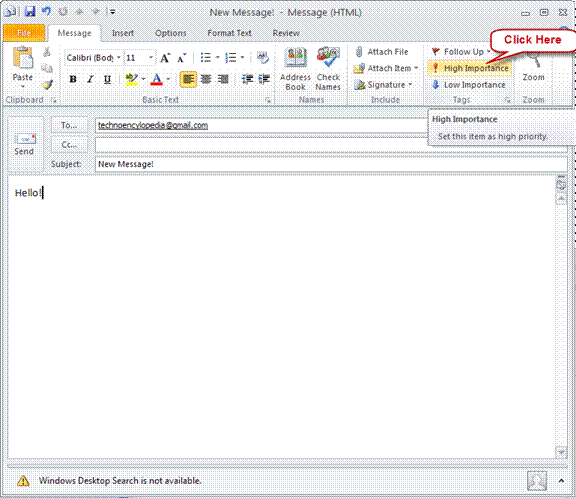
Set the priority of an item as high using High Importance option.
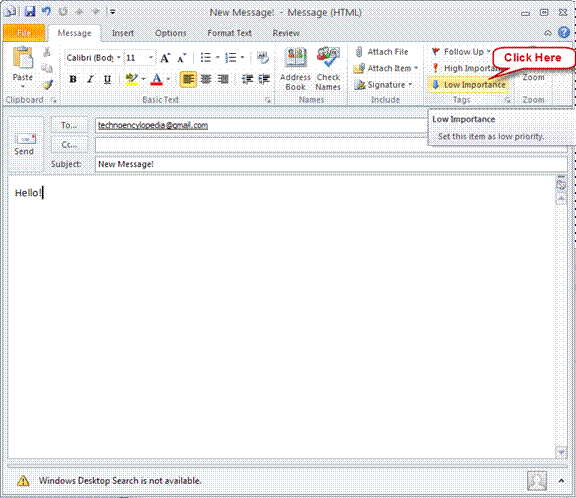
Set the priority of an item as low using Low Importance option.
A zoom dialog box will appear to specify the zoom level of the document.
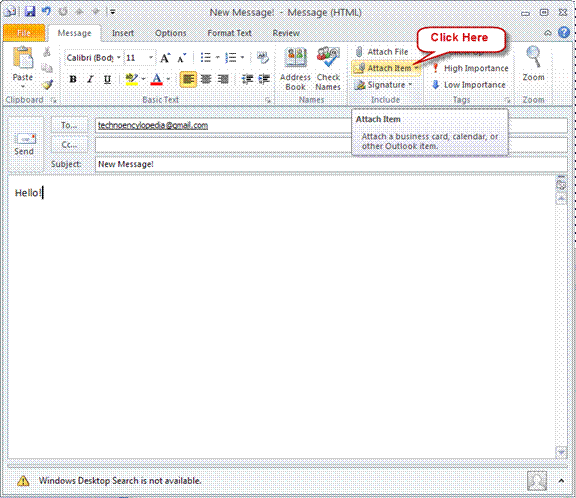
Attach an Outlook item into the message using the Attach another Item option.

Insert
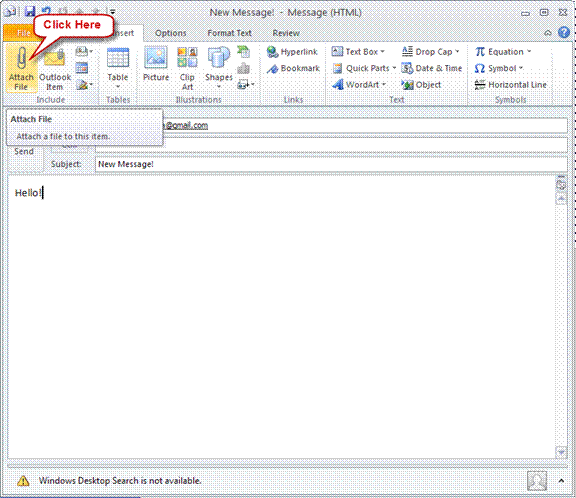
Attach a file to the email using the Attach File option.
Attach an Outlook item into the message using the Attach another Item option.
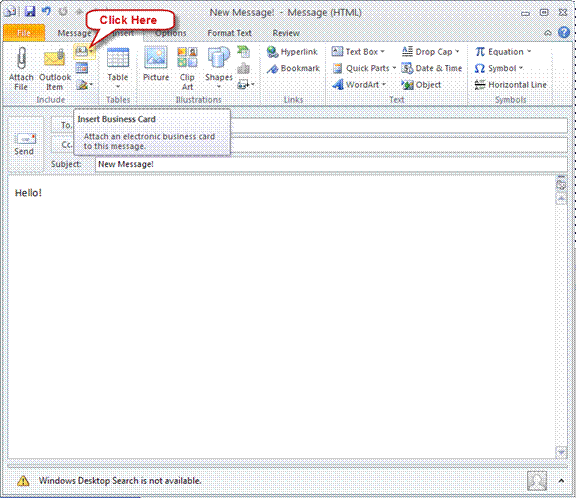
An electronic business card can be attached to the message using the insert business card option.

Attach a calendar to your outgoing message using attach calendar option.
One of your email signatures can be attached with the email using the Signature option.

Insert or draw a table in the document using the Table option.
Insert a picture from a file using the Insert Picture from File option.
You can also insert Clip art into the document which includes drawings, sounds, music etc.
Draw shapes into the documents using the Shapes option.
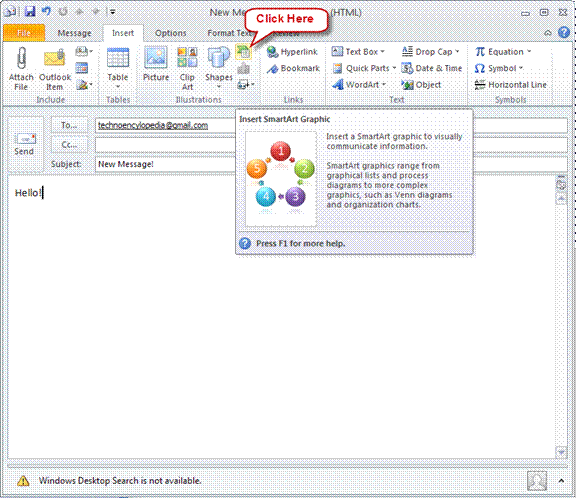
SmartArt Graphic can be inserted to make communication easier. Click on Insert SmartArt Graphic to insert one.

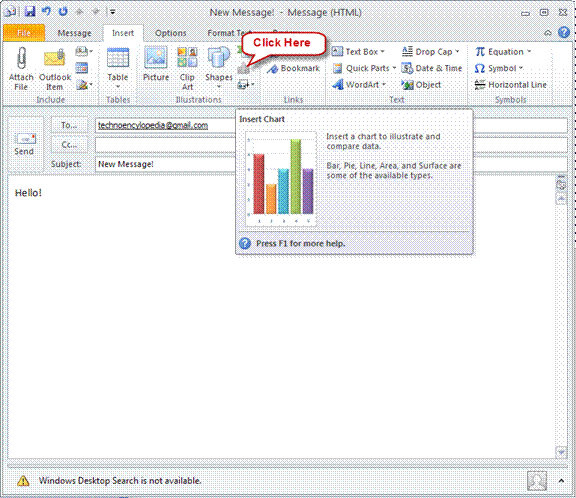
Insert Chart into the document using the Insert Chart option.
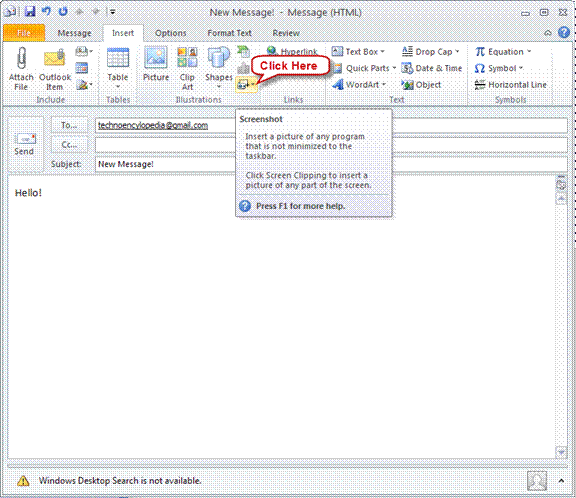
Insert a Screenshot of any program which is not minimized in the taskbar.
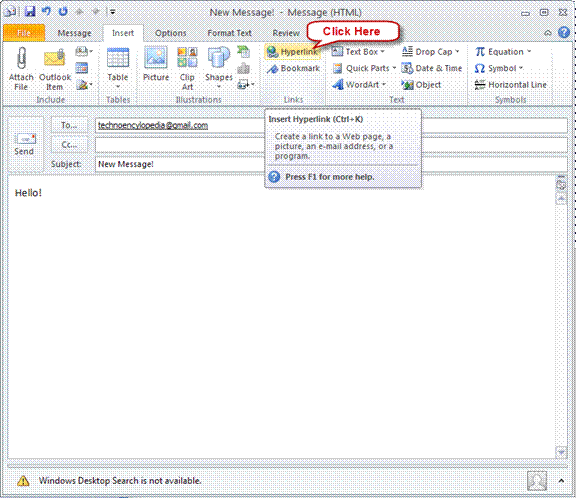
You can create a link to a web page, an image or a program using the Insert Hyperlink option.
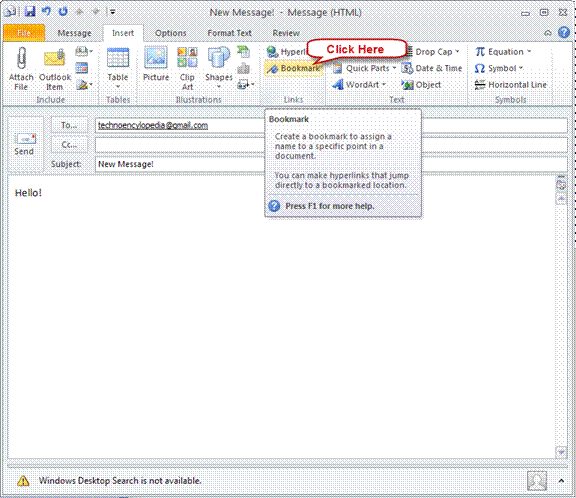
A specific point of a document can be bookmarked using the Bookmark option.
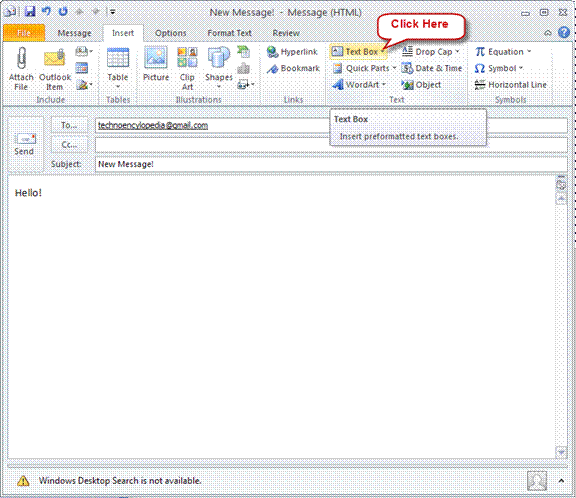
Insert preformatted text boxes using Text Box option.
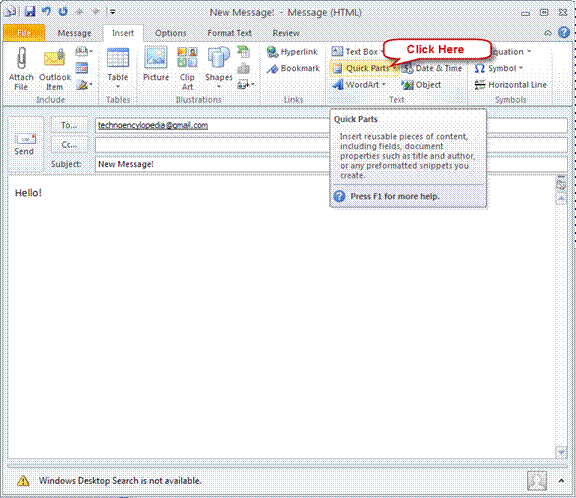
Reusable pieces of content including document properties, fields and preformatted snippets can be inserted using Quick Parts.
Insert decorative word art using the WordArt option.
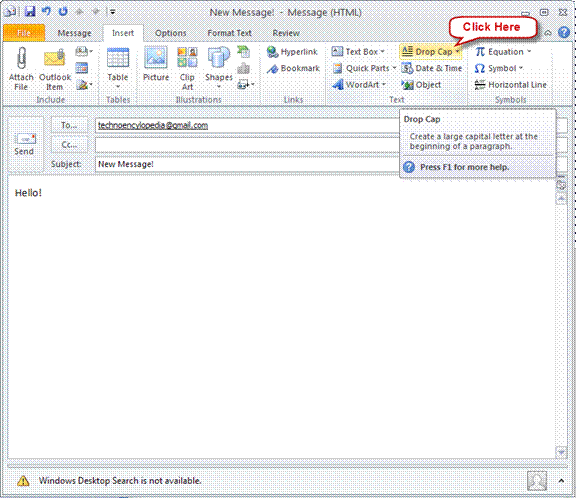
A large capital letter can be created at the start of paragraph using the Drop Cap option.

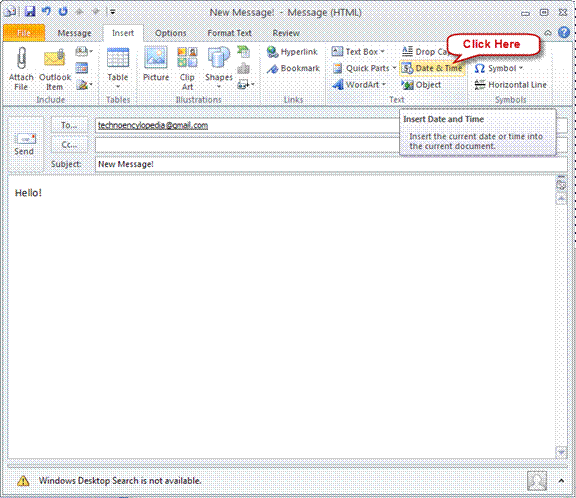
The current date and time can be inserted in the current document using the Insert Date and Time option.
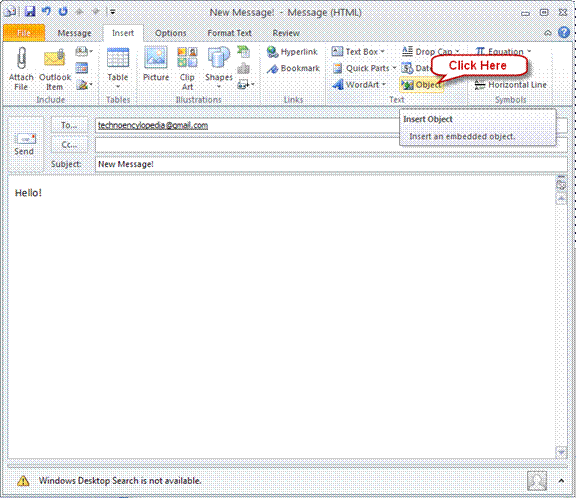
Insert an embedded object using the Insert Object option.
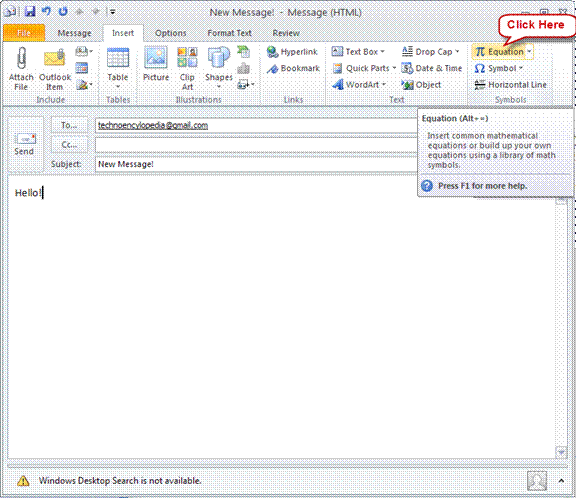
Insert a commonly used mathematical equation or build your own equations.
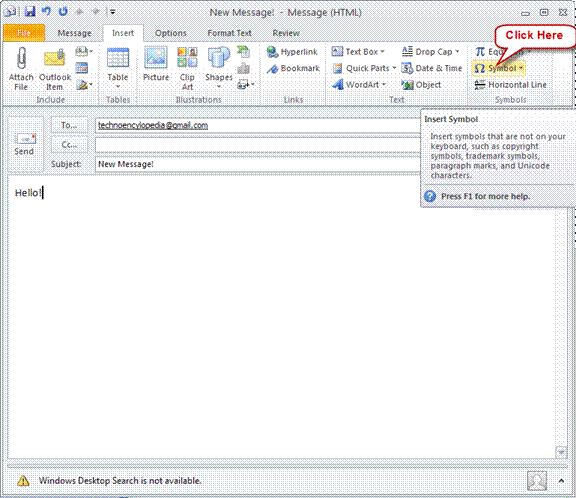
Click Symbols to insert symbols into document.
Insert a horizontal line in the document using a horizontal line.
Options
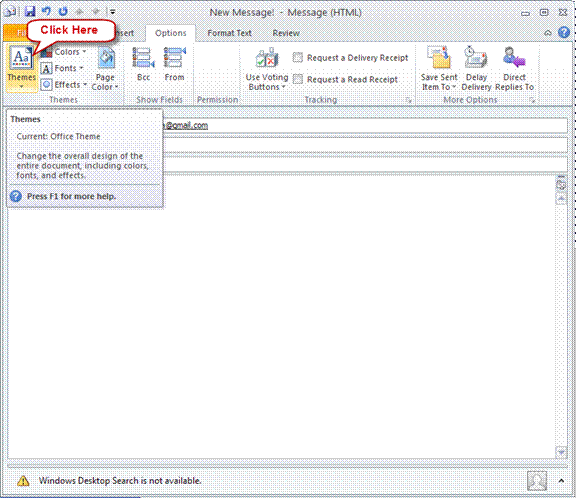
Change the overall design and look of the document by changing themes using the Themes option.

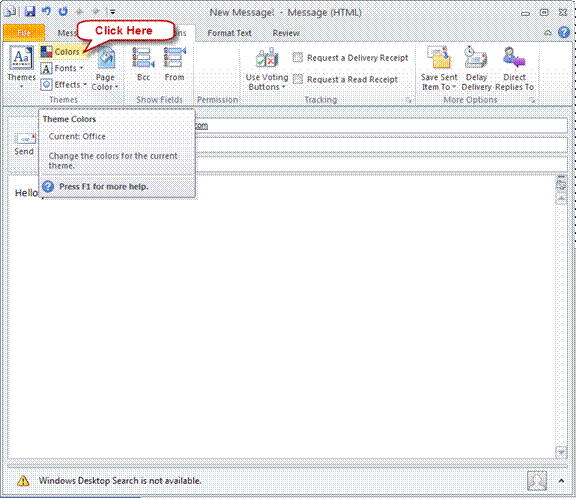
Change the color of the current theme using Theme Colors option.
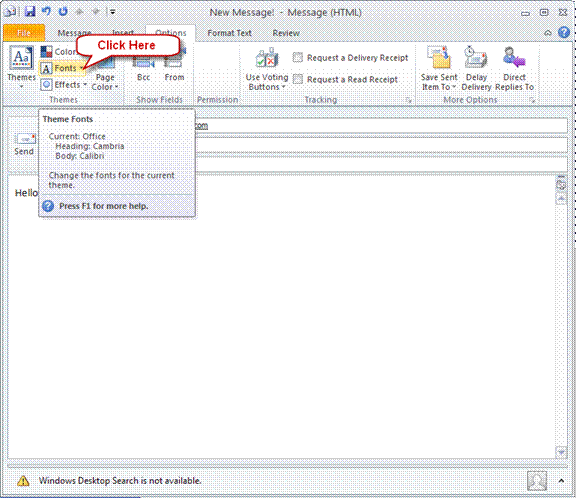
Change the font of the current theme using Theme Fonts option.
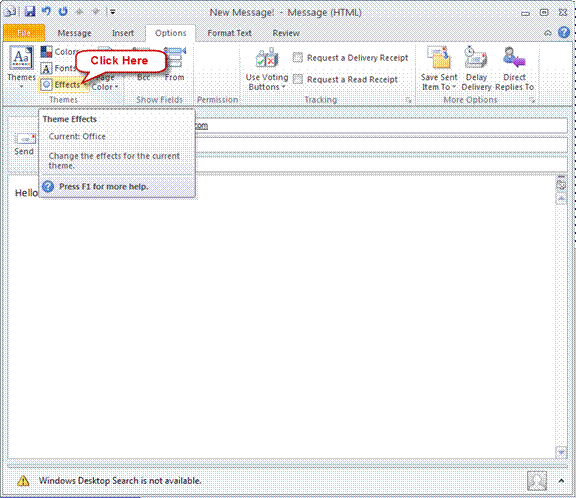
Change the effects of the current theme using Theme Effects option.
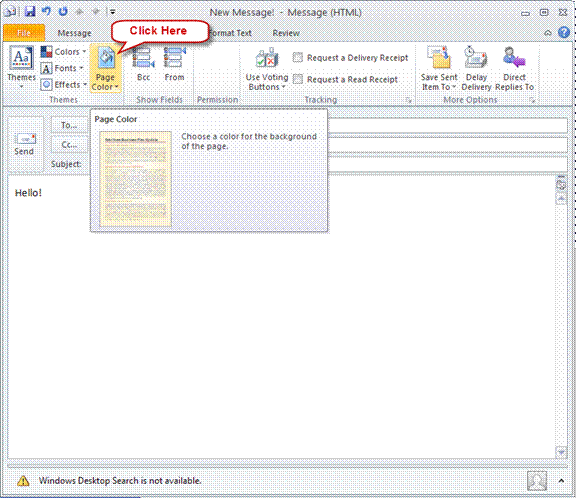
The Page Color option lets you to change the background color of the page.
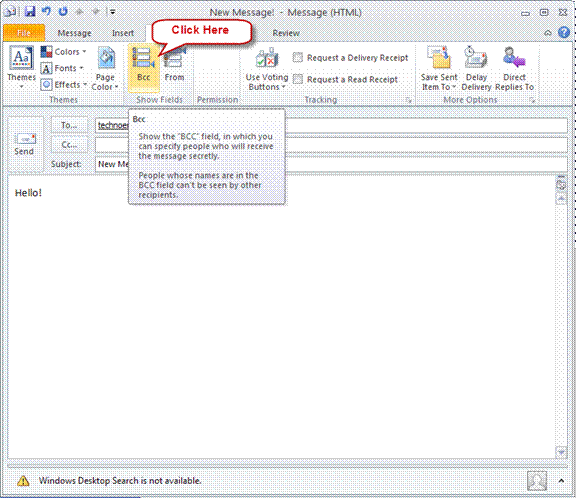
Show the Bcc option in the mail so that people receive the mail secretly.
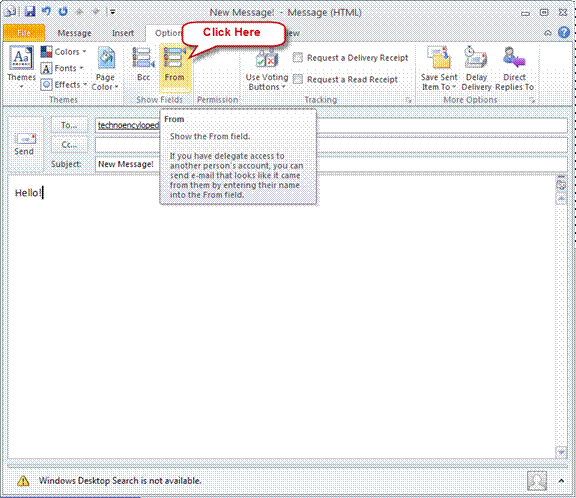
Show the from field in the mail using the Show From option.
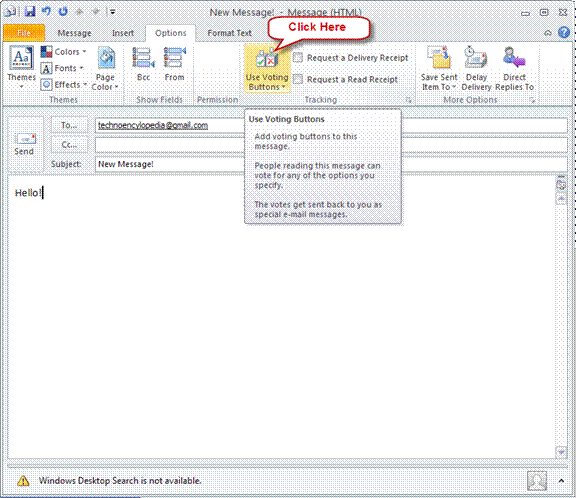
Add voting buttons to your email using the Use Voting Button option.
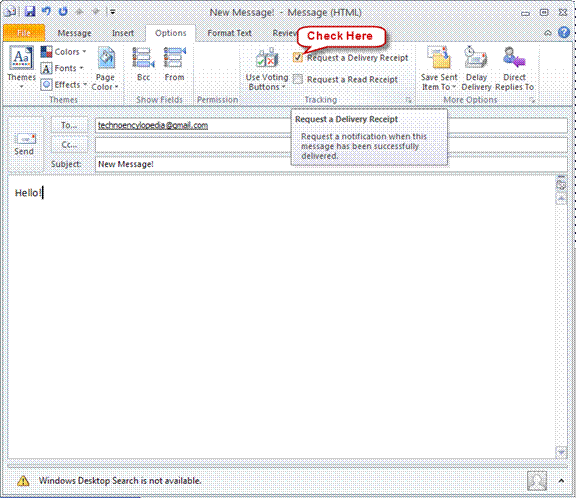
You can request a notification for a successfully delivered email. Just check the box beside the Request a Deliver report.
You can receive notification when an email has been read if you check the box beside Request a Read receipt.
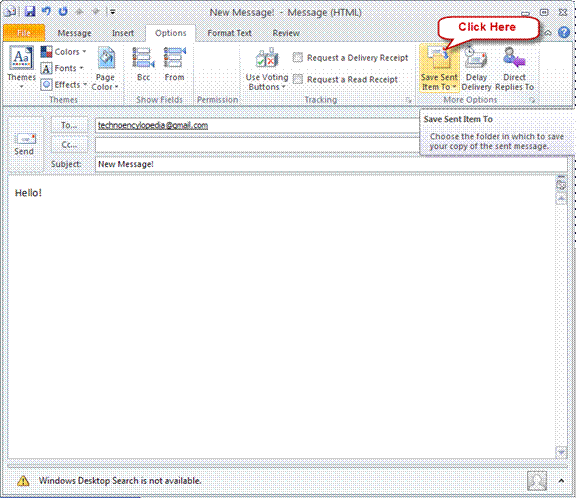
With Save Sent Item option, you can save the sent items to a specific folder.

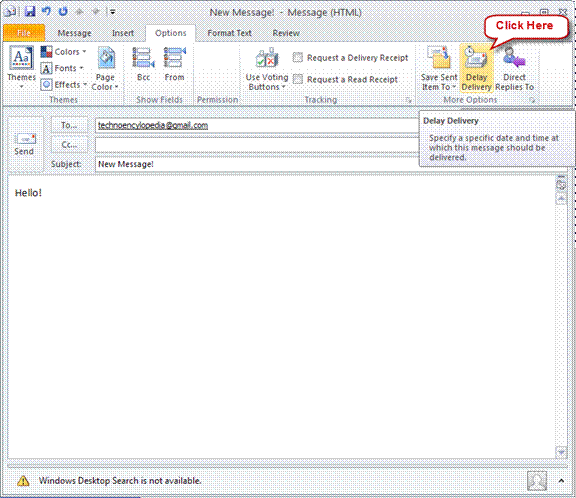
Specify a specific date and time at which the message should be delivered using the Delay delivery option.
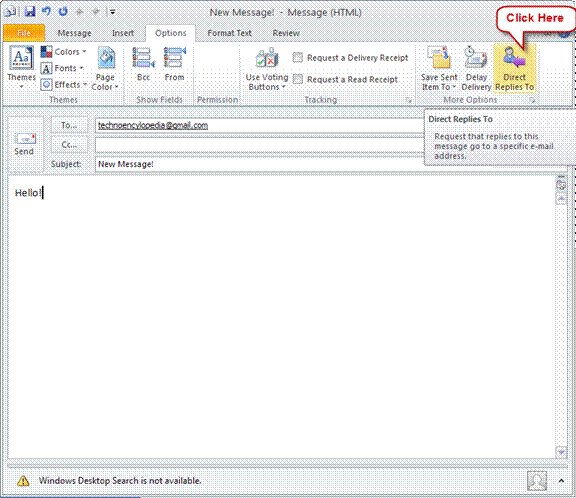
You can request replies to a particular email to another email address using the Direct Replies to option.
Format Text
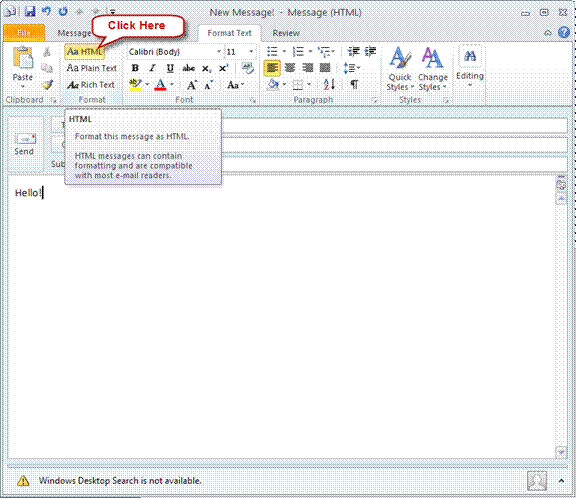
Format the text as HTML using the HTML option.
Format the text as plain text using the Plain Text option.
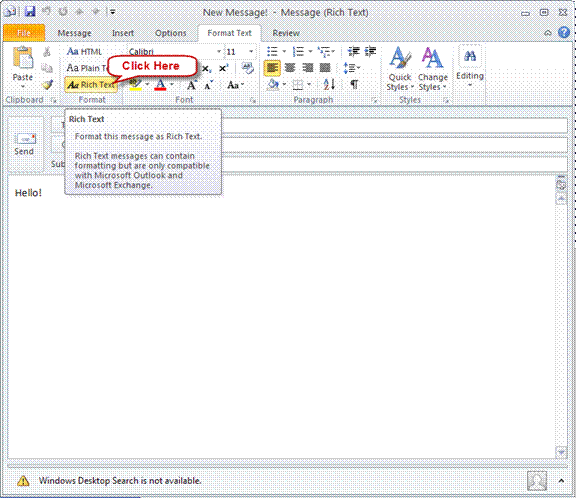
Format the text as Rich text using the Rich Text option.

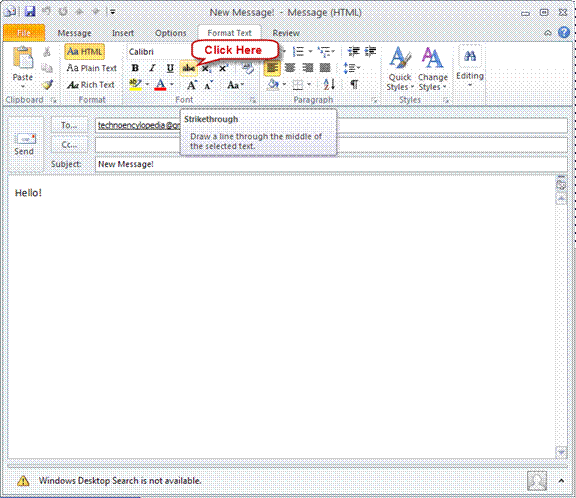
Draw a line through the middle of the selected text using the Strike through option.
The Subscript option allows you to create small letters below the text baseline.
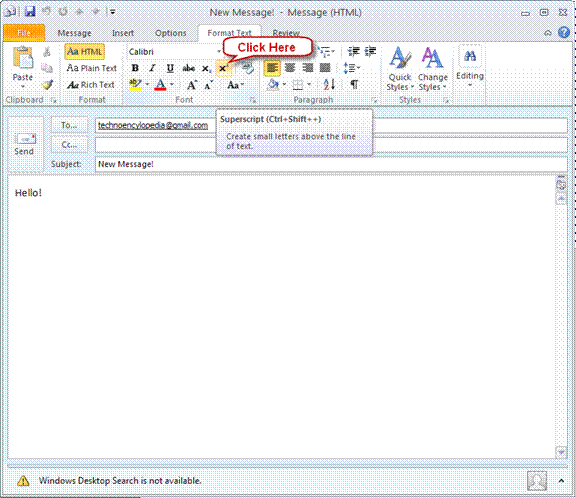
The Superscript allows you to create small letters above the text baseline.

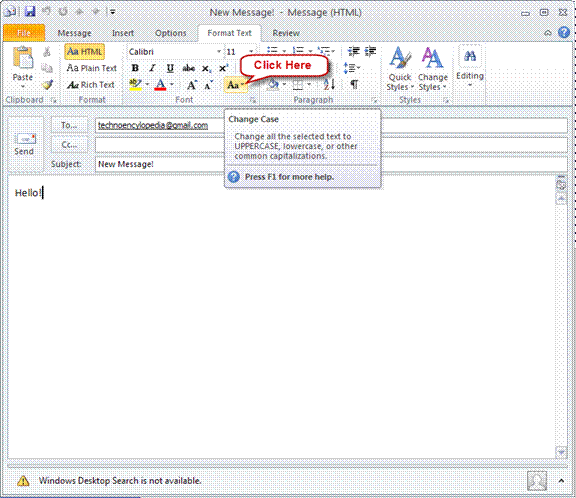
With the Change Case option you can change the selected text to uppercase, lowercase or other common capitalization.
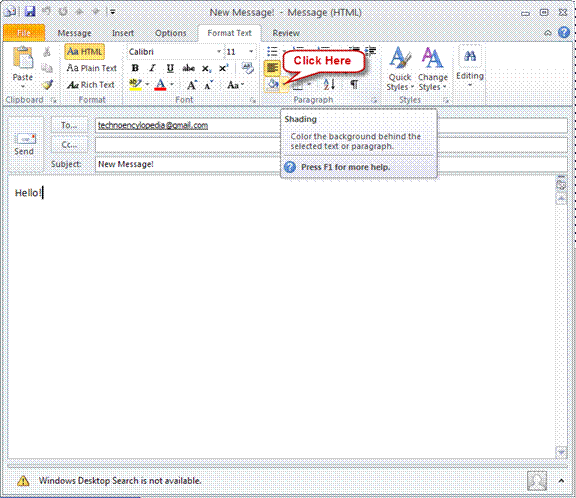
You can color the background behind the selected test using the Shading option.
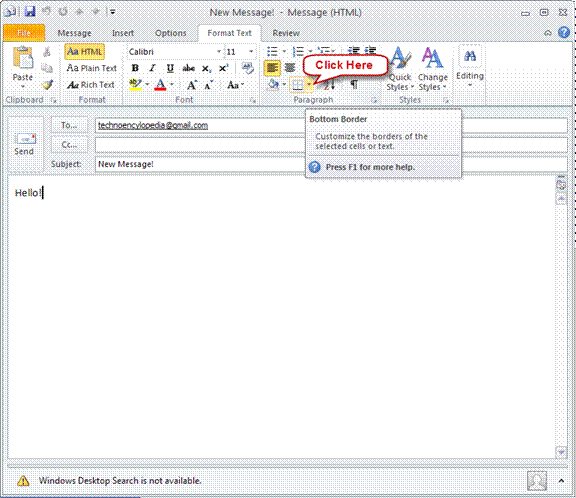
Customize the borders of the selected text using Bottom Border option.
Change the sort of styles using the Change styles option. 7
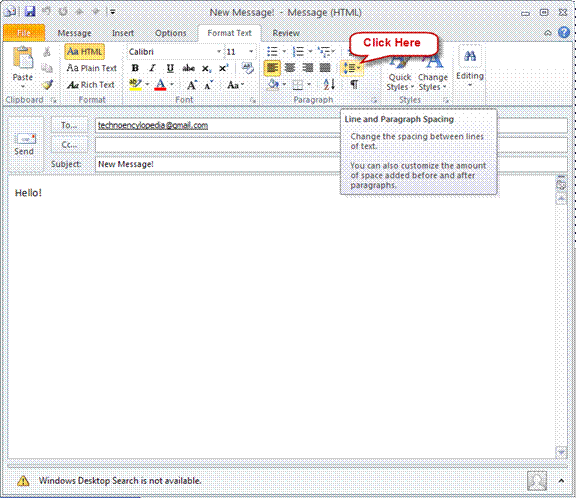
Change the spacing between lines using the Line spacing option.
You can show/hide paragraph marks using this option.
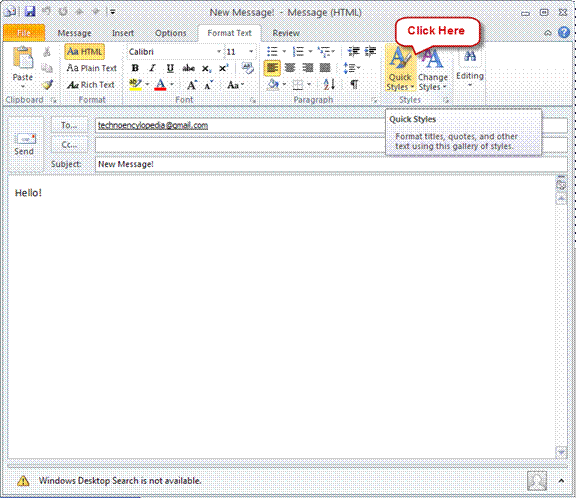
You can get a gallery of built-in quick styles to format titles, quotes and other text in the Quick Styles option.

Change the sort of styles using the Change styles option.
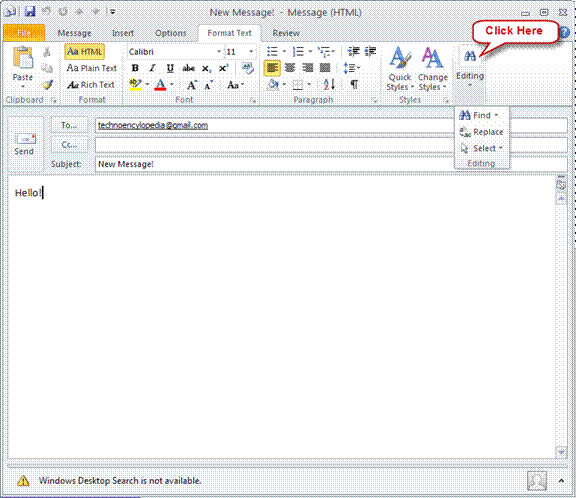
Editing option allows you to edit the document.

Review
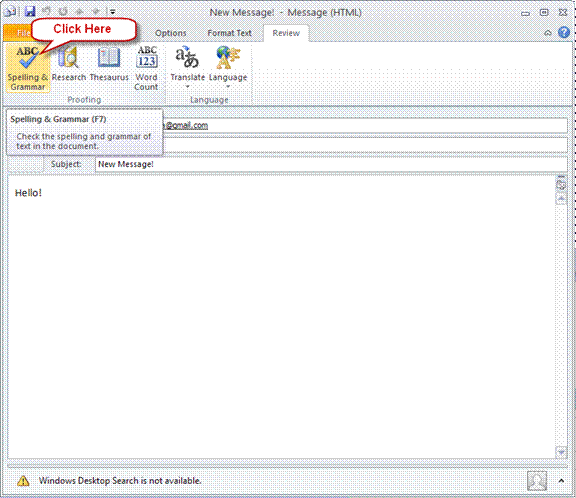
Check the spelling and grammar of your text content using the Spelling and Grammar option.
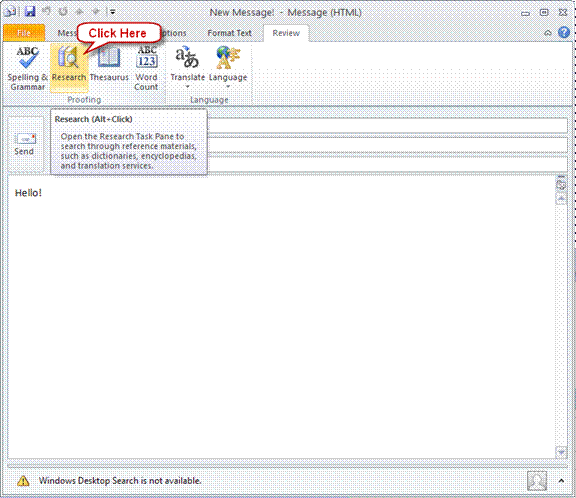
You can research through reference materials, like encyclopedia, dictionaries and other services using the Research option.
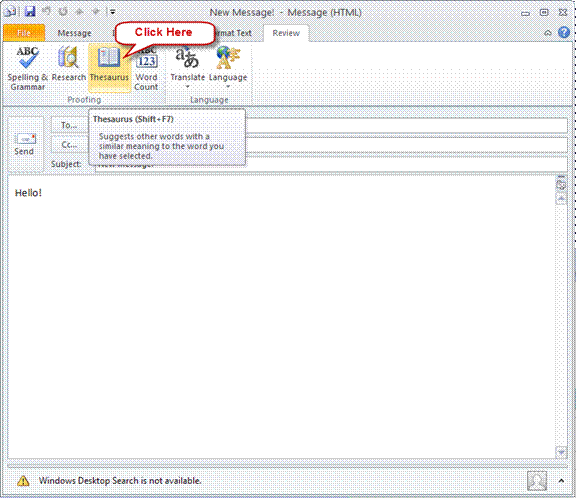
Words with similar meanings can be replaced with the original one using Thesaurus option.
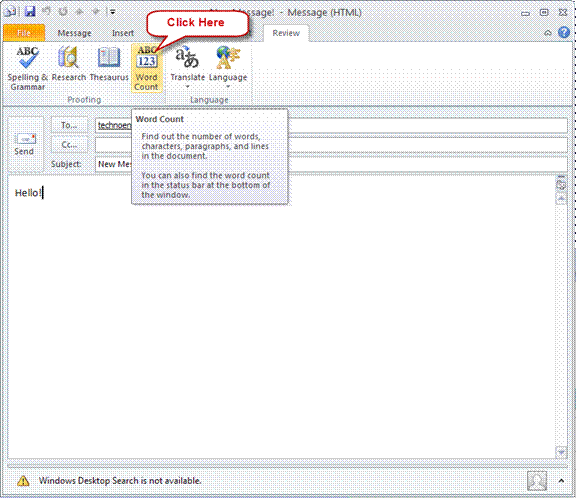
Count the number of words in each sentence, paragraph or the whole document by using the word count option.
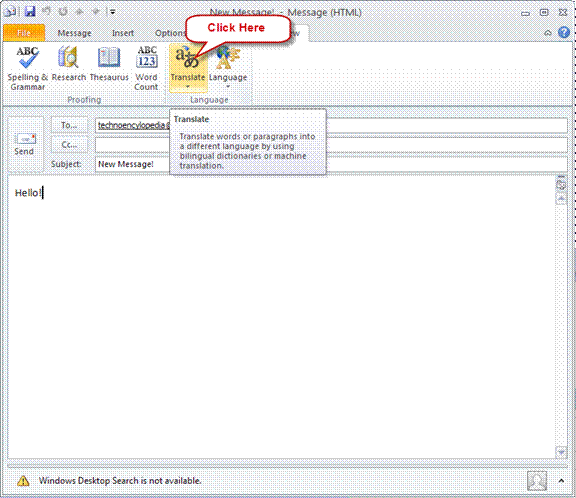
You can translate the words into different languages using the bilingual dictionaries or machine translation using the Translate option.
Select language of your document using the Language option.


