DHCP Server on Windows Server 2008
What is DHCP Server
Dynamic Host Configuration Protocol (DHCP) Server, when deploy on the network, automatically assigns IP address to clients computers. Through DHCP option, we can provide additional configuration parameter such as DNS servers, WINS servers and routes information to client’s computers.
Why to use DHCP?
All computers, systems and network devices on the TCP/IP network that interact to each other require an IP address. System administrator then can assign an IP address to each network resources manually. If your organization is large enough and having multiple geographical presence, then it would be a nightmare for the system administrator to control all network resources. If DHCP server is implemented then DHCP server automatically assign IP address leases to all DHCP clients on the network, so no manual configuration of the client computer is necessary.
How DHCP works?
DHCP stores IP address Database on the Server (the range of IP addresses must be defined at the DHCP server) which it then assigns, lease to computers and other devices.
- Assign/Release IP addresses to a client and then automatically renews it when the client requests a renewal.
- Assign a client with same IP address by reserving a specific IP address for it.
- Exclude IP or range of IP address to be used for other servers, routers, network devices.
- Automatically update DHCP client parameters thus reducing manual tasks on all DHCP clients.
- Provides multicast address assignments for clients.
- Used to perform DNS name registration services for DHCP clients.
- Provides DHCP service to subnets.
How to Install DHCP Server on Windows Server 2008
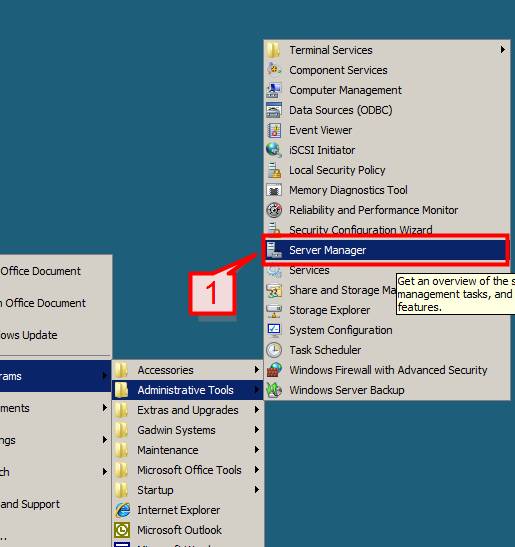
#1.Open server manager from Start -> Administrative tools -> Server Manager
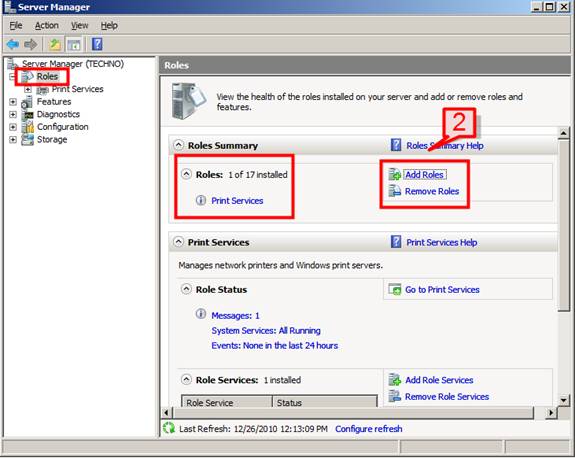
#2.On server Manager, Click on Role, and then on right pane click on add roles
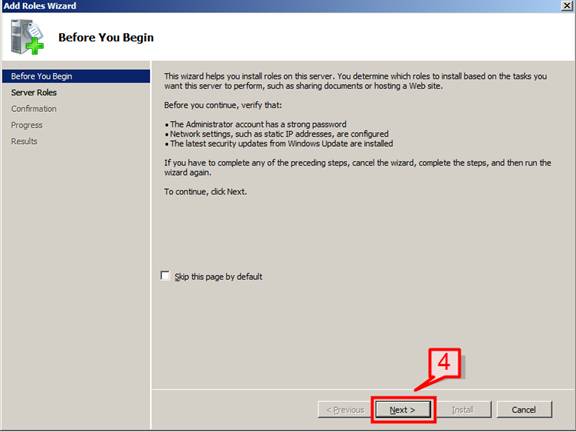
#3.Click next on the Add Roles Wizard dialog
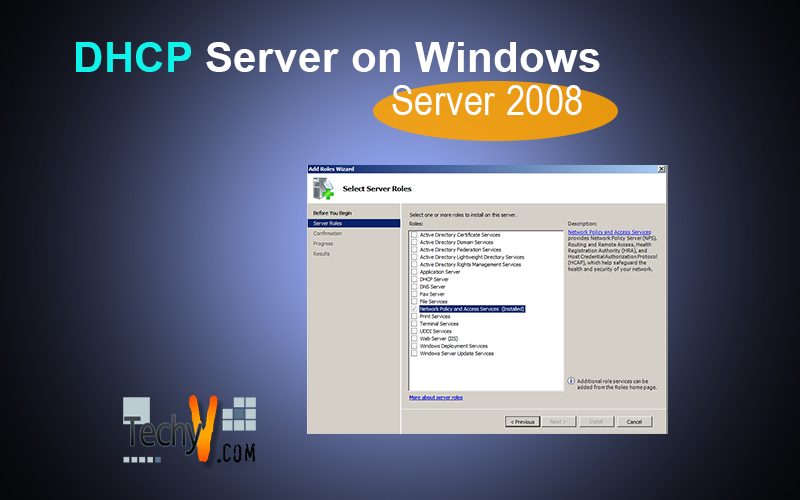
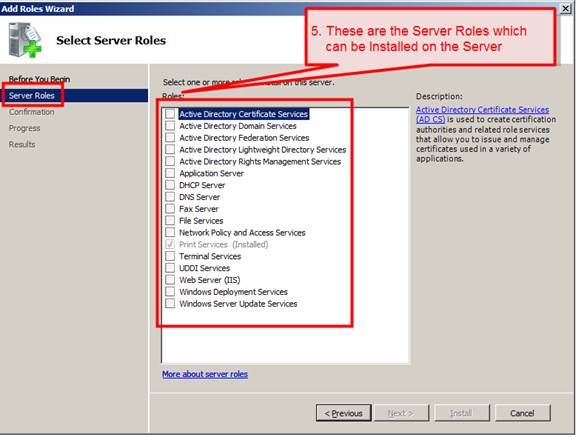
#4.Select DHCP Server and click Next
#5.Next screen will show some brief introduction about DHCP server. Have a look about the introduction and then Click Next
#6. Enter your domain name and preferred DNS server IP address and click next
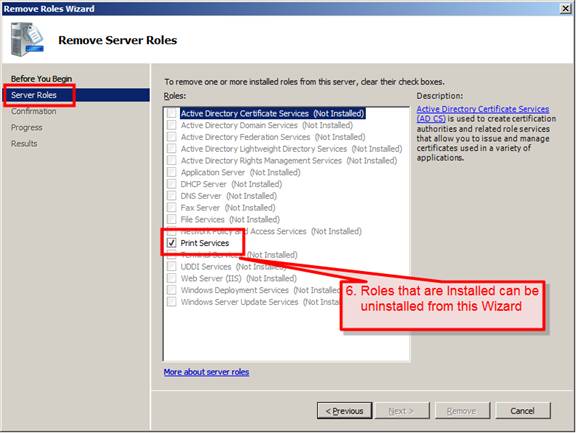
#7. If WINS server is configured in your network then enter WINS details here else select first option and click Next
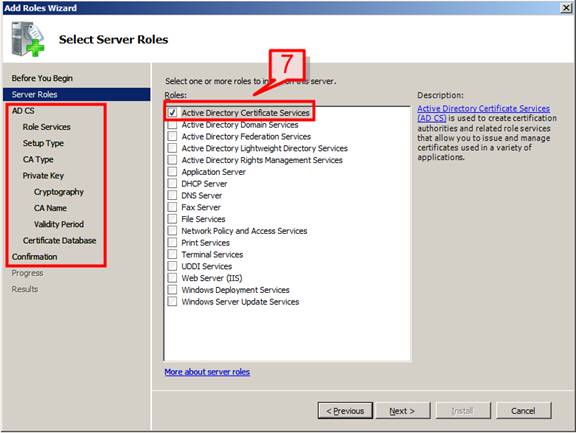
#8. Add a DHCP server scope. To define a scope click on Add
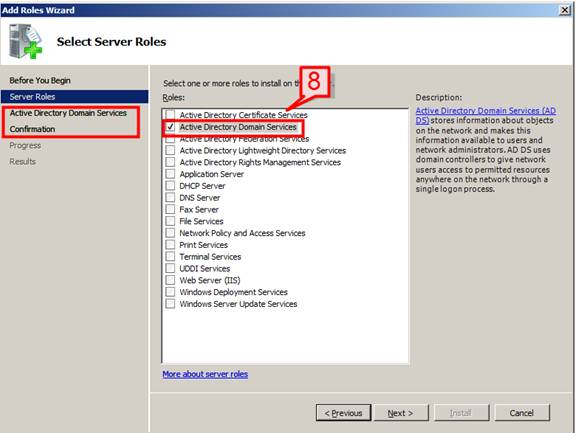
#9. On Add Scope screen, enter scope details (Scope Name, Starting IP address, Ending IP address, subnet mask, default gateway) and select check box next to Activate this scope option and click ok
Note: Client will able to get the IP address from DHCP sever only when the scope is activated.
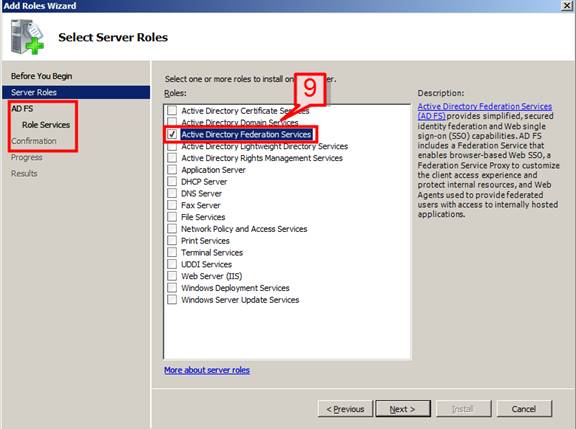
#10. Click Next on Add Roles Wizard page.
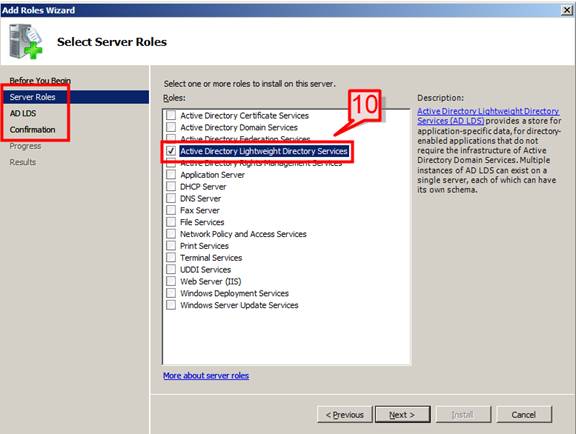
#11. If IPV6 is enable for this server select Enable DHCPv6 else choose disable DHCPv6 for your DHCP server and click next
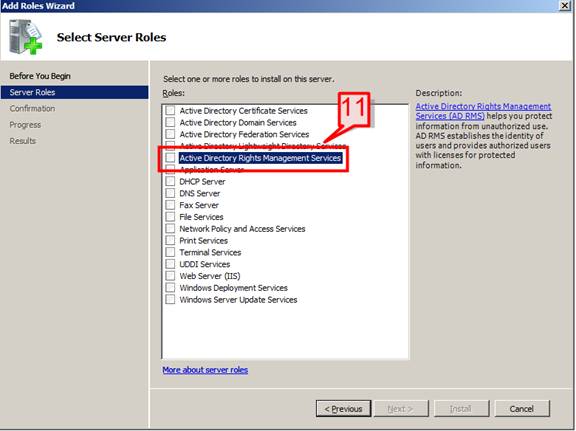
#12. Select use current credentials and click next
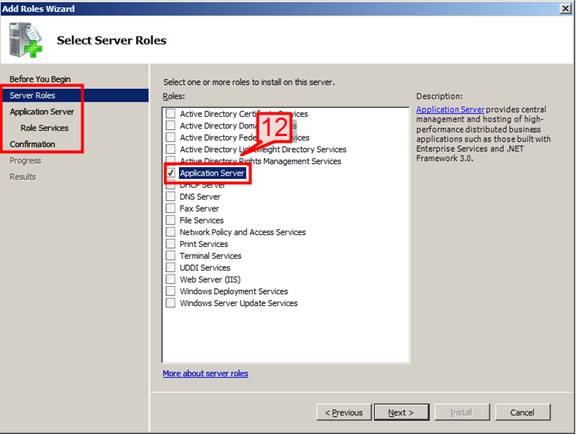
#13.Review and confirm the installation selection and click Install. If some selection are not correct then click on previous button to go back on the wizard and select right information.
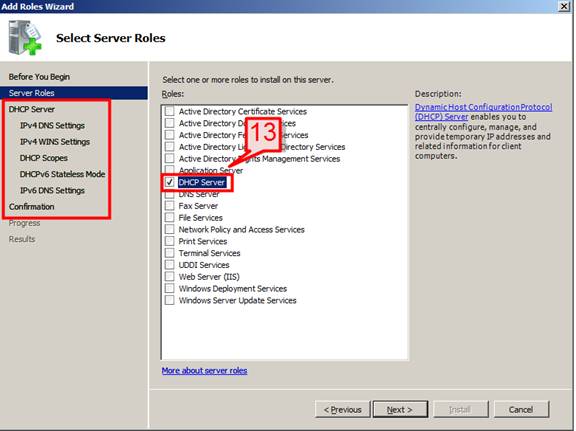
#14.Installation of DHCP will then start
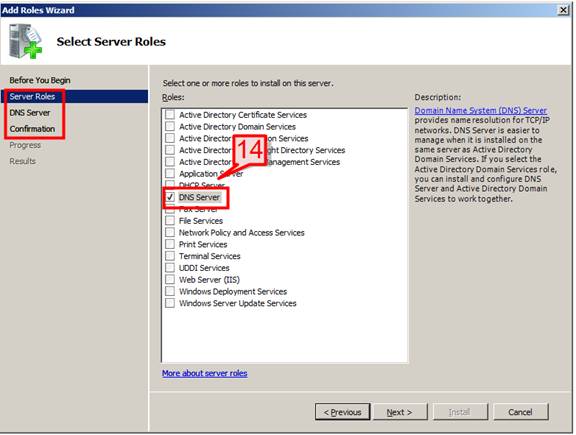
#15.Installation will complete, click Close
Note: Sometime the system will require a reboot once DHCP installation is done. If system asks for a reboot please reboot the system to complete the installation.
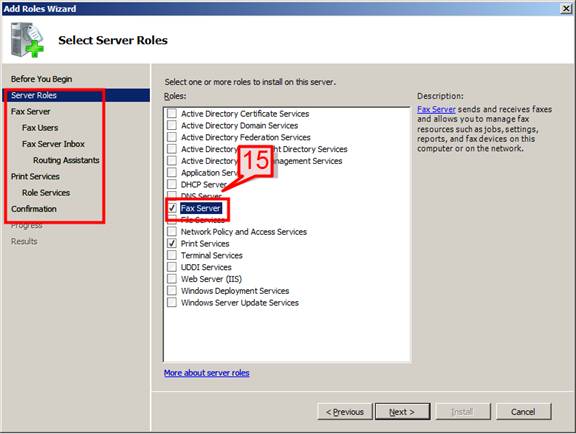
#16.Once DHCP installation is done, verify its integrity by
Start -> Administrative Tools -> DHCP
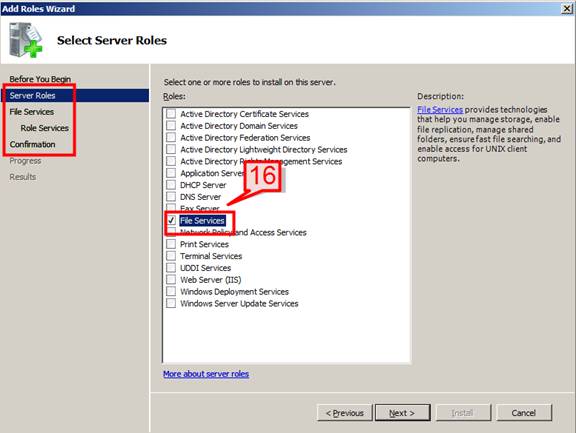
#17.Also you can confirm DHCP server installation from Server Manager.
DHCP role will be added.
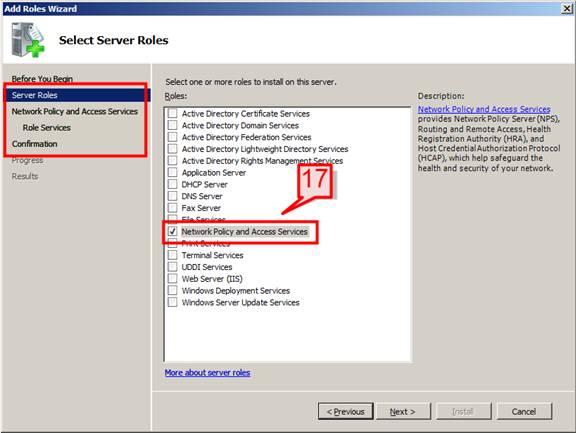
#18.Open DHCP server from Start -> Administrative Tools -> DHCP
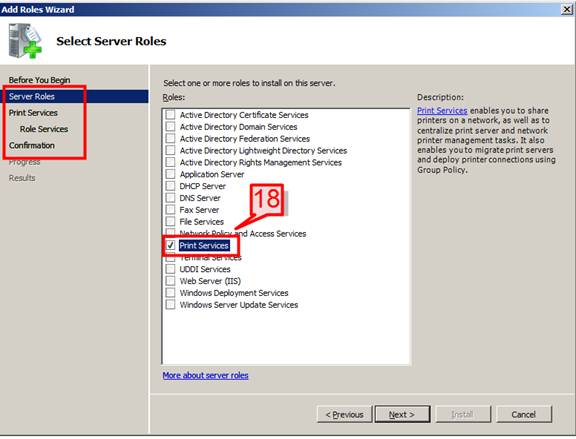
DHCP Configuration
Now let’s check how we can configure DHCP and create a new Scope from DHCP server
Scope is grouping of IP addresses from computers on a subnet. For every new physical subnet you need to create a scope and then use that scope to define the parameters used by clients. Within a scope we can include and exclude IP addresses.
#19.Right clicks on IPv4 and click on New Scope
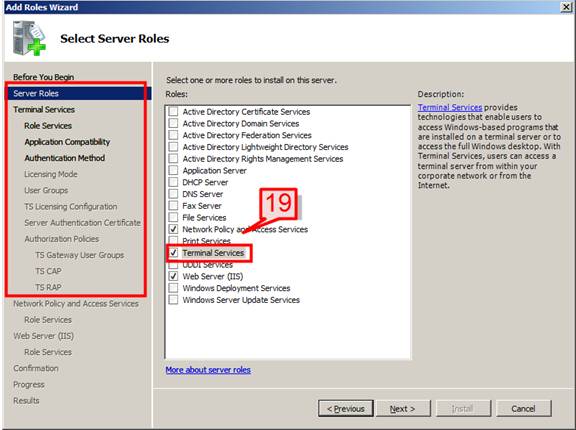
#20.On the New Scope Wizard click next
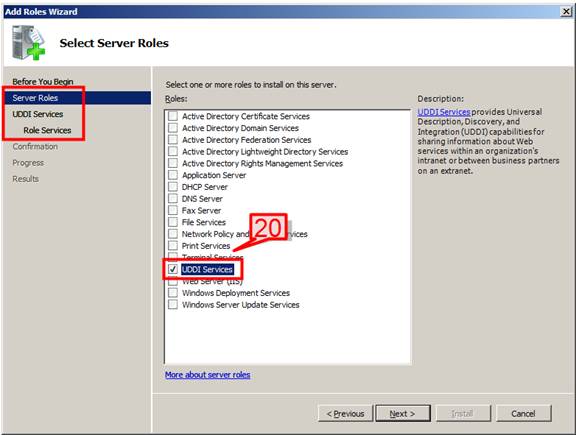
#21.Provide a name and description of the scope and click next
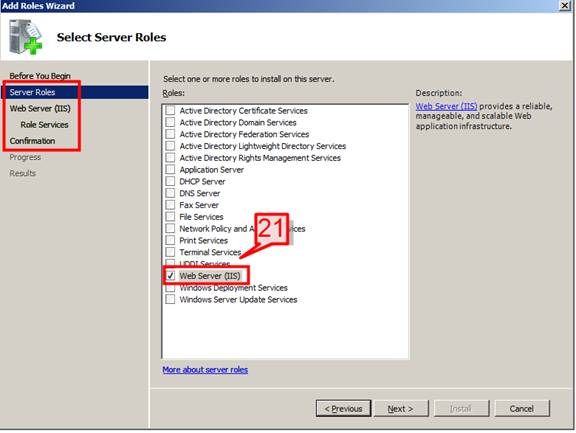
#22.Provide a start and end IP address within the boundary of DHCP IP range. Click next
#23. On next New Scope Wizard screen, provide an exclusion list of start and end IP address that are not going to be used by this scope range. This exclude IP address then can be used for providing IP to servers, other network resources.
If there is no exclusion leave the IP range blank and click next
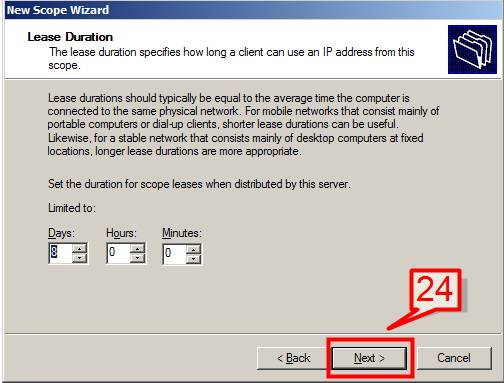
#24. Provide lease duration as how long the clients will use the IP address from this scope. After the lease duration client’s IP will get renewed with new IP address.
Choose default and click next
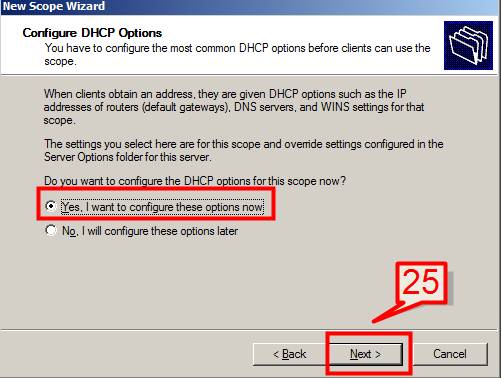
#25.congigure the DHCP server with other options such as DNS, WINS, gateway that client will use.
Choose yes, and click next
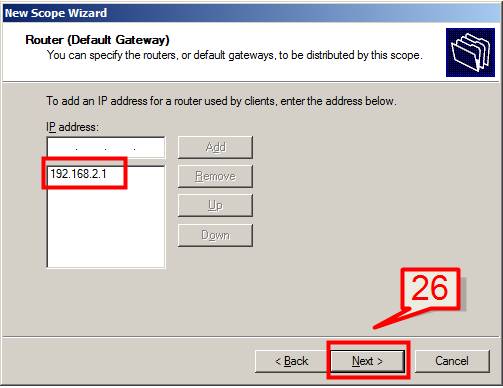
#26.Provide an IP address of the router or the default gateway and click on Add. Once done click on next
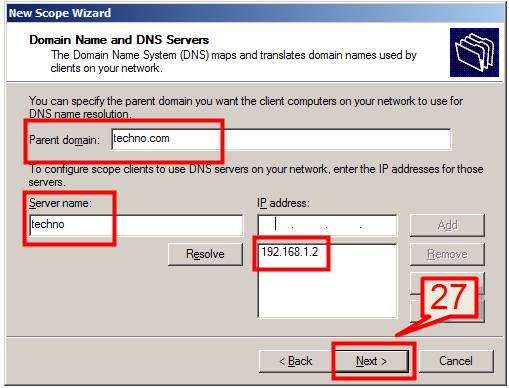
#27.on next New Scope Wizard window, configure the Domain name and DNS Servers. If your network has multiple DNS servers, you can add the list of servers address here.
Enter parent domain name, DNS Server name and IP address of the DNS and click add. Once all settings are done click next
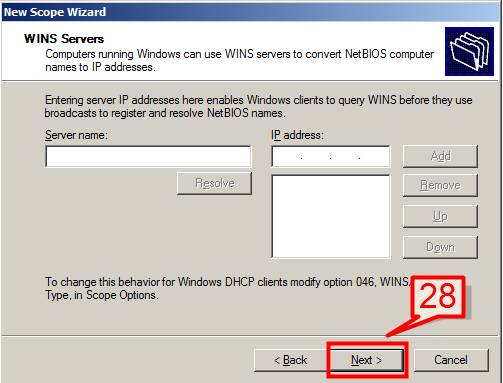
#28.If your network has WINS server, enter the detail of the WINS server name and IP address else leave the option blank and click next
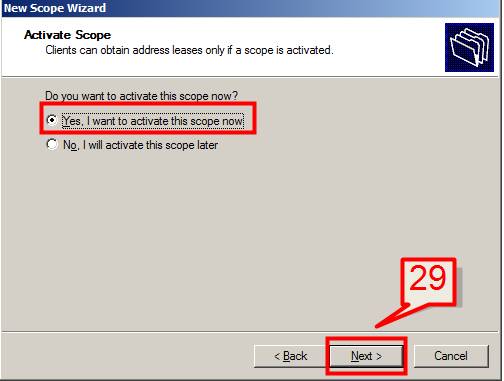
#29.choose Yes, I want to activate this scope now on next screen. Once this scope is activated, client can then obtain the IP from the specified lease range.
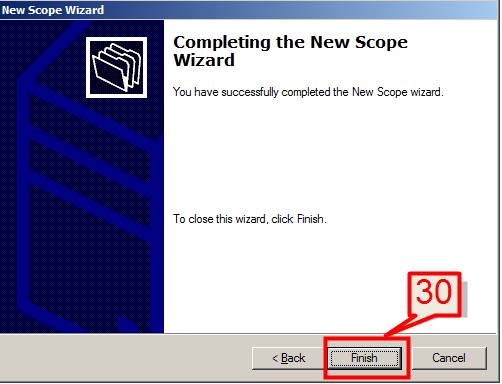
#30.click Finish completing the New Scope Wizard.
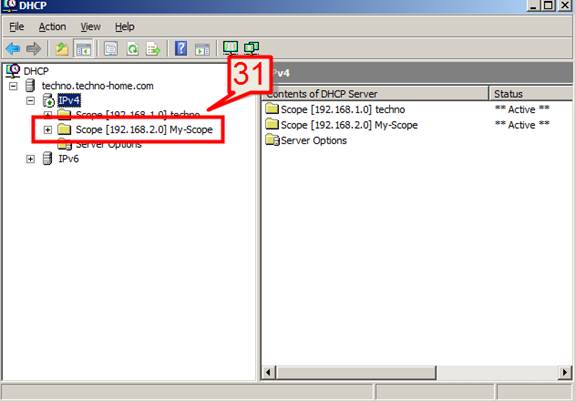
#31.The just created scope is then added to the DHCP server.
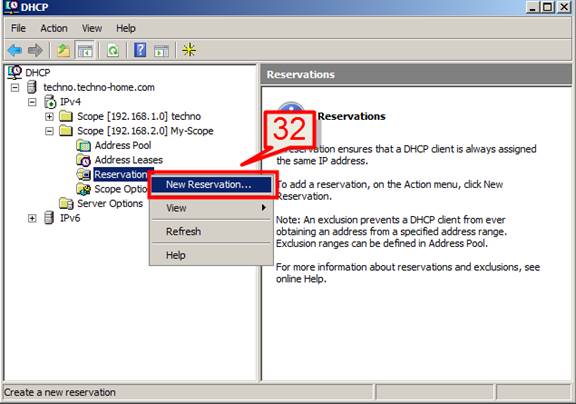
Now let’s check how we can assign a certain IP address to a client always from DHCP. The reservations feature of DHCP enables us to provide a client the same IP address always.
#32.select the Scope -> expand the scope -> select reservations -> right click on the reservations and click new reservations
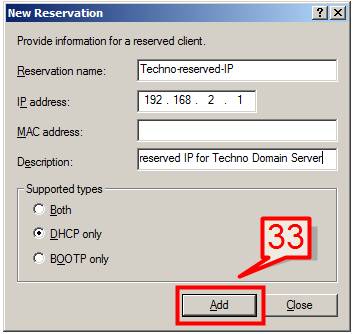
#33.On new reservations window, enter a reservations name, IP address to assign to that client, MAC address and a brief description. Select DHCP from supported type.
Click on Add and close.
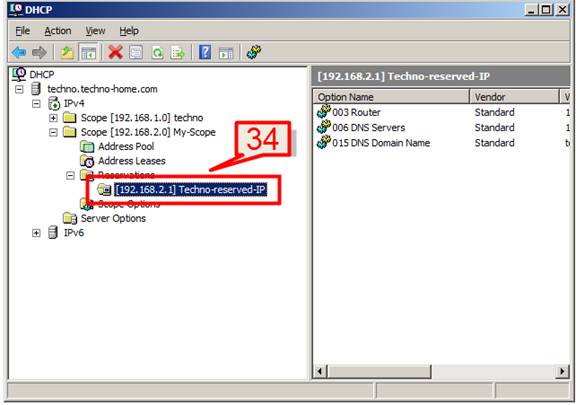
#34.The new reservations for the client will then get added to DHCP server.
