
Guide to install and configure VPN server on Windows 2008 Server
To install VPN (Virtual Private Network) on a Windows 2008 Server, just follow the below steps:
Install Network Policy and Access Services Role (NPAS)
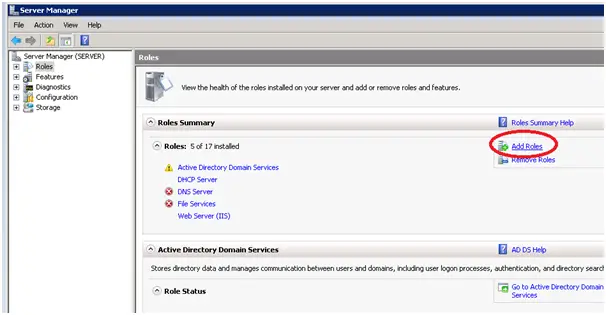
Right Click on Computer then go to Manage

Select Role from left pane and click Add Roles from right pane
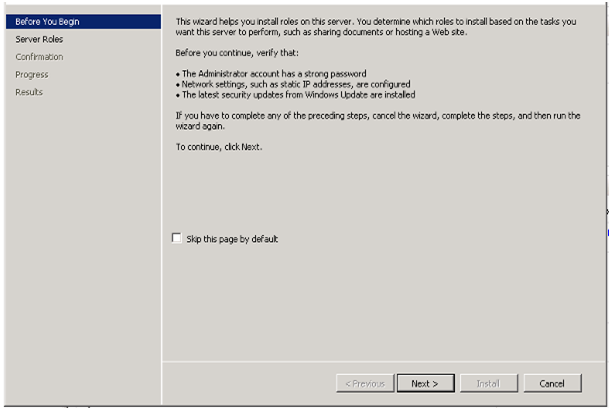
Go to Next
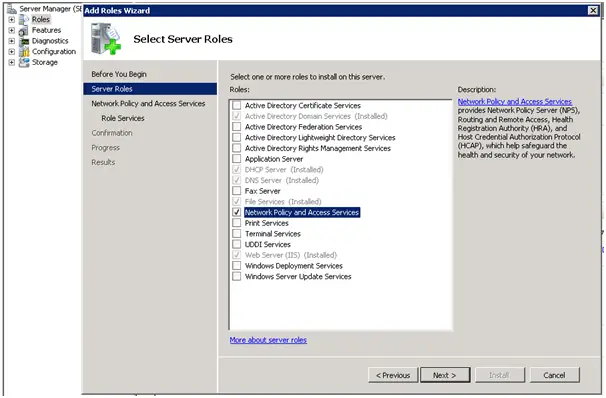
Check in the box beside of Network Policy and Access Service and click Next
Again click Next

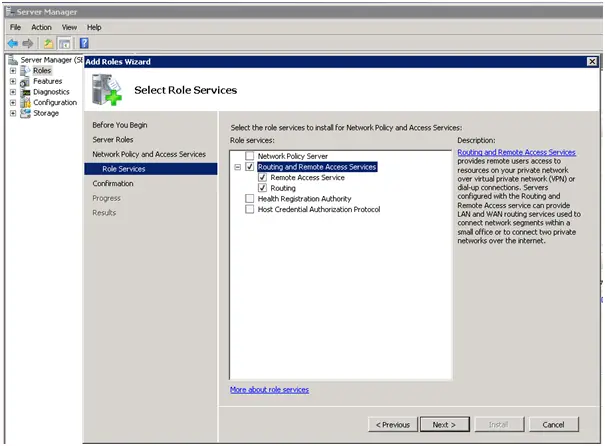
Tick on Routing and Remote Access Services (Both Remote Access Service and Routing) then Next
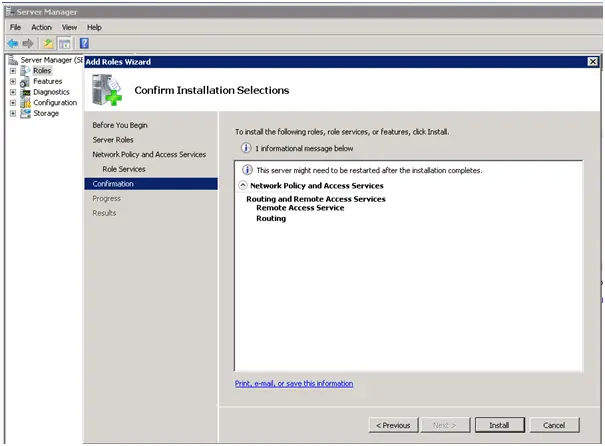
Click on Install
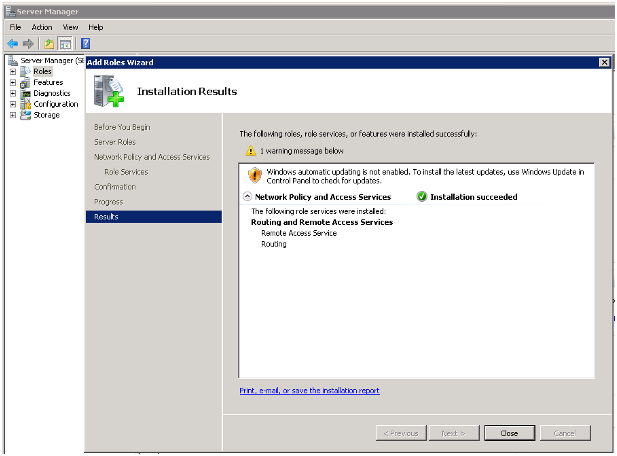
Choose Close
Configure Routing and Remote Access Service
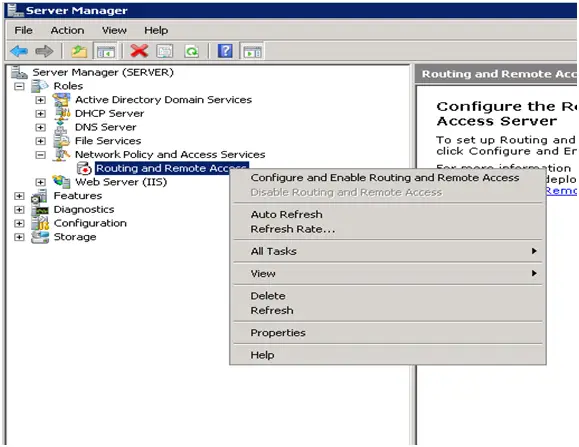
Back to Server Manager, expand Roles and Network Policy and Access Service from left pane and right click on Routing and Remote Access, click on Configure and Enable Routing and Remote Access
It will open the below windows; click Next
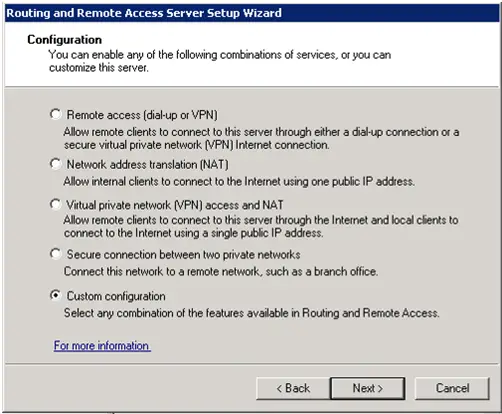
Select Custom configuration and Click Next
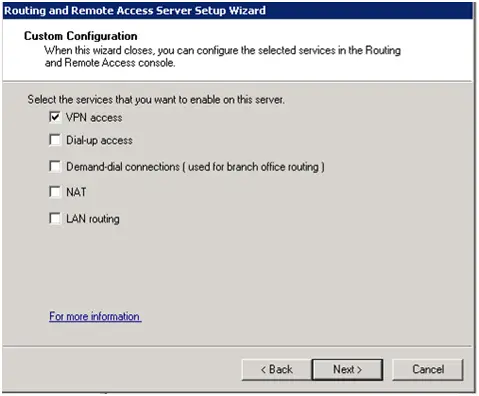
Check on VPN access and click Next
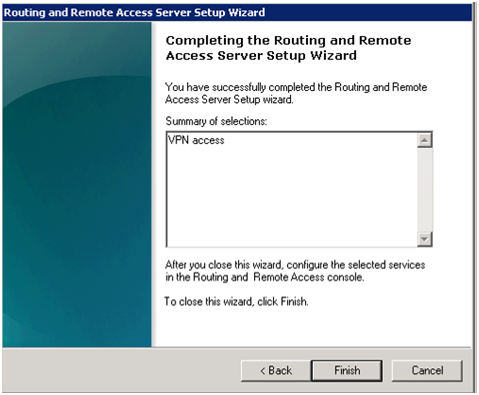
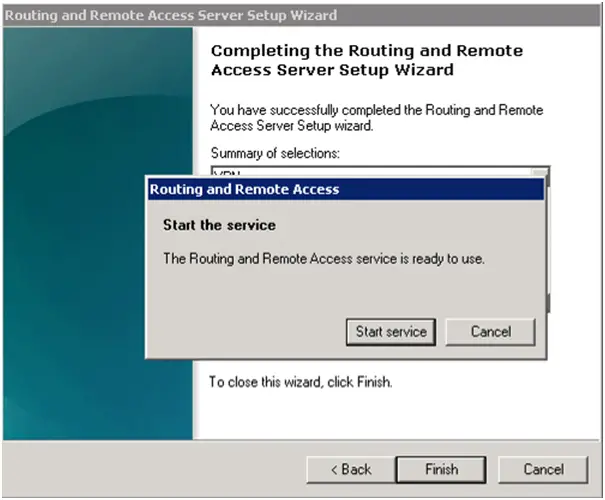
Click Finish
Click on Start service
Configure VPN user group:
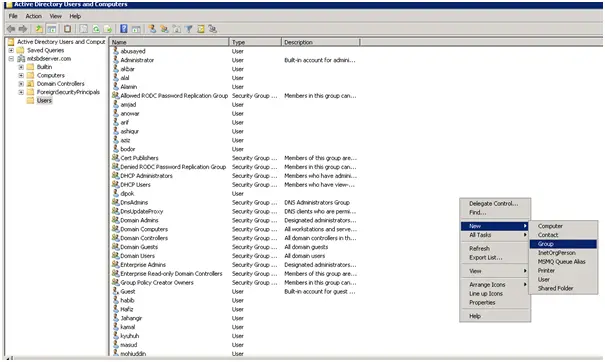
Go to Active Directory Users and Computers from Start -> Program -> Administrative Tools; Create a new group (e.g. VPN Usergroup)
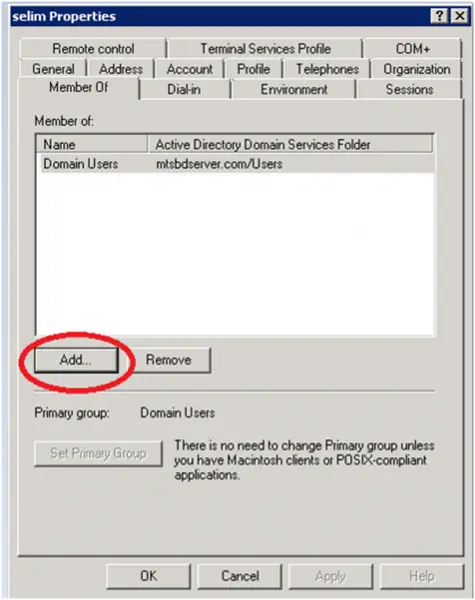
Now create some user as you like then go to user’s properties by double clicking on each user and join them into newly created group by selecting Member of tab then Add
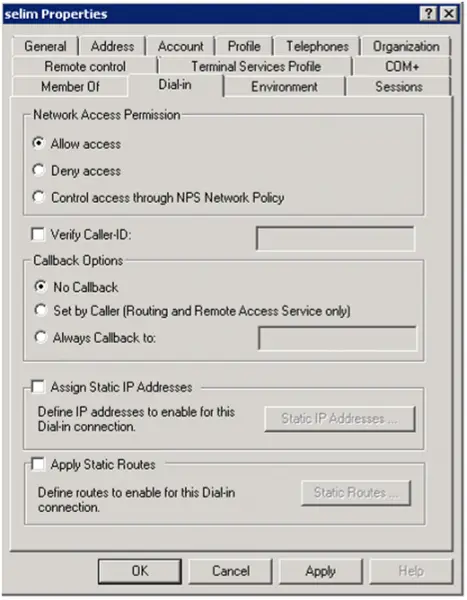
Then select Dial-in tab and select Allow access then click Apply and OK
Configure Network Policy
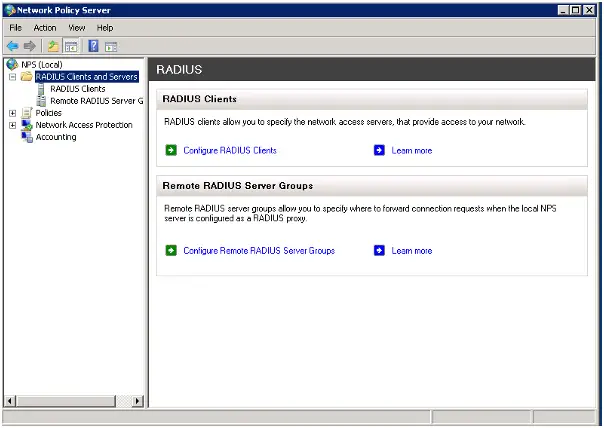
We have to build a policy that will allow users to access the internal network. RADIUS server will do it.
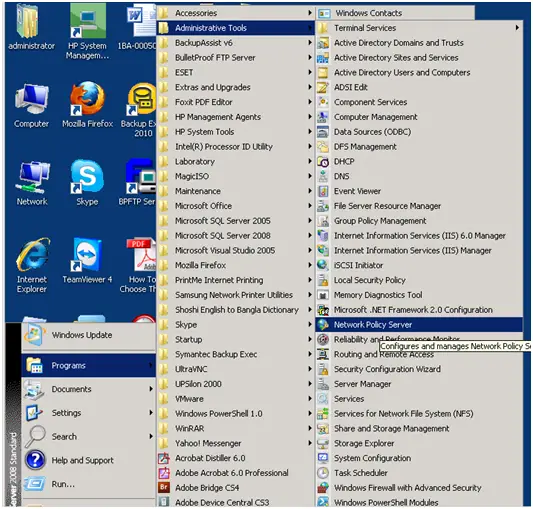
Go to start -> programs -> administrative tools -> Network Policy Server
Click on the plus (+) sign besides RADIUS Clients and Servers
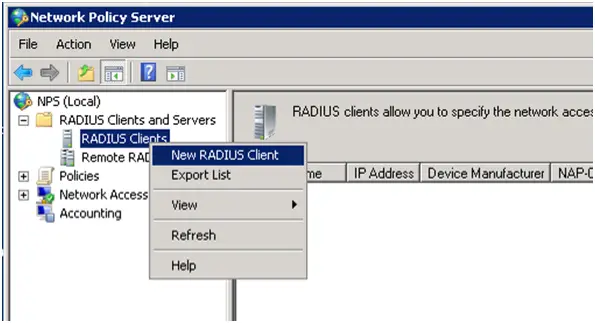
Right click on RADISU Clients and select New RADIUS Client
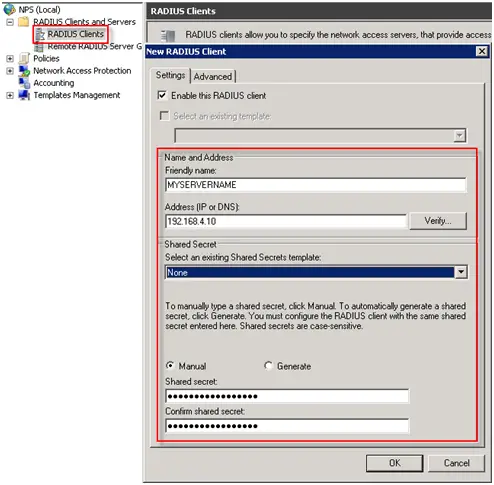
Fill up in all the necessary stuff and click OK
(Don’t forget to create a shared secret and store it in a safe place)
Right click on Network Policies and choose new

Go to next
Click Add
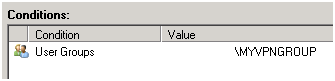
Choose User Groups and click add
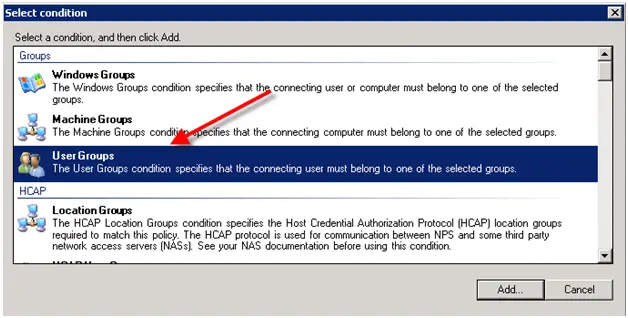
Before do this users have to join into this VPN group
Select Access granted and click Next
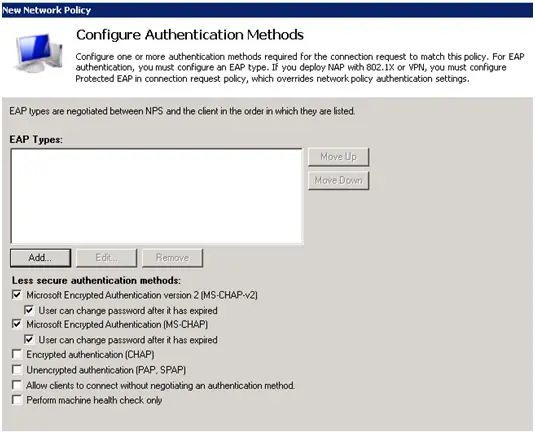
You can leave Authentication Methods either as default or custom as you need
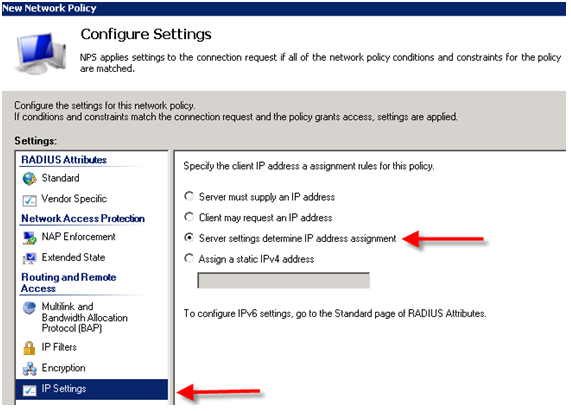
Choose NAS Port Type
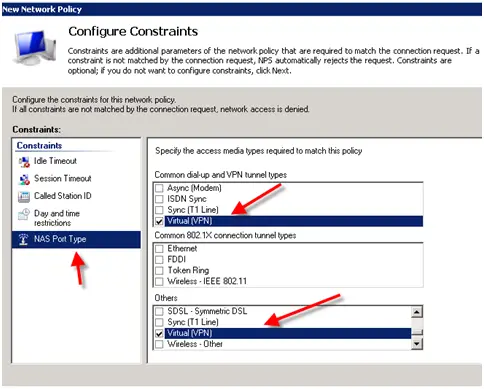
Here you can define like this or anything other according to your requirement. It is better to leave most of the configuration as default
Hit Next and Finish
Now you can see all your newly created policy on the screen

Your VPN server is configured you can connect to your server now. You can test your server using a PC from different network which connected with internet.


")


