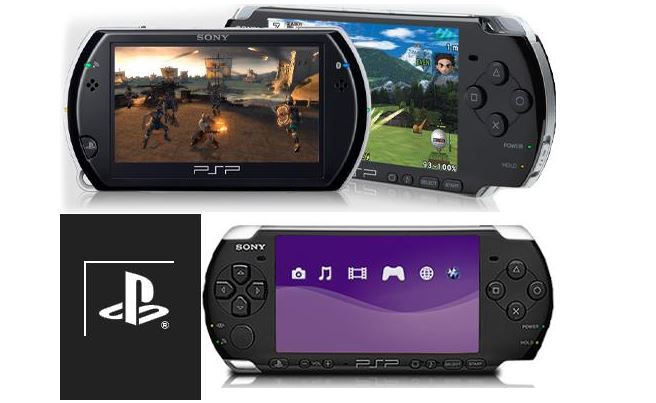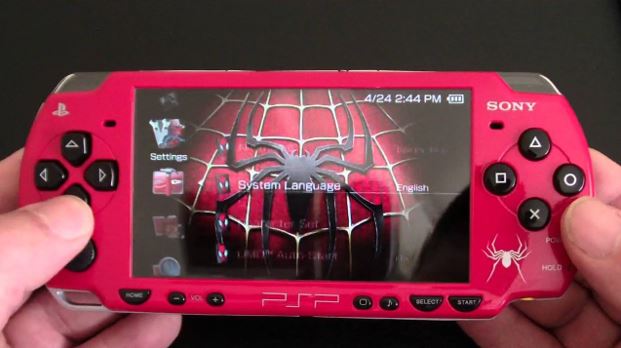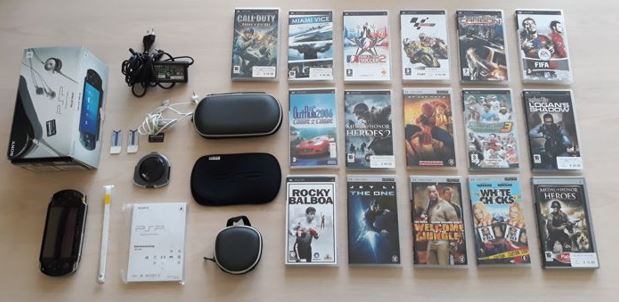
Playstation Portable or shortly PSP is one of the most significant advancements in the world of gaming devices. The PSP is the first device that succeeded in comparing the memory capacity, sound, and graphical abilities of the sixth-generation consoles. The PSP enables players to download an array of files and powerful emulators. The nature of the PlayStation Portable is considered to be the wide-open, that is why it remains in super popular demand amongst old-school gamers. It is straightforward to run PSP ROMs on different kinds of portable devices like iPads or smartphones.
This tutorial will teach you how to add new retro games that you have already downloaded on your computer to your PlayStation Portable. This information will help you run downloaded ROMs like any other PlayStation Portable game. You have to make your console recognize downloaded ROMs, and you can do this by downloading and installing a custom firmware installed on your PlayStation Portable console.

How To Add New Games To Your PlayStation Portable?
Start with switching on the PlayStation Portable by pressing the power button.
Check whether your PlayStation Portable is able to run new downloaded games. Make sure portableUSBthat the PSP os up to date. You have to install the custom-installed firmware to be able to place downloaded games on the PSP.
Now you have to plug the PlayStation Portable into your personal computer. You can do this by attaching the end of the USB of your PSP charging cable to your PC. Once this is done, you have to connect the charging side to the PlayStation Portable.

Open “Start,” then press the “Windows” logo, which you will find in the down-left side of your PC screen.
Activate “File Explorer” which is located on the left side of the “Start” window.
Make sure that you have downloaded safe ISO files and located in a separate folder. Go to this folder. Once you have downloaded a new game to put on the PlayStation Portable, we recommend you to store them in the gamer’s folder.
Decide which game you want to play and press the needed ISO file to select it.
Press the “Home” tab, which you will find in the upper-left side of the “File Explorer” window.
Press “Copy” on the “Home” toolbar (see the top of the window) to copy the desired ISO file.
You have to click the name of your PlayStation Portable. If you do not see it, you just have to scroll down in the left-hand sidebar of folders. In case, you do not see your name, you have to press the “This PC” folder, then click twice the name of your PlayStation Portable below the “Devices and drives” heading. It is essential to have the folder entitled as “ISO” on your PlayStation Portable. In case you have not created it yet, do the following:
1. Press the “Home” tab.
2. Press the “New Folder” option.
3. Write the name of your new folder as “ISO” (make sure you use capital letters), and then click “Enter.”
Now you have to open the newly created folder by double-clicking on it.
Press the “Home” tab once again to activate the “Home” toolbar, which will appear at the upper side of the “File Explorer” window.
Click the “Paste” option on the toolbar. It is how you launch the process of copying the ISO files into your PlayStation Portable’s “ISO” folder. Note that the process will take a bit of time.
You have to eject and unplug your PlayStation Portable from the computer. Once you have finished transferring the desired ISO files over to the PSP, you have to press the flash drive icon in the bottom-right corner of the PC’s screen and then press “Eject.” Now you are ready to detach the PlayStation Portable from your computer.


