Installation and configuration of SQL Server – Part 7
In this section we will cover SQL server SP2 installation. SCCM uses SQL server database for storing its data.
To install SQL server follow the below steps
1. Double click on installer Seup.exe of SQL 2005
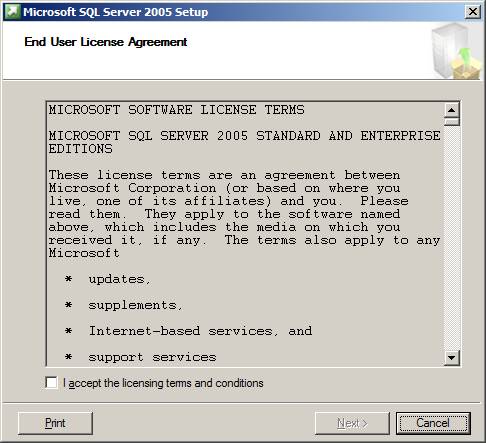
2. Select I Accept the licensing terms and click next
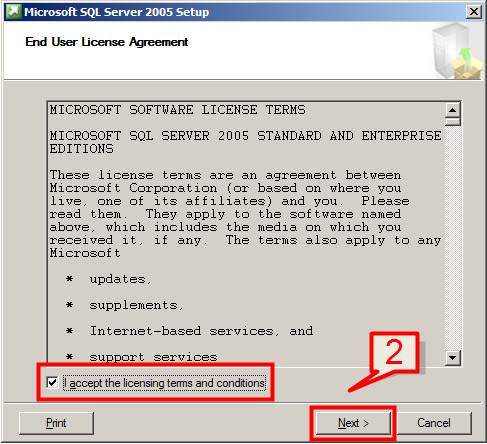
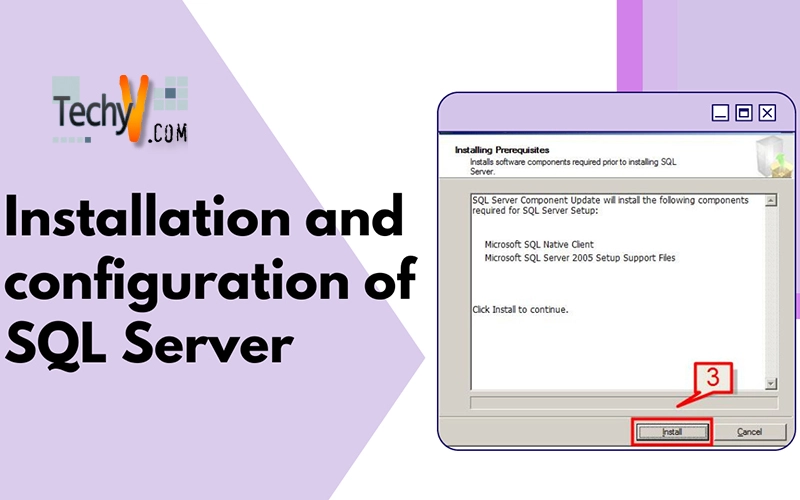
3. Click on Install to install the pre-requisites.
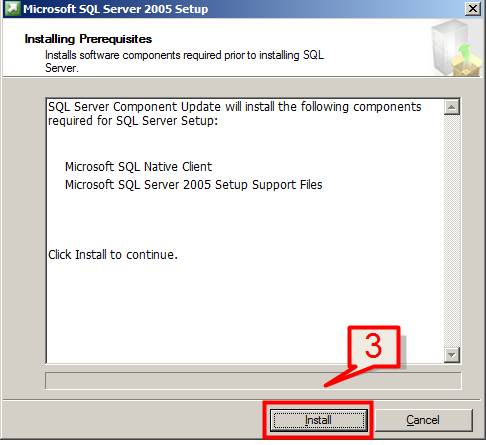
4. Click next to continue
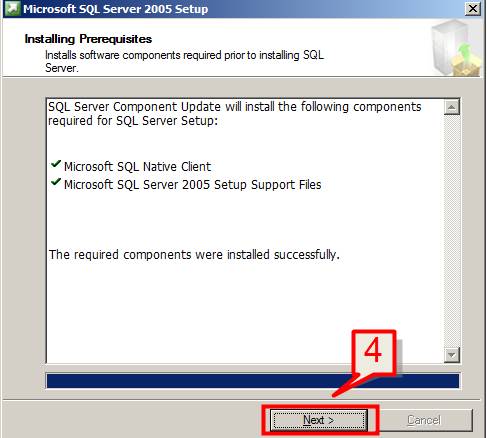
5. click next to start SQL server installation wizard
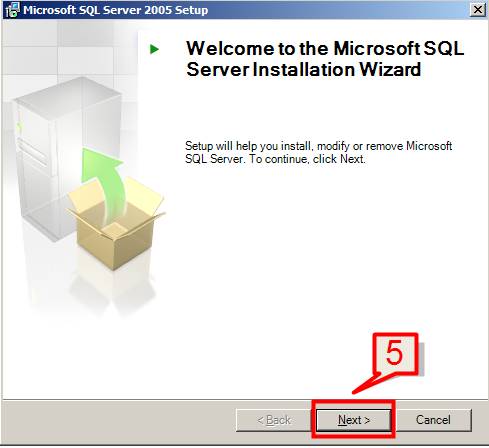
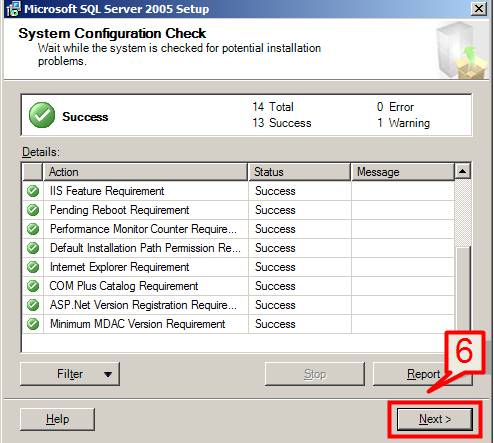
6. The installer setup will then checks for System features and provide you the report which are installed and not installed.
If some features are missing, install that features and re-run the setup.
Click next to continue
7. Provide the License information, name and company name on next screen.
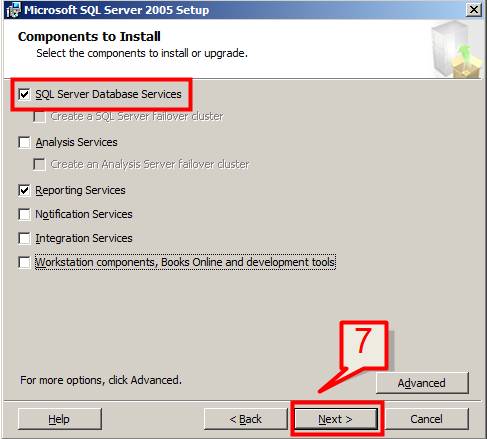
8. Select the components that need to be installed. A SQL Server database service is required to be installed.
Click next
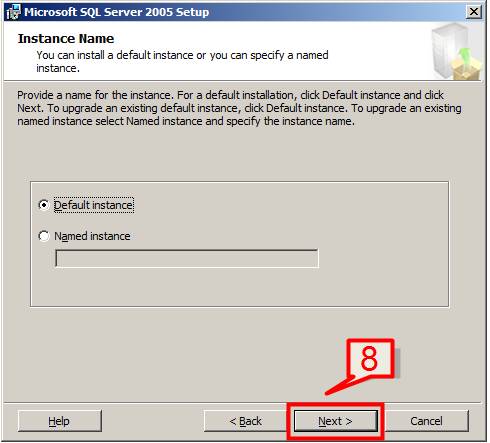
9. If you wish to provide a instance name then provide a instance name for the SQL server or accept the default and click next
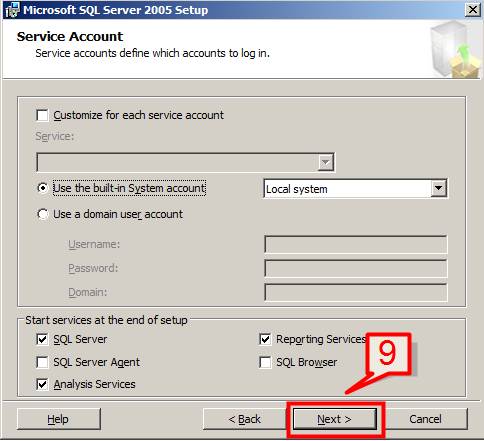
10. On next screen, it is a good practice to provide service account name for each services. For this lab, we will select default and click next
11. Select the mode to login to the SQL server and click next
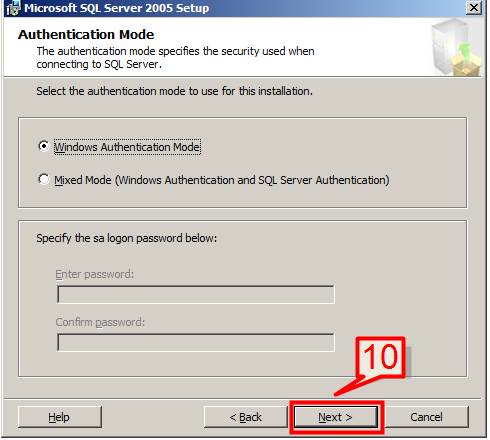
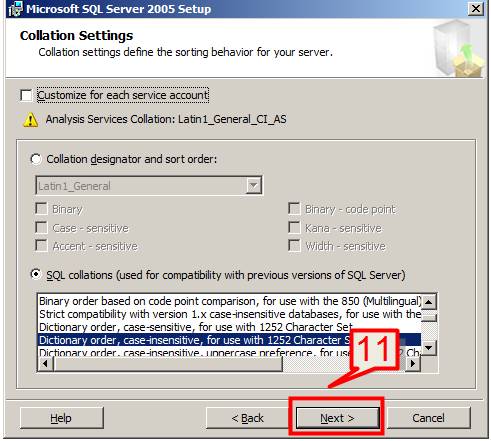
12. Leave the default setting and click next
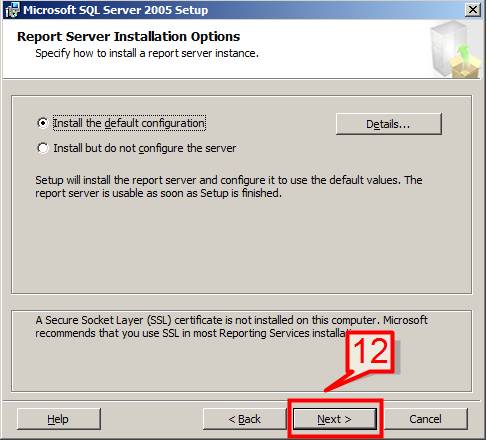
13. Select the type of configuration for reporting server and click next
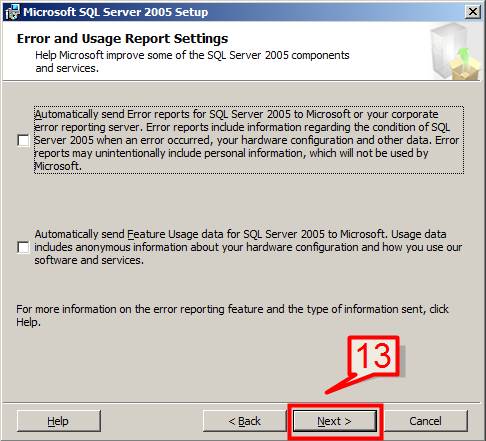
14. On next page click next to continue
15. Click Install to start installation of SQL.
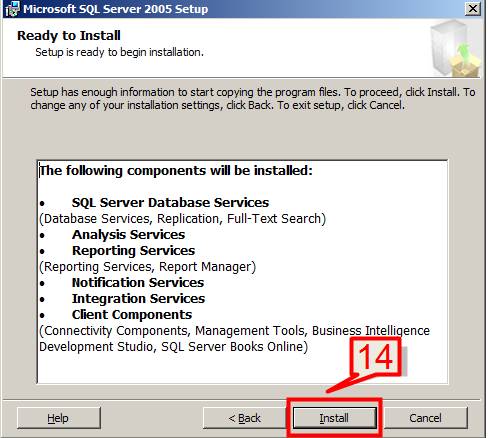
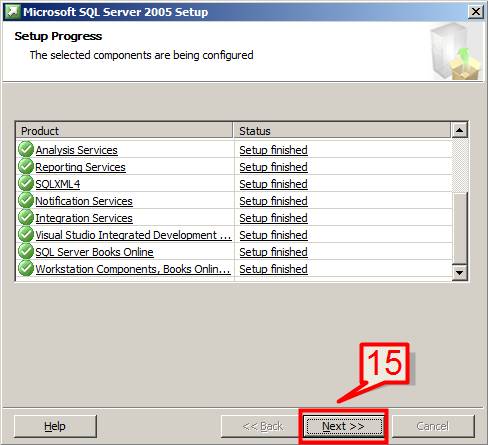
16. Setup will complete all the installation. Click next to continue
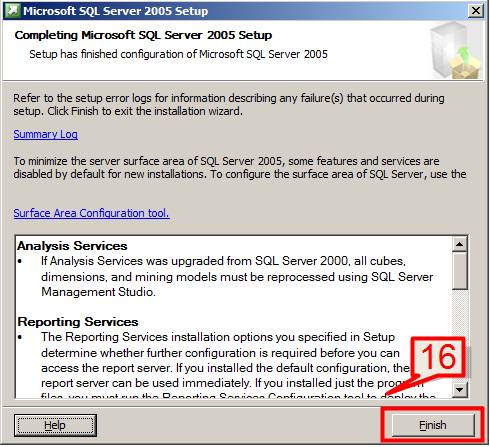
17. Click finish to complete the installation.
The next step is to install SQL Server 2005 SP2 patch.
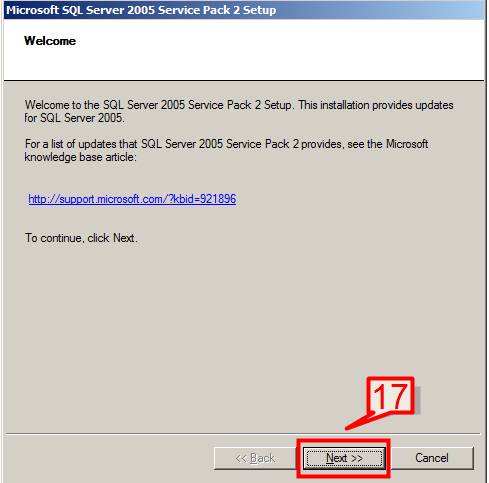
18.Run the SQL server 2005 SP2 installer exe. On welcome screen click next to continue
19. Select I accept the agreement and click next to continue
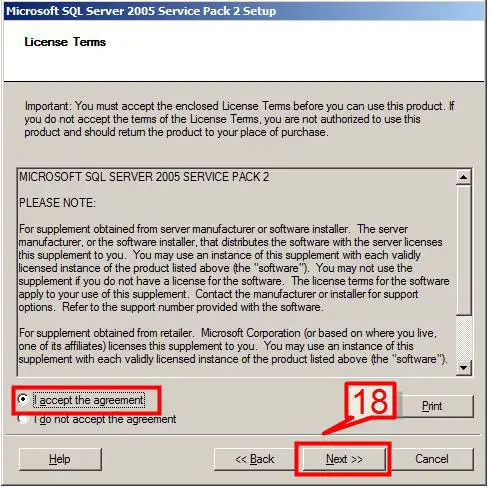
20. Setup will check what components are installed and will display the selected items. Click next
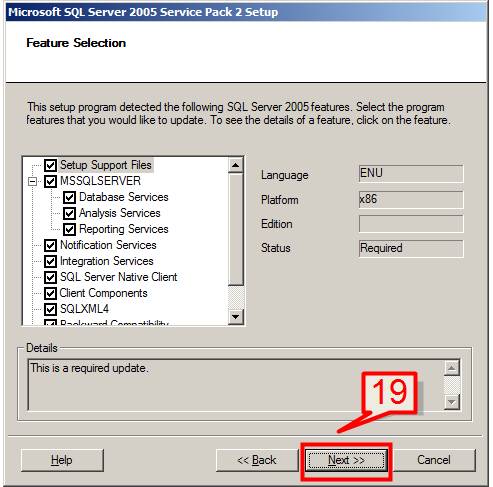
21. Click next to continue on next installation screen
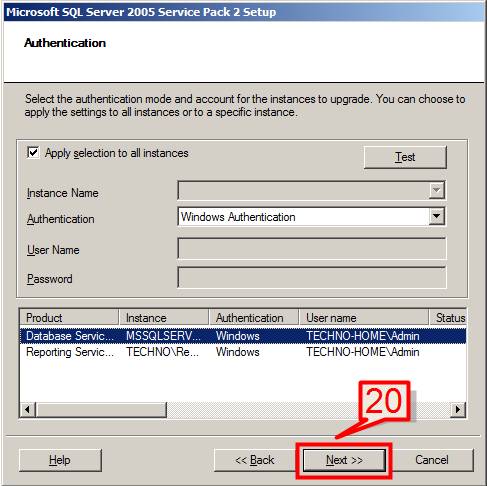
22. on error and usage reporting settings page click next
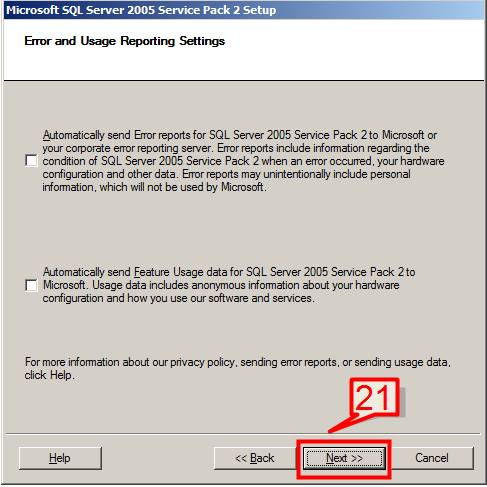
23. click next on running processes page
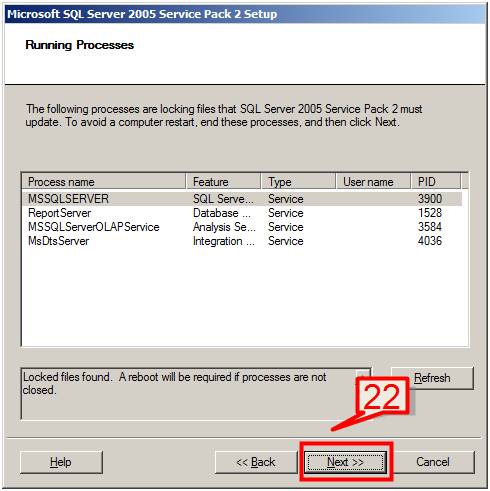
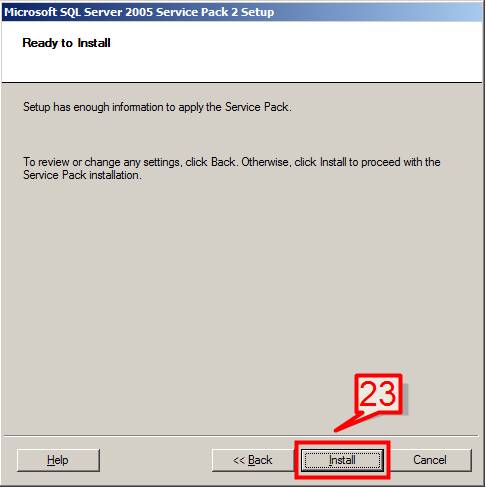
24. Click Install to start installation of SP2.
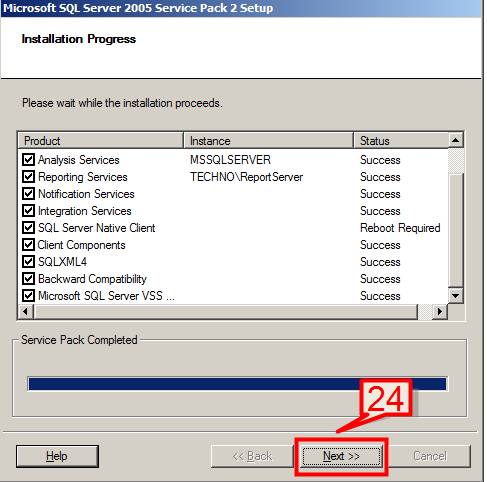
25. Installer will ask for a reboot if some files are locked. Reboot the system. Click Next on next screen
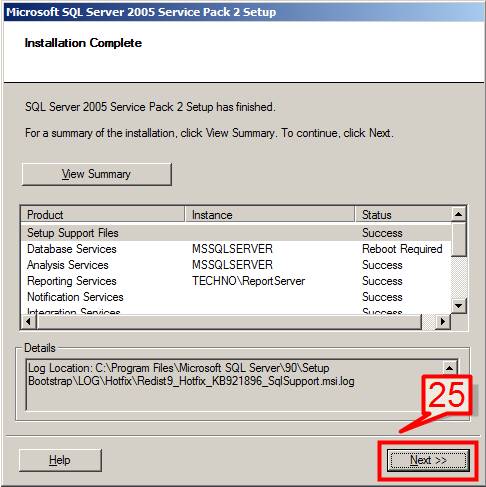
26. Click next on Installation complete page.
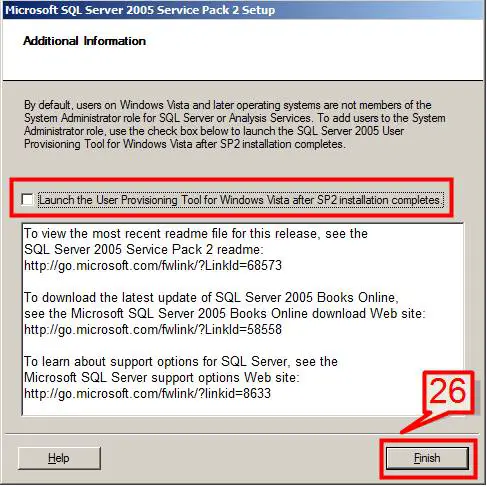
27. Uncheck the launch the user provisioning tool for Vista and click finish.
