Installing SharpDevelop
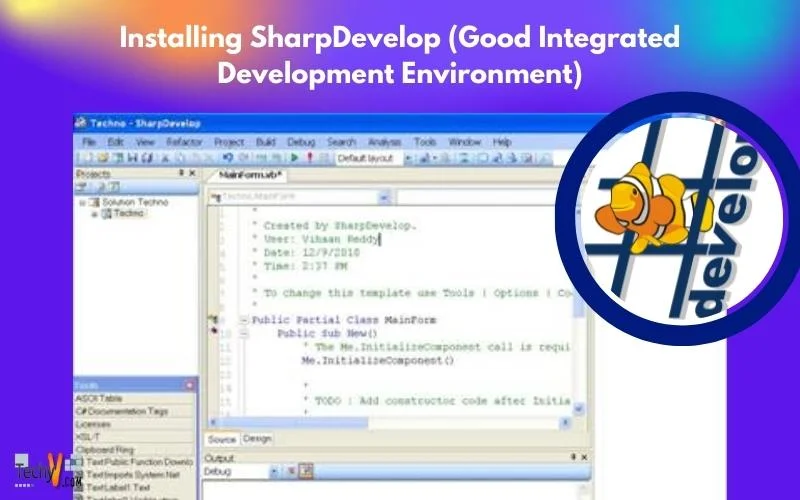
When it comes to programming, what one needs is a good Integrated Development Environment (IDE). Visual IDE usually contains an editor, form designer, compiler and a debugger. Although Microsoft usually provides its express versions of its IDE like Visual C# Express 2010, VB.NET Express 2010 there was a need for an open source IDE which would be available without any restrictions to the programmers and hobbyist, on which .NET based applications could be developed. SharpDevelop is such IDE which is available to the programmers and hobbyists without any restrictions. The main features of SharpDevelop are as follows
- It is an open source software
- Support for C#, VisualBasic.NET, ASP.NET, Boo and Iron Python
- It is free
- Source code available for download
- Built in Editor, Form Designer, Compiler & Debugger
- Code Completion
- Various Project Templates are available
- Compatibility with Visual Studio
Hence we strongly recommend you to download SharpDevelop today for your .NET based application development.
In this article we’ll show you how to install SharpDevelop IDE on your computer. The version we will be downloading is SharpDevelop 3.2. (Here we are assuming that you already have .NET 3.5 runtime (version 1) installed on your machine. Otherwise you may download and install .NET 3.5 SDK and the .NET 3.5 Frameworks from Microsoft website before proceeding with SharpDevelop installation). When ready for SharpDevelop installation,
- Open your browser and open the website at following URL
http://www.icsharpcode.net/Default.aspx
You will see SharpDevelop Download Page as shown in the following screenshot
1.jpg)
- Click on Setup Download link. On clicking the download link your browser will be redirected to SourceForge website and you will see a following dialog box as shown below.
2.jpg)
In the Dialog box click on Save File button.
- Now the SharpDevelop setup file will be downloaded to your computer and the Downloads box will look like the one in following screen shot.
3.jpg)
- In the Downloads box double click on SharpDevelop Setup file. On double clicking this setup file, next Dialog box will open to confirm whether you really want to open executable file as shown below,
4.jpg)
You may safely click on the OK button to proceed further.
- Next, a warning will pop up in a Dialog box as shown below,
5.jpg)
Here also you may safely click on Run button to proceed further.
- Next you will see Windows Installer box as shown below.
6.jpg)
- Now the SharpDevelop Setup box will open as shown in the following screen shot.
7.jpg)
Click on the Next button to proceed to next step of installation
- The next box will pop up showing the End-User License Agreement as shown below,
8.jpg)
If you agree with terms in the license select and check the option I accept the terms in the License Agreement. Now click on Next.
- Now the next box will pop up as shown in the following screen shot, it will allow you to customize the installation settings. By clicking on the icons in the tree you can change the way SharpDevelop features are installed. You may also customize the installation path by clicking on Browse button.
9.jpg)
After you have customized the settings click on the Next button.
- Now the next box will appear on the screen as show in the screen shot below
10.jpg)
Click on Install button to proceed further
- Now the Setup will begin the installation and you will see the box as shown in the following screen shot.
11.jpg)
- On completion of installation the box will appear on the screen as shown in the following screen shot.
12.jpg)
Click on the Finish button to complete the installation process.
Now when you start the SharpDevelop it will look like the following screen shot
13.jpg)
The Application Wizard screen shot is as shown below
14.jpg)
The Source Code Editor as seen in following Source View screen shot
15.jpg)
Form Editor in Design View will look like following screen shot.
16.jpg)


