Outlook New Message 2003
You use Microsoft Outlook for creating an e-mail message frequently. When composing or creating a new email message, you are provided with many options and configurations in order to create an email of your preference. You can create a new and unique style of message irrespective of the type of message you are creating whether business or personal.
Microsoft Outlook has an editor that is based on Microsoft Word. You can press F1 for any kind of help; however, the following article illustrates the options available in MS Outlook while creating a new message.
Microsoft Outlook 2003
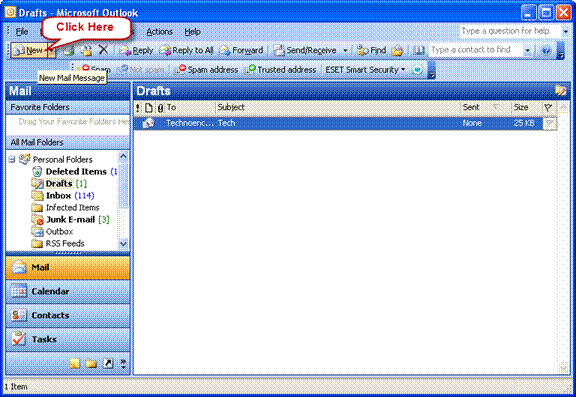
To create a new message in Microsoft Outlook 2003, open up MS Outlook and click on New.
Use the Send button to send the composed email message.
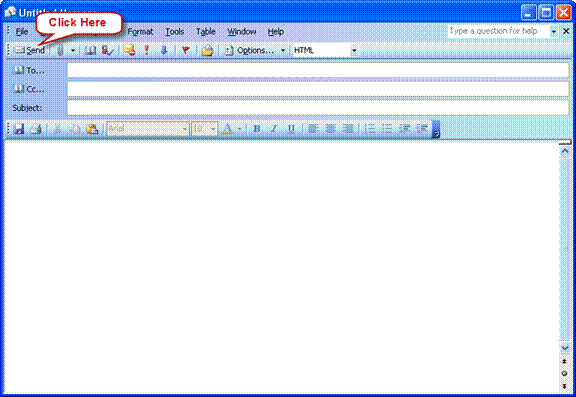
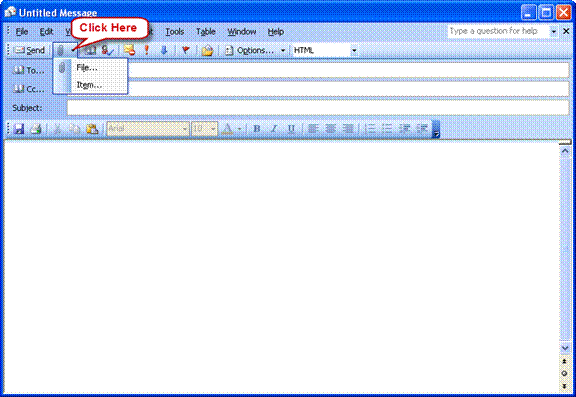
Attach a file or item to the email using the icon shown below.
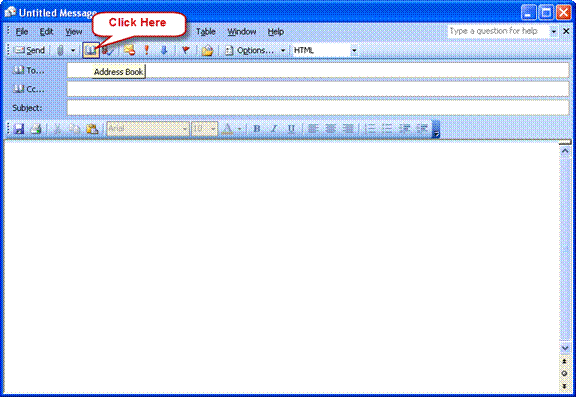
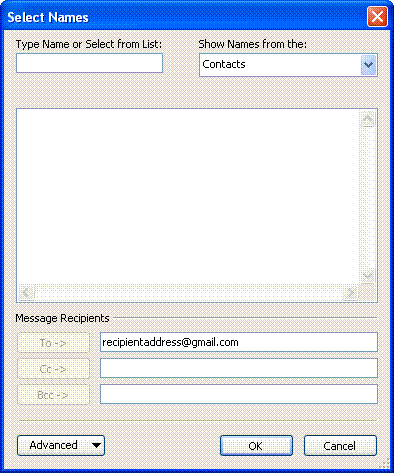
You can open up address book and search for contacts, names, email addresses and other information by clicking on Address book option.
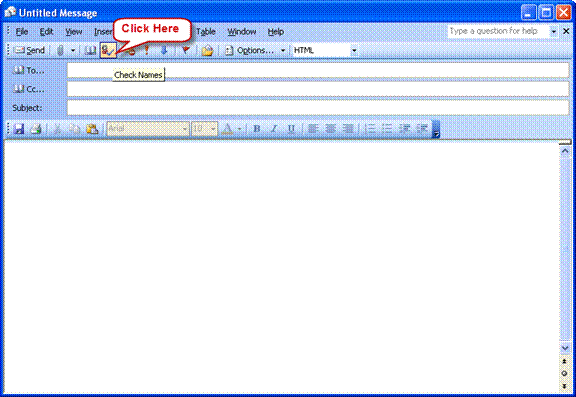
The names and email addresses that you typed can be checked for if it is possible to send them. You can do this by clicking on Check Names option.
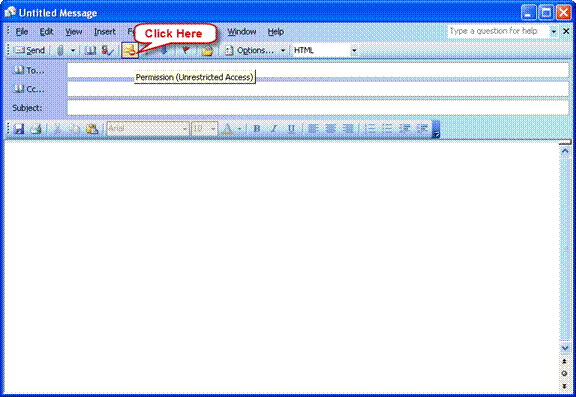
Set the permission of secure access to the email to the receivers.
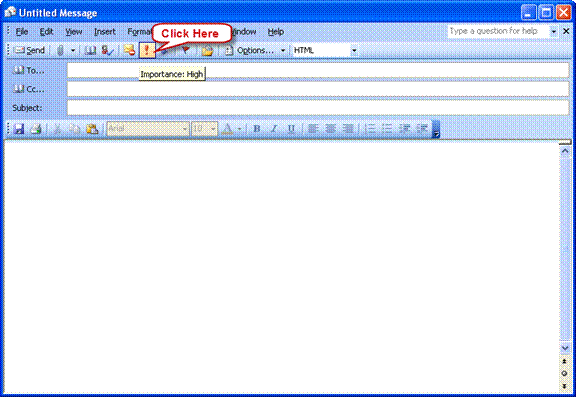
Set the priority of an item as high using High Importance option.
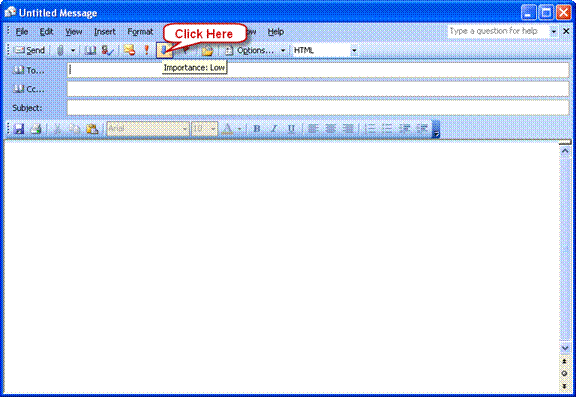
Set the priority of an item as low using Low Importance option.
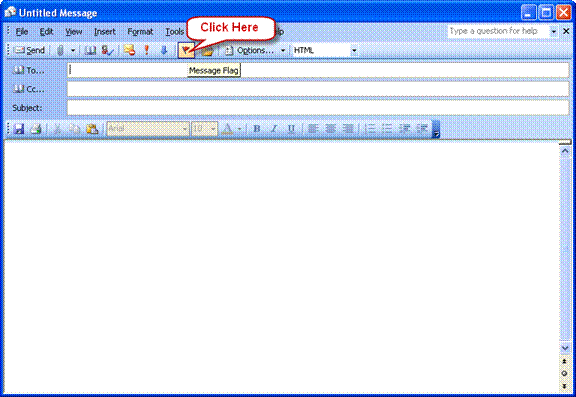
The message flag option lets you to set a flag to remind you of this item later
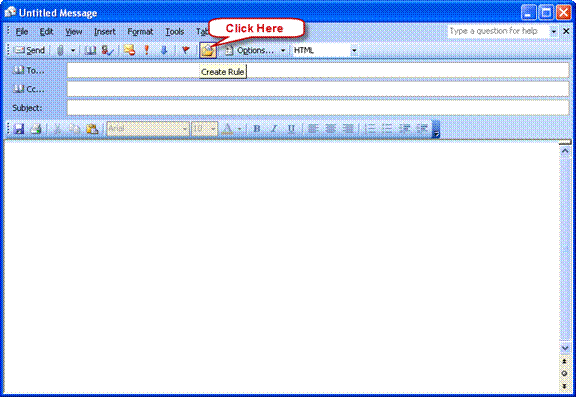
Create a new rule when sending a message.
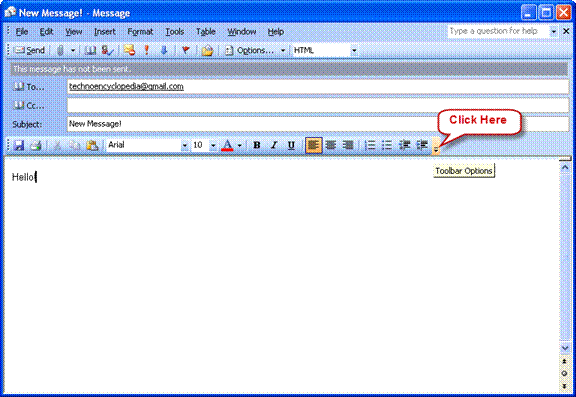
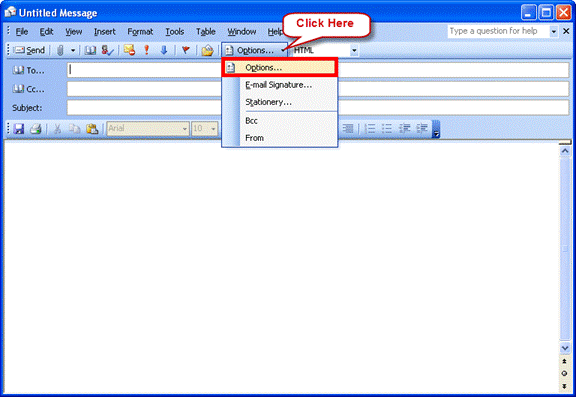
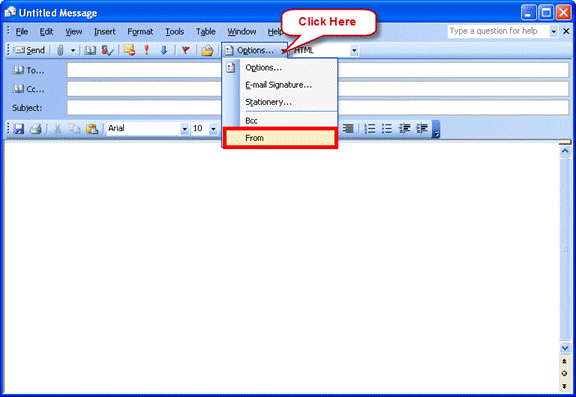
The various option including the email signatures, stationery, Bcc and From can be found in the Options button.
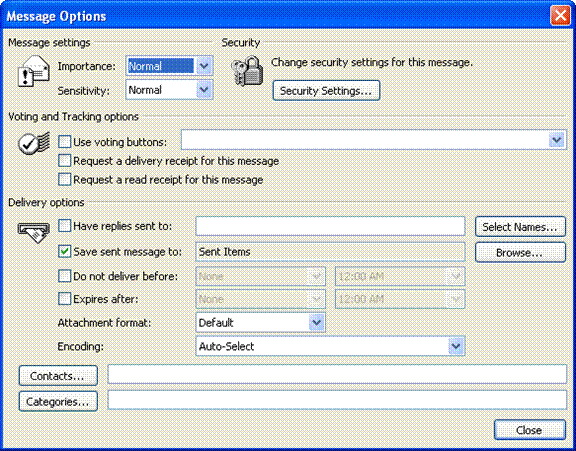
These are the options available in the options under options button.
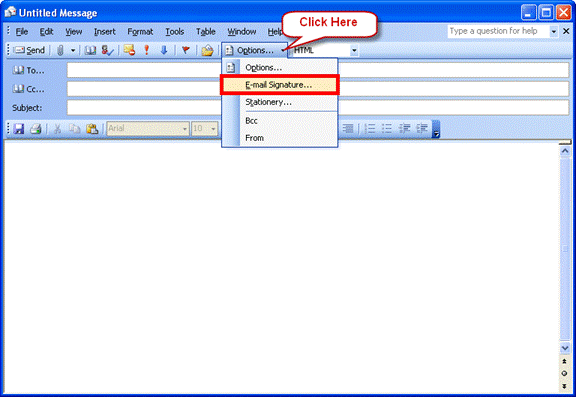
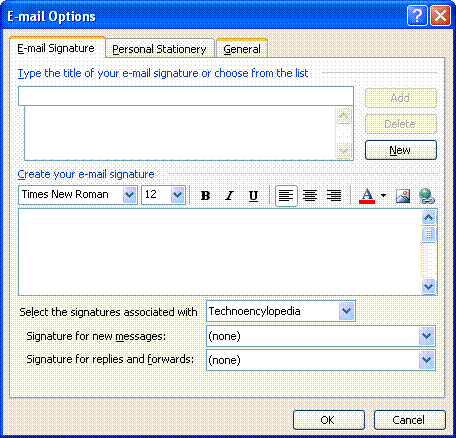
One of your email signatures can be attached with the email using the E-mail Signature option.
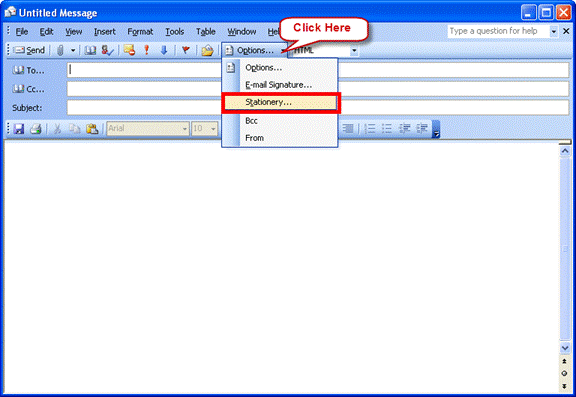
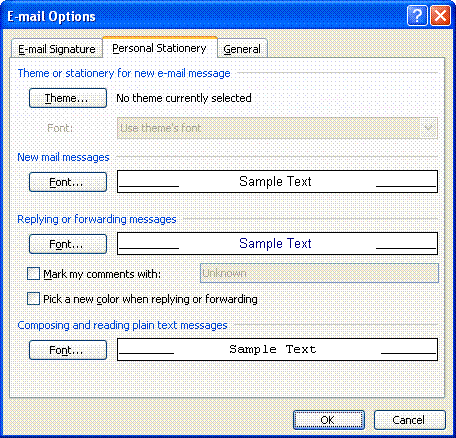
The stationery option lets you to change the theme and background color of the message.
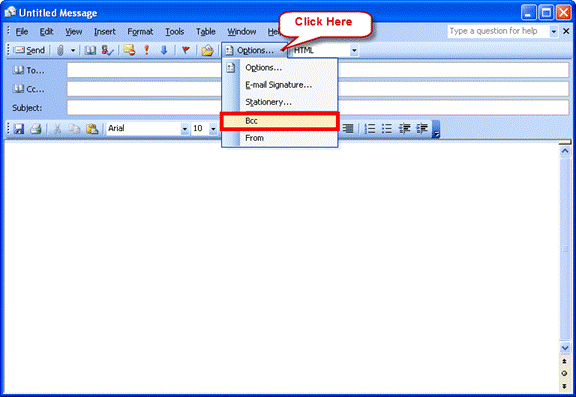
Show the Bcc option in the mail so that people receive the mail secretly.
Show the From field in the mail using the Show From option.
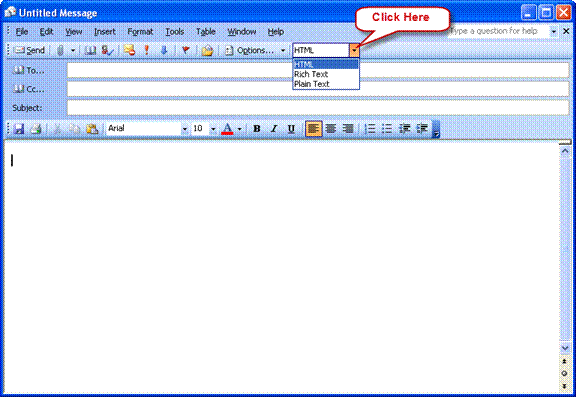
Format the text as plain text using the Plain Text option.
Format the text as HTML using the HTML option.
Format the text as Rich text using the Rich Text option.
The Save options saves your current document so that you can refer it later on.

Print the document on a paper with the Print option.

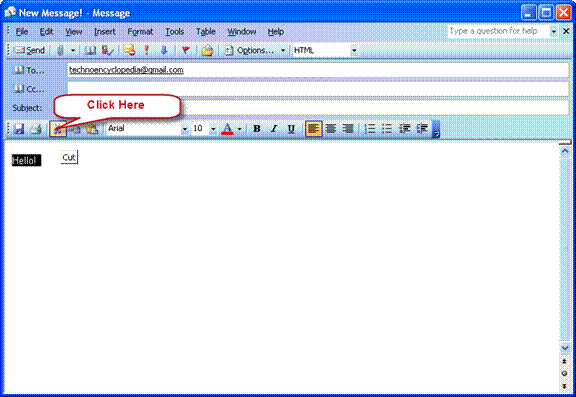
You can cut a particular selection from the document and then place it on the Clipboard.
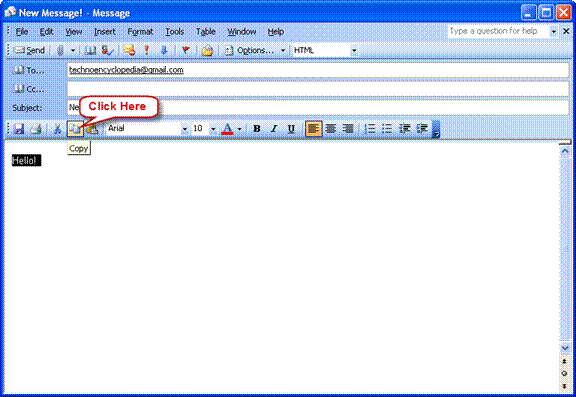
You can copy a particular selection from the document and then place it on the Clipboard.
The Paste option allows you to paste more options like values and formatting text.
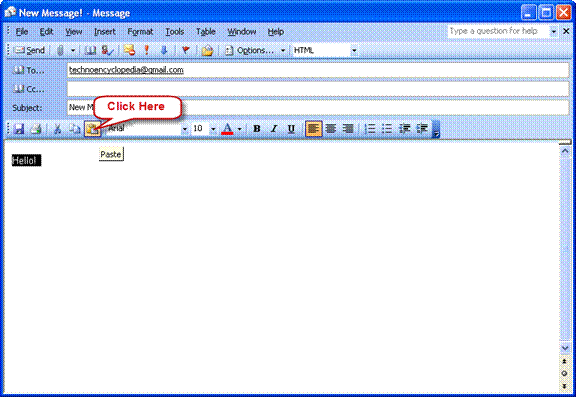
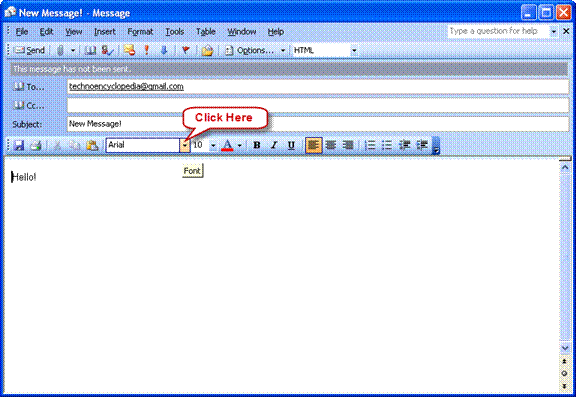
The font can be changed by using the Font option.
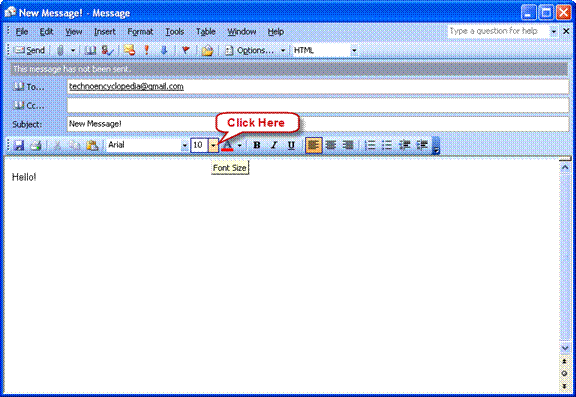
Change the size of the font by using Font Size option.
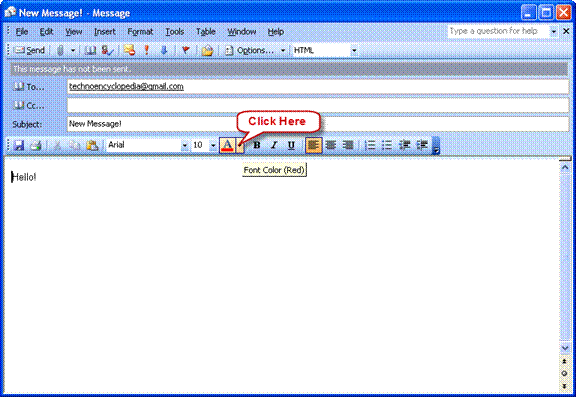
Change the color of the font using the change font color option.
You can make the selected text bold by using the bold icon.
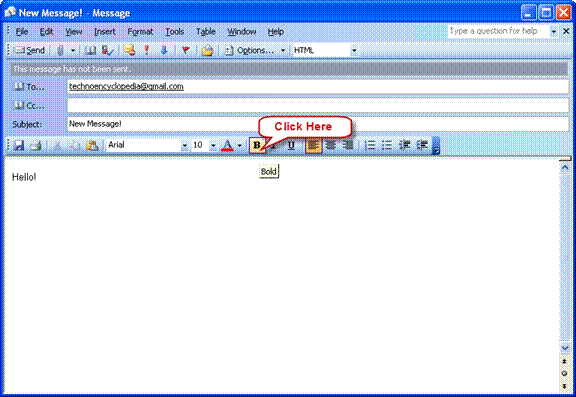
You can italicize the selected text by using the Italicize icon.
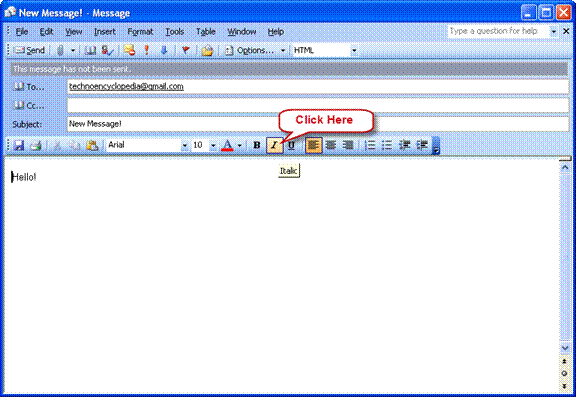
You can underline the selected text by using the Underline icon.

You can align all the text to the left side of the page by choosing the Align text left option.
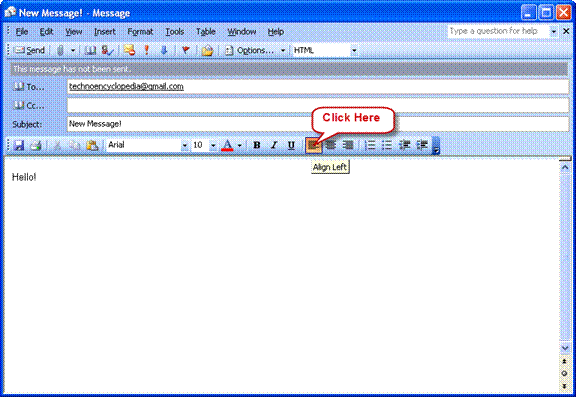
You can align all the text to the center of the page by choosing the Center option.
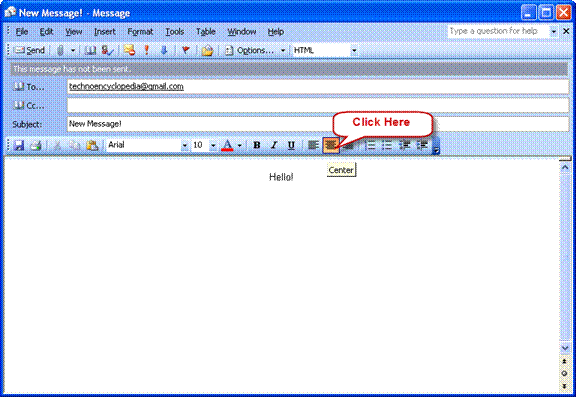
You can align all the text to the right side of the page by choosing the Align text right option.
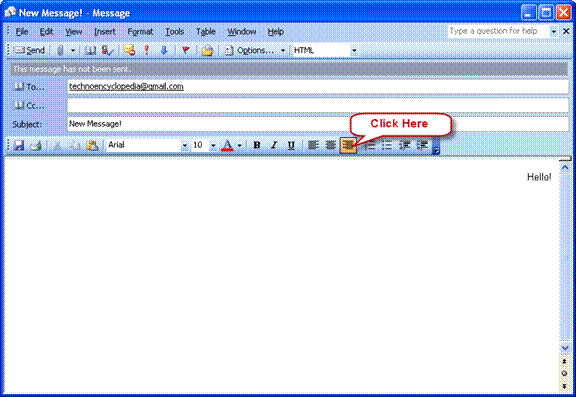
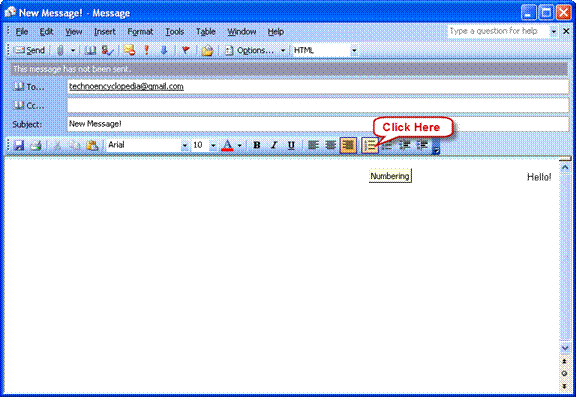
Create a numbered list by clicking on the numbering icon.
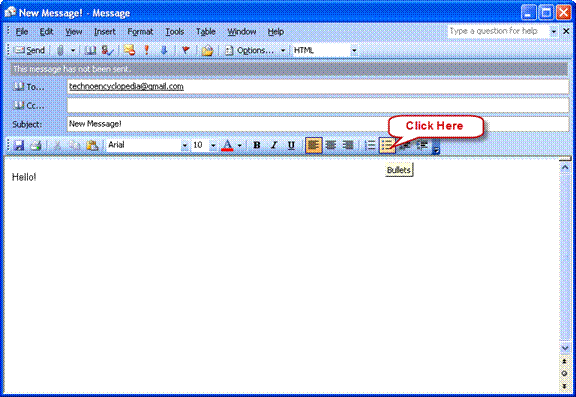
Create a bulleted list by clicking on the Bullets icon.
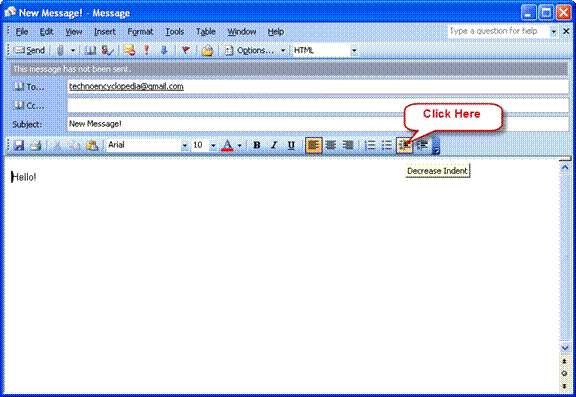
Decrease the indent level of the text by clicking Decrease indent option.
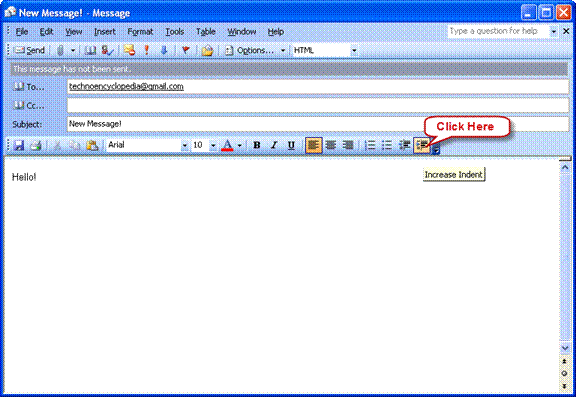
Increase the indent level of the text by clicking Increase indent option.
The options for customizing the toolbar can be found under the Toolbar options.
