Adobe Creative Cloud releases updates all the time, you might miss new features and improvements to your favorite apps. Adobe’s After Effects CC tools are better than ever. It’s faster, has built-in support for Cinema 4D, and lets you sync settings between computers with Creative Cloud. After Effects is a deep and scary program for beginners. Each time you open Ae, you’ll learn something new and helpful. Here are the ten best features of After Effects.
1. Sync Multiple Machines
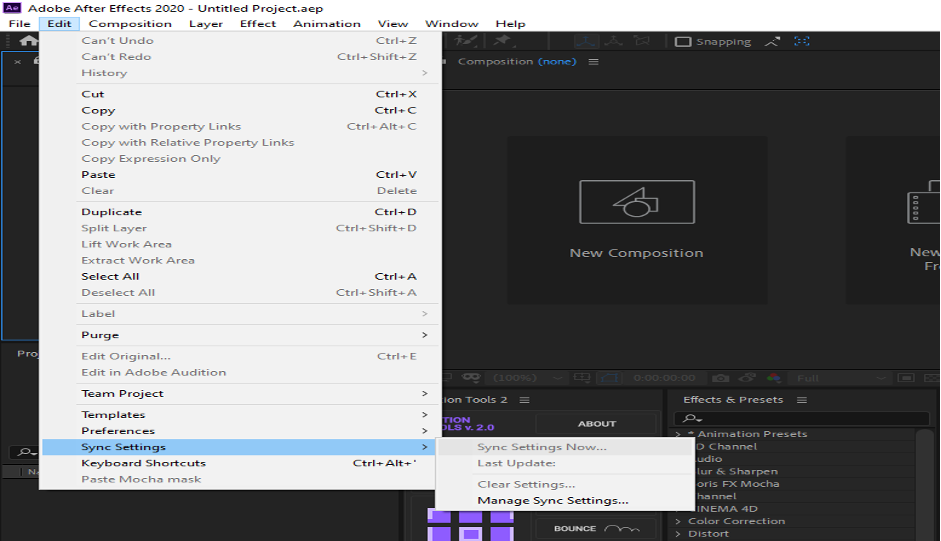
After Effects CC is part of the Creative Cloud, so you can sync your settings across multiple computers. Whether you’re working on your laptop on the go or at home on your main editing desktop, you’ll always have your current settings. It might sound like a small thing, but it means a lot when you have a looming deadline. That is simply one of the advantages of having After Effects as a section of the Creative Cloud.
2. Rotobrush 2.0
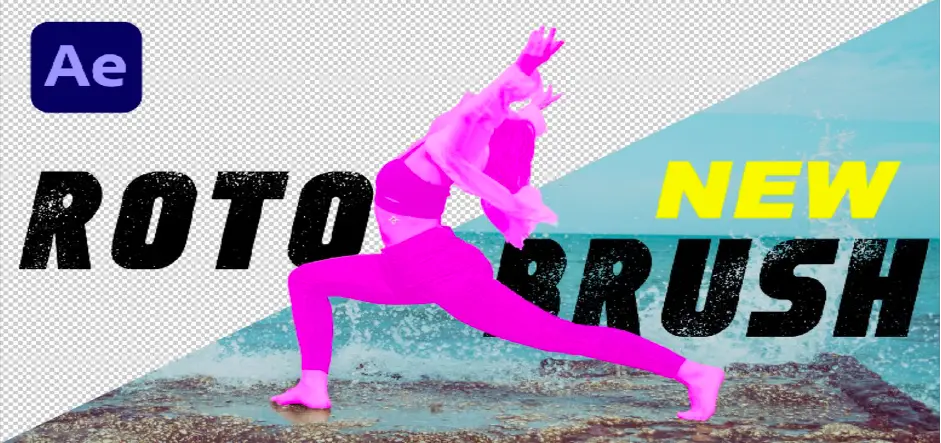
One of the tasks in After Effects that always takes time isrotoscoping. To help with this process, After Effects has Rotobrush. However, manual rotary cleaning is often required, and this tool was usually less than ideal. Fast forward to the up-to-date Rotobrush 2.0 with an all-new propagation engine. A new engine allows more consistent tracking of subjects, even with dramatic motion and shape changes. That makes using Rotobrush a more viable option for rapid rotoscoping.
3. Quick Pan
When panning in After Effects, you should select the hand tool by clicking the hand icon or pressing the (H) key. However, instead of switching between the two mechanisms, you can invoke the hand tool by simply holding down the spacebar. Ae returns to the selected mechanism as soon as you release the spacebar.
4. Live 3D Pipeline
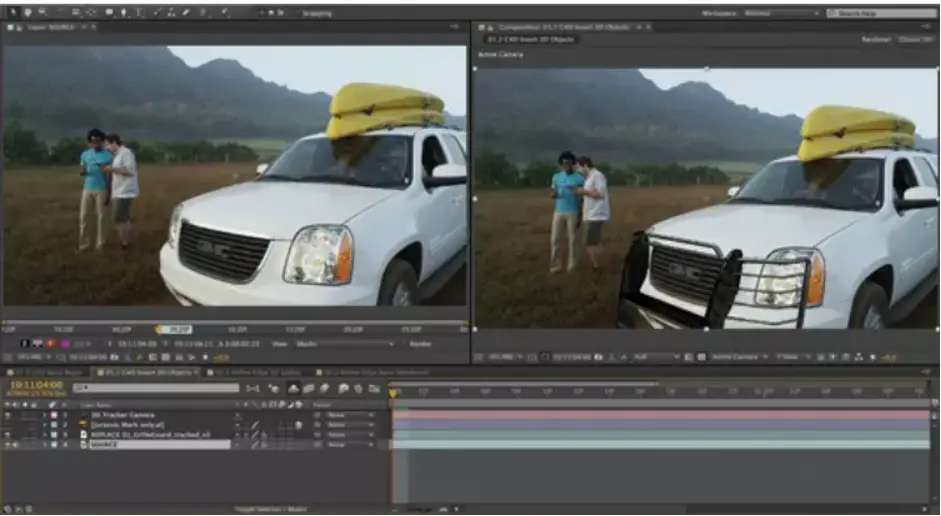
Do you use 3D in After Effects? With CC, this is not a problem. Objects and scenes created in Cinema 4D can be used directly as film material within the app without prior rendering. That saves the amount of time and opens up new creative possibilities.
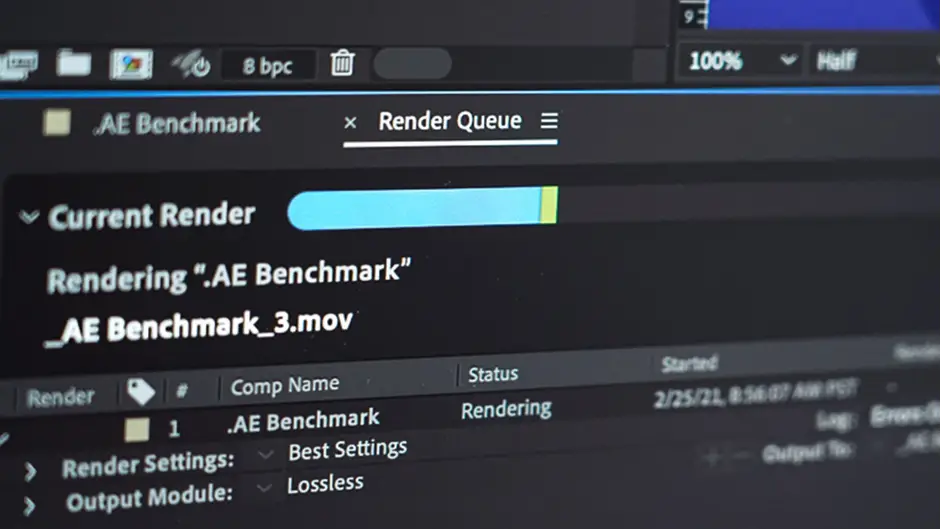
5. Multi-Frame Rendering
If you have a multi-core processor, you can now take advantage of After Effects’ new multi-frame rendering options in the render queue. That has been a frequently requested feature by After Effects users over the years. Rendering speed is increased using 50% to 300% depending on your machine configuration.
6. RAM Preview
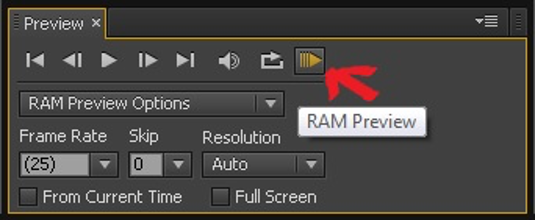
If you are familiar with video editing software, you can press the spacebar to preview the video. However, in After Effects, it’s not that simple. Due to a load of video effects on your computer, After Effects cannot easily play your video without rendering a preview file. This process is called RAM preview. You can preview audio using RAM Preview in After Effects.
7. 3D Camera Tracker
Recreating the original camera movement in a scene can be difficult, but After Effects CC’s 3D Camera Tracker makes the process much easier. Once you’ve tracked your camera movement, you can add new layers and effects to put together your motion sequence. We’ve also added the much-requested Track Optimization feature, allowing you to adjust your tracking points over time.
8. Lumetri Scope
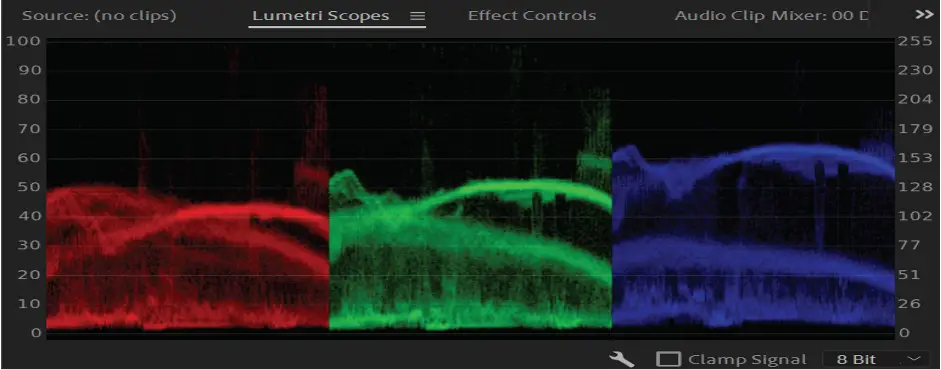
Another often overlooked feature of After Effects is the ability to use color variability for color correction and grading. To see the color gamuts need to open the Lumetri Ranges panel from the Window tab. You can select the wrench icon at the bottom of the Lumetri Scopes
panel to choose from various scope views, presets, and color space options.
9. Wiggle Expression
There is no more helpful formula in After Effects than the Wiggle formula. In other words, the Jiggle Expression gives a layer a random jiggle that can be adjusted and manipulated. There are many ways to use Wiggle expressions in After Effects, including B. Link values with slider and double wiggle.

10. Pixel Motion Blur
Add or enhance motion blur on moving objects in live footage or rendered scenes with the new Pixel Motion Blur tool in Ae CC. Add realism, exaggerate motion, adjust footage, and make shaky footage easier to see.


