Windows 10 operating system is prominent for gamers. If we compare other Windows versions, for example, Windows 7 or Windows 8/8.1 and windows 10, we will see that Windows 10 provides better performance and framerates for people who love gaming. To be more specific, Windows 10 Home edition is the best for gaming among all the editions of Windows 10. Moreover, Windows 10 comes with advanced APIs designed to maximize the performance of the gaming pc. Technologies like Dx12 and Xbox Live enable fantastic new games to be played on Windows 10. Below are the top 10 ways you can optimize your Windows 10 PC for gaming.
1. Enabling Game Mode
Enabling game mode is one of the easiest and most obvious ways to optimize your Windows 10 PC.
First press Windows Key + I
Then type game mode
Then click on Game Mode settings or Turn on Game Mode
Click on game Mode
Now switch to On to use game mode.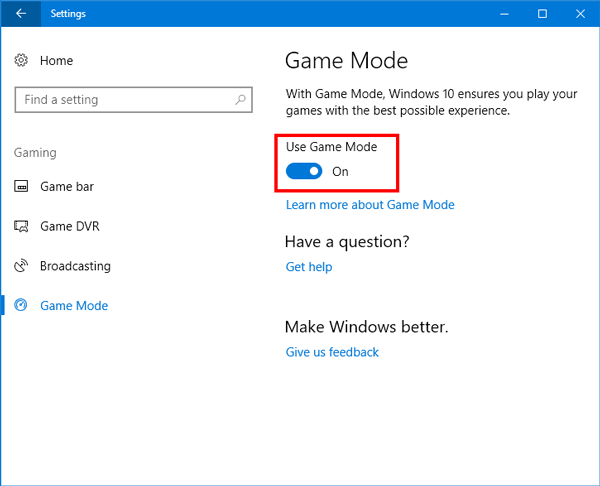
2. Disabling Unwanted Notifications
Notifications, pop-ups, the chimes can be annoying while you are playing. To avoid these, you can enable Focus Assist. Focus Assist can help you specify how and when you want to receive notifications.
Click Windows Key + I to get to the settings
Then click on System > Focus Assist (left sidebar)
Now select Alarms only or Priority Only to hide all the unwanted notifications or pop-ups.
Before closing the settings screen, ensure that When I’m playing a game is set to On

3. Switching off Background Services
To optimize your Windows 10 PC for gaming, stop apps and some Windows 10 services from running in the background. Apps or services running in the background take up additional system resources which in turn hamper the current activities or gaming.
Click Windows Key + I to get to the settings
Then select Privacy
Click on Background Apps or type Background Apps in the search box.
Then disable the Let apps run in the background.

4. Disabling Nagle’s Algorithm
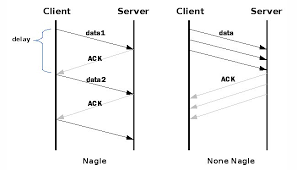
This algorithm essentially bundles data packets at the cost of a smoother internet connection. Nagle’s algorithm is very useful but having it enabled on your computer may lead to latency issues while playing games online
Hit Windows Key + X from the keyboard
Click Windows PowerShell
Type ipconfig
Look for the IPv4 address to identify the Ip address of your PC Now note the IP address and edit The Windows Registry
In the search box beside the start button type Regedit
Then click on Registry Editor
Now, paste the link given below in the address bar:
HKEY_LOCAL_MACHINE\SYSTEM\CurrentControlSet\Services\Tcpip\Parameters\Inte
rfaces
A screen appears that consists of a collection of folders with filenames comprised of letters and numbers.
To access your file, match the noted IP address with the one listed against DhcpIPAddress in one of these folders.
Right-click on the matching folder Now you have to select New > DWORD (32-bit) value
Now, you have to create two keys and name them as TcpAckFrequency and TCPNoDelay
Double click on both the keys and type 1 in their value data
5. Disabling Auto Updates
Windows 10 sometimes automatically update the Operating System and schedule a restart without your permission. These may put your save game at risk. To reduce the chance of Windows update downloads interrupting your gaming, follow the below steps-
Click Windows Key + I to get to the settings
Click on Update and Security and then go to Windows Update.
Go to Advanced options and then click update options
Disable the Restart this device option as soon as possible when restart is required to install an update
Enable the show a notification option
You can also use Pause updates to delay the installation of updates for up to 7 days.

6. Using High-Performance Power Plan
Changing the power plan may help you to optimize your Windows 10 for gaming purposes since power plans are designed to better manage battery use on portable devices. Let’s follow some steps to use a high-performance power plan
Hit Windows Key + X from the keyboard
Choose System to continue
Go to the Power and Sleep tab and click Additional power settings
In the pop-up window, click on High Performance.

7. Disabling Mouse Acceleration
To make Windows 10 faster for gaming, you can disable mouse accelerations. It could improve your gaming performance.
Click Windows Key + I to get to the settings
Click Devices from the screen displayed
Go to Mouse Tab and click on Additional mouse options
Uncheck the Enhance pointer precision in the Pointer Options tab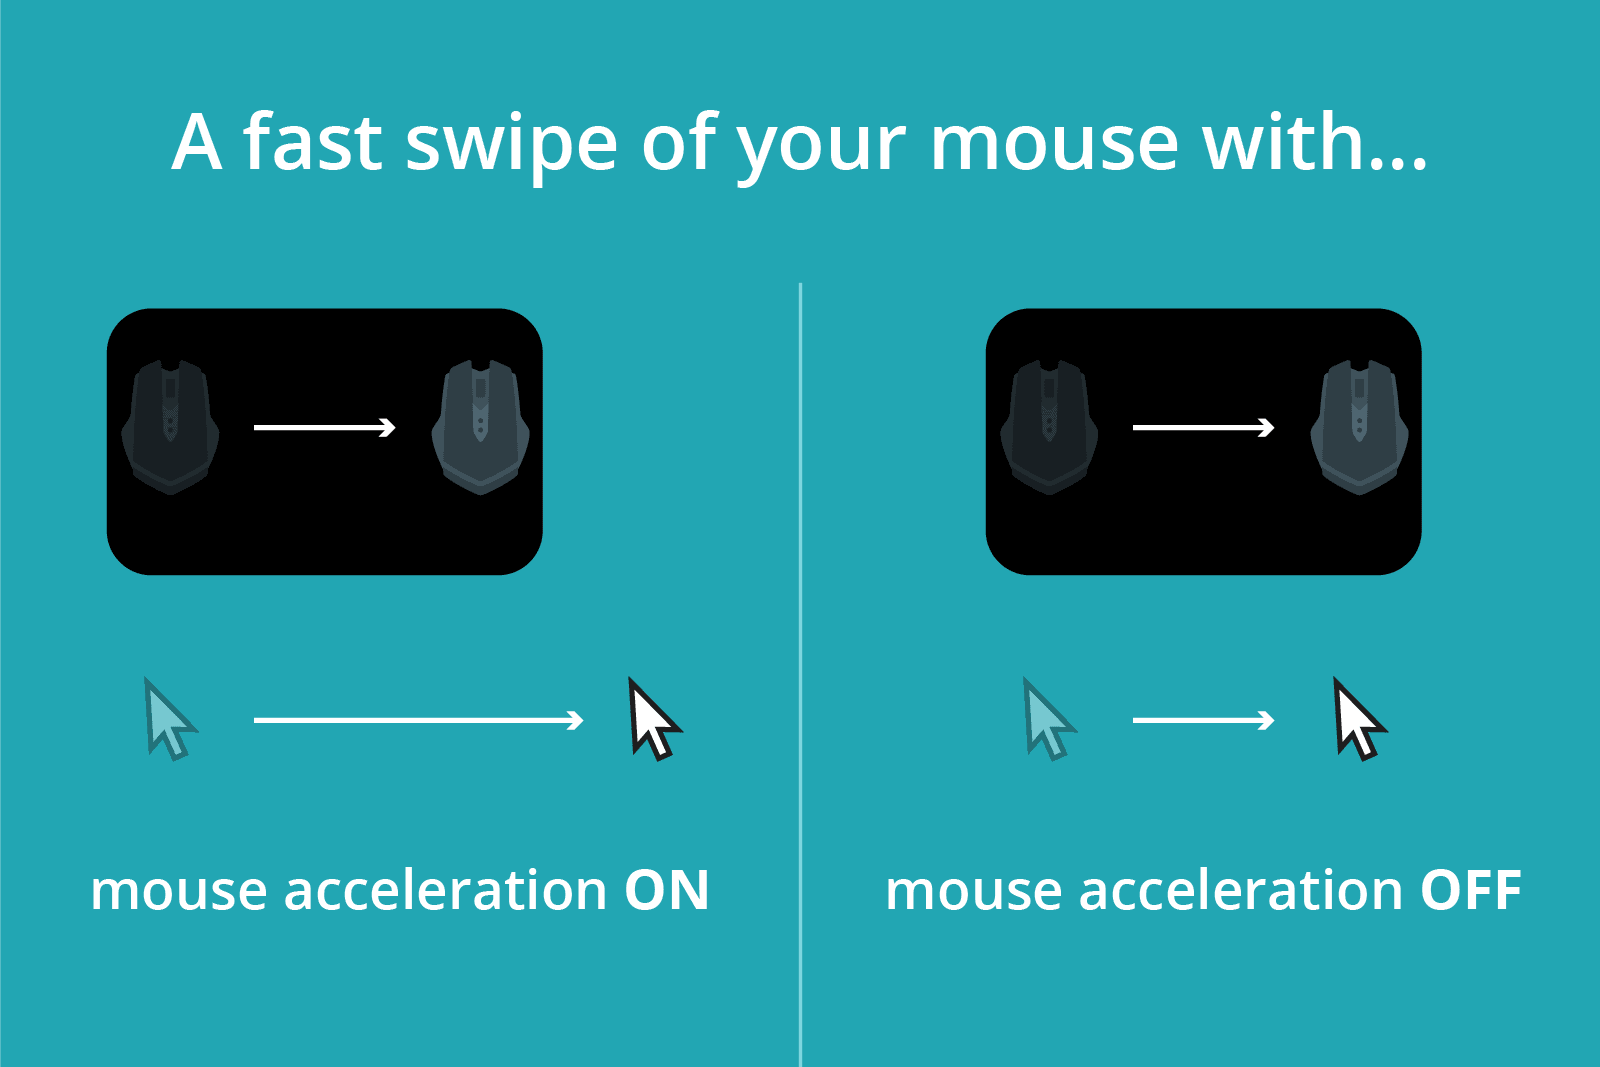
8. Disabling Prefetch
To disable prefetch, search for Regedit in the search bar and click Windows registry editor. In the address bar, paste HKEY_LOCAL_MACHINE \ SYSTEM \ CurrentControlSet \ Control \ Session Manager \ Memory Management \ PrefetchParameters and double click on EnablePrefetcher in the right pane and change DWORD (32-bit) value to 0.

9. Change Windows 10 Visual Effects for Game Improvement
Your PC’s GUI or graphical user interface can hinder your processing power. There may be a conflict between the games running in the foreground with a shiny GUI running in the background. Adjusting these settings helps you optimize your PC
Open settings by pressing Windows Key + I
Type performance in the search box
Now you have to click on Adjust the appearance and performance of Windows.
Select Adjust for best performance from the setting box
Hit apply
Click on Advanced Tab
Ensure that Adjust the best performance of his set to Programs
Again click apply and then OK.
10. Managing Your Active Hours
Windows 10 sometimes automatically updates the operating system and schedules a restart without your permission or when you are playing games. To fix these, you can use active hours. By setting gaming and working schedule in Windows, you can prevent updating during that time.
Open settings by pressing Windows Key + I
Choose update and security to continue
Click on Change Active Hours
After that set the start and the end time and click save.


