
Kdenlive is a powerful, open-source video editor that has recently gained popularity. If you’re looking for an alternative to expensive, commercial video editing software, Kdenlive is worth checking out. In this blog post, we’ll look at the top 10 Kdenlive features that make it faster and easier to edit your videos. From simple things like keyboard shortcuts to more advanced features like the multi-track timeline, Kdenlive has a lot to offer users of all levels of experience.
1. Create Title
When creating a new project in Kdenlive, you are prompted to give it a title. If you are juggling numerous tasks at once, including a description of each might be beneficial. The title and description are optional, but they can be useful for organizing your work. After you have created a title for your project, you can start adding clips to the timeline. Kdenlive makes it easy to add clips by dragging and dropping them from the Project Files panel into the timeline. You can also use the Insert Clip button in the toolbar to insert a clip at the current cursor position.
2. Animation In Titles
Kdenlive’s title editor allows you to create animated titles with various text and video effects. The title slideshow may also include your own media. The animation tool is intuitive and a fun way to spice up your movie. One-click transition (fade in and fade out)
3. One-Click Transition (Fade In And Fade Out)
Kdenlive is a video editing software that allows for faster video editing with its one-click transition feature. This feature allows you to quickly and easily add a fade in or fade out effect to your video, saving you time when editing your video.
4. Cut Video, Audio & Anything
If you’re looking to quickly edit a video, Kdenlive is your video editor. With its easy-to-use interface, you can quickly cut videos, audio, and anything else you need to make your video perfect.
5. Moving A Section Of Blocks
Assuming you’ve already added the blocks you want to move to your project, simply click and drag the section of blocks to where you want it. Kdenlive will automatically re-arrange the other blocks accordingly.
6. Reusing A Title
This means that instead of creating a new title each time you want to use one, you can simply reuse an existing title. To do this, just right-click on the title in the project tree and select “Reuse”.
7. Changing Colour Profiles
Suppose you’re working with video footage shot on a different device or color profile. You can use Kdenlive’s built-in color management tools to quickly and easily convert your footage to the right colorspace. To change the color profile of your footage, open the “Color Management” tab in the Project Settings window. From here, you can select your project’s input and output color profiles. For example, if your footage is in the Rec. 709 colorspace but your project is in Rec. 2020, you can select those profiles here and Kdenlive will automatically convert your footage on-the-fly.
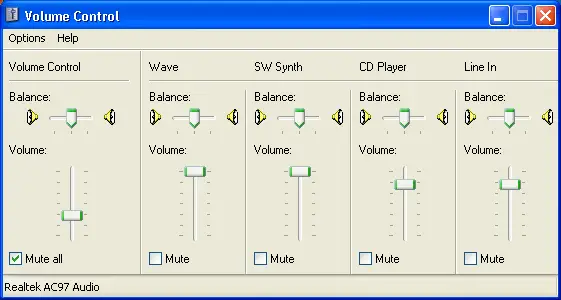
8. Audio Volume Controls
Kdenlive offers several audio controls to help you get the perfect sound for your video. You can adjust the volume of each track individually, or use the master volume control to adjust the overall sound level. You can also add audio effects to individual tracks, or the entire project. Kdenlive has many built-in audio effects, or you can install additional effects from the Kdenlive Effects Repository.
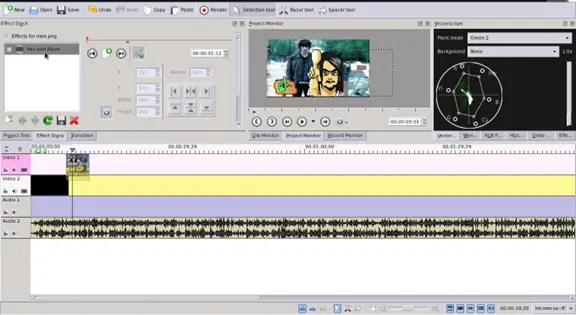
9. Pan And Zoom
Kdenlive’s pan and zoom feature is one of the most useful tools for faster video editing. It allows you to quickly change your video’s focus and zoom in or out on a particular area. This can be extremely helpful when you’re trying to edit a video with a lot of movement or to make a particular area of your video more prominent.
10. Freeze Frame
When you’re working on a video project, there will always be moments when you need to pause and take a closer look at what’s happening on screen. Kdenlive’s freeze frame feature lets you do just that. With freeze frame, you can paused the video and examine a single frame in detail. This is especially useful when editing
Conclusion
Once you have added some clips to the timeline, you can start editing them. Kdenlive has many powerful editing features, such as trimming, splitting, and adding transitions. Kdenlive also has powerful tools for correcting your footage’s white balance and exposure issues. To access these tools, open the “Color Correction” tab in the Project Settings window. From here, you can use the white balance picker to quickly neutralize any color casts in your footage, or use the levels and curves filters to make more detailed adjustments.


")


