Photoshop can be easy and complicated at the same time. One can use it in very simple ways and another can master it with all its detailed use. There are a lot of tricks and tips for you which can be used to simplify your use of this great photo editing software. Here are top 10 Photoshop tricks by which you can sharpen your skills and use it with ease.
1.Paste in Place:
It is a very useful function to save your time. If you don’t know it you won’t use it and if you know this you will probably use it all the time. First, make a selection in any document and copy it as you normally do (Edit>Copy / cmd+C). Then go to the document you want to paste it and use this shortcut, cmd + shift + V to paste it in the exact position it was at originally.
2. Bird-eye :
This function is used when you are doing some detailed work like cloning. Sometimes when you zoom in, it becomes tough to navigate around it and work which is quite tiresome. Now here comes handy the Bird-view feature. Just zoom in and then hold H key, and click and drag with the mouse to temporarily zoom out to a Bird-eye view. If you let it go it will get back to normal zoomed in position.
3.Enable visibility history:
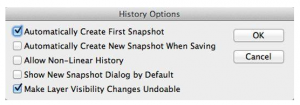
Many face the problem of losing layer visibility settings at the time of previewing individual layers. To enable history state for layer visibility you need to tick a setting in History panel. After it is checked use cmd + ALT + Z to step backward through history. Now the visibility layers are included in the history.
4.Quick editing:
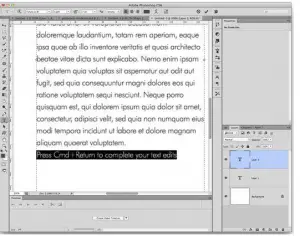
Moving between tools can be really frustrating as the shortcut key doesn’t work. Press cmd + Return; it finishes your text editing quickly to move your focus out of the text field. Now you can quickly select tools of your need using the shortcut key.
5. Change brush hardness:
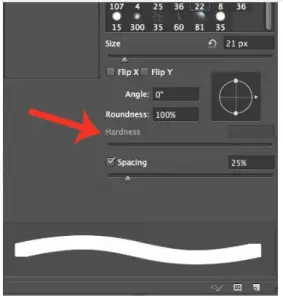
Square bracket keys, i.e., ‘[’ ‘]’, help you to change your brush in Photoshop, but to control the hardness of the brush just hold down SHIFT while tapping the same keys. In this way, you can control the hardness of the brush without going to Brush panel.
6.Scripted patterns:
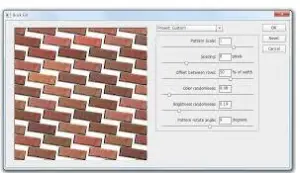
Creative Cloud users now can use a function which is based on the script to fill pattern. First, they have to isolate the object on a transparent background and define it as a pattern by going to ‘Edit> Define Pattern’. Now select (‘Edit> Fill’ or Shift + F5). Select Pattern as fill type and select the isolated object from the drop-down. Now tick the checkbox in Scripted Pattern and select any one script. You can write your own script as well.
7. Selective Blur:
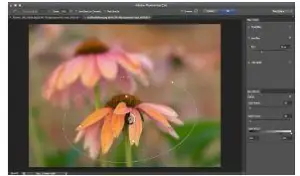
Now you can choose what to blur and where to focus on your picture. You can add individual focus point and you can also choose the amount of blur to add. Use the HUD to do all these things including the iris-size change. You can also draw lens bokeh in your picture.
8.3D Extrusion:
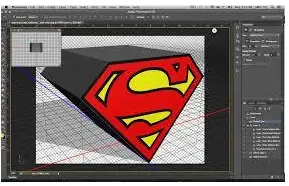
3D extrusion can be used in your title. It’s easy to make one high-quality 3D logo. Access this, ‘3D>New 3D Extrusion’ from a layer. You can also control the shadow and reflection. It is an easy but effective feature that can be used in Photoshop.
9. Lossless cropping:
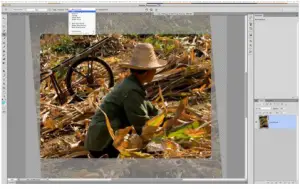
Now you can crop from your picture without wasting any bits of images. Just uncheck the Delete cropped pixels checkbox when you choose the crop tool. Now as you crop you will see the area outside the cropped image is hidden. To get access to it, select the crop tool and change it accordingly.
10.Lorem Ipsum:
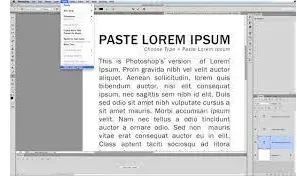
This new feature is here to save your time while producing a model in Photoshop. Just select Type tool and draw an area by dragging the tool. Go to ‘Type> Paste Lorem Ipsum’ to fill the area with Latin text.


