Canva is one of the most versatile graphic design platforms that allow users to create various visual content, including presentations, posters, logos, flyers, etc. It provides an extremely easy user interface to understand. With drag-and-drop functionality, it is easy to navigate, making it more accessible for novices without digital experience or professionals. It also provides predesigned templates. You can also customise these templates directly, helping users get started quickly. Canvas allows multiple people to work on a single project. Canva has become a popular tool among individuals, businesses, and educators looking to create content without requiring extensive design skills.
1. Design Formats
Canva offers many document formats to start with. It also allows you to create your required document size for the task. This trick is a time-saving technique for changing the size of the files you create. The resizing document is a paid option in Canva, but you can create your specific design size to work on it from the start.
2. Choose Templates
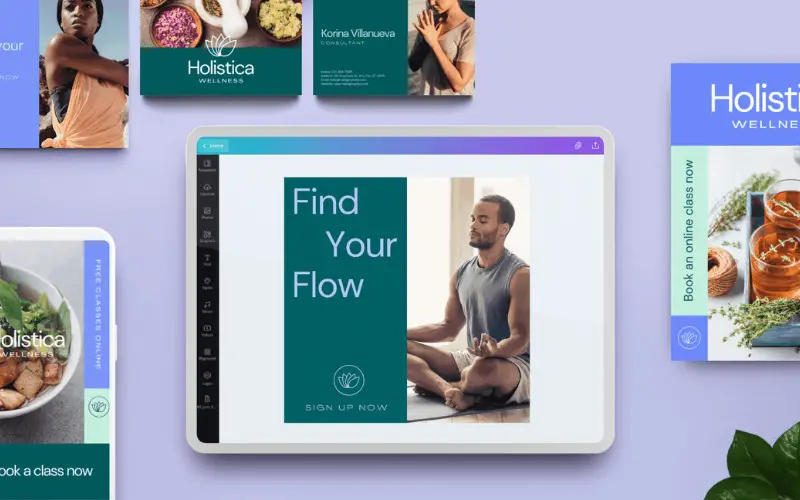
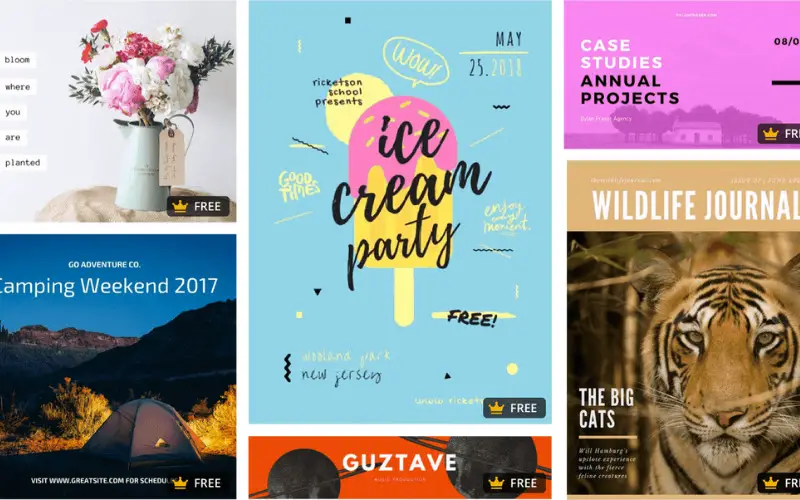
As you choose a design format, Canva also provides a library of designs to select directly from or use as an inspiration for your task. This template is reset and created with the help of different elements in it. You can use their templates or create a unique design that is up to you.
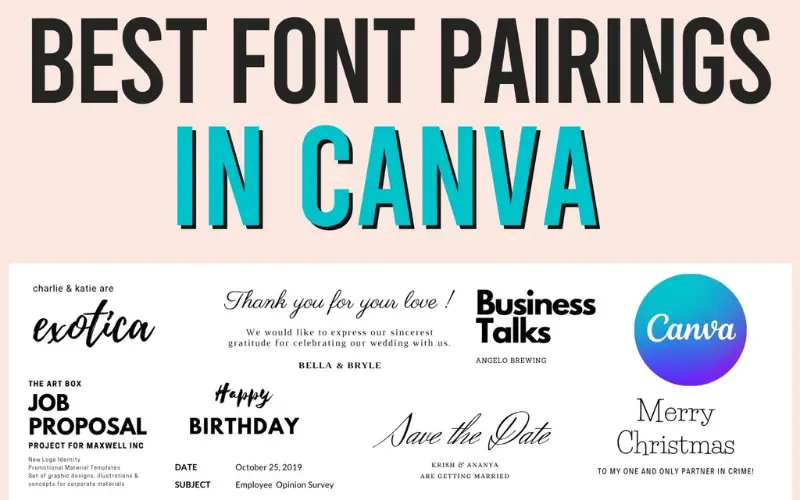
3. Choose Custom Fonts
Whenever there is writing on a digital canvas, we miss the fonts of the text displayed on the screen. These fonts are used harmoniously with the complete design to convey the message without weird feelings. Users can personalise designs by adding text fonts to the design.
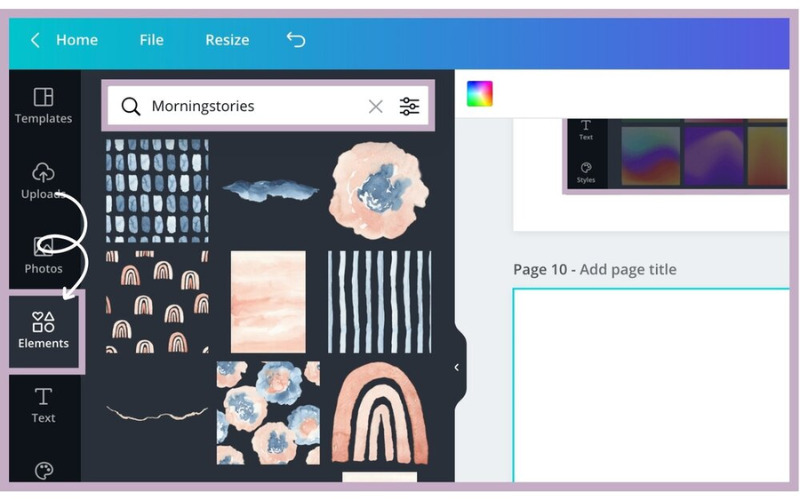
4. Add Elements
From the beginning, we have a design idea that my work looks like; it gives the inspiration to start and add the element to give your imagination shape. As these elements are hard to build from scratch, Canvas provides you with an element library to get vector assets, PNG photos to work with, etc.
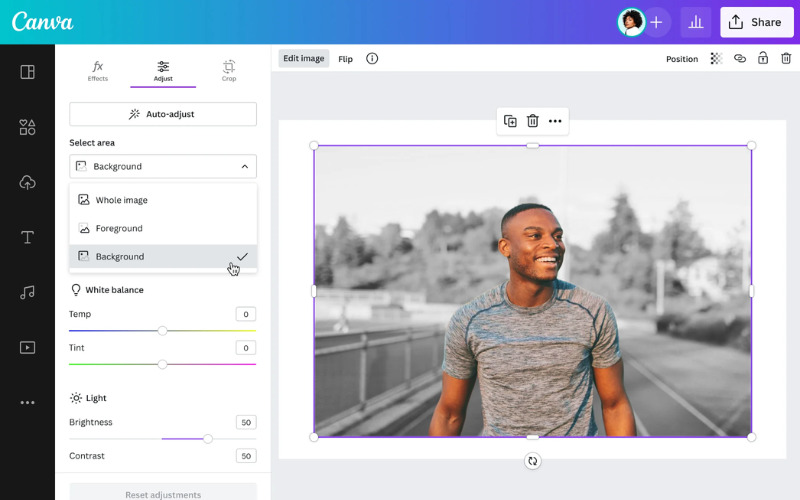
5. Choose A Background
At the start, there is a blank canvas; you can add an element to create an awesome foreground, but the background makes all foreground elements work together. There is a photo library and background template library to choose from, the working background for your design.
6. Animated Designs
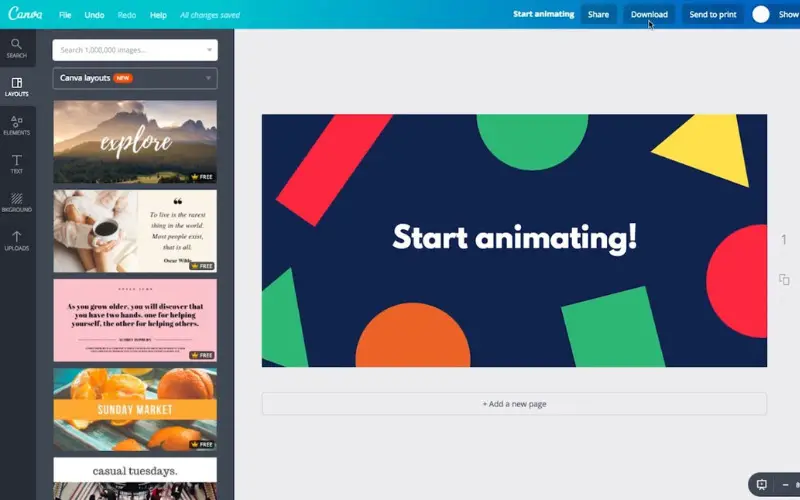
Canva also allows us to create various frames in the canvas and animate them with many options to select from. Canva also enables users to create animated graphics and presentations, adding motion to their designs. You can explore the options and settings for animation in the animate option just above the canvas.
7. Upload Your Images
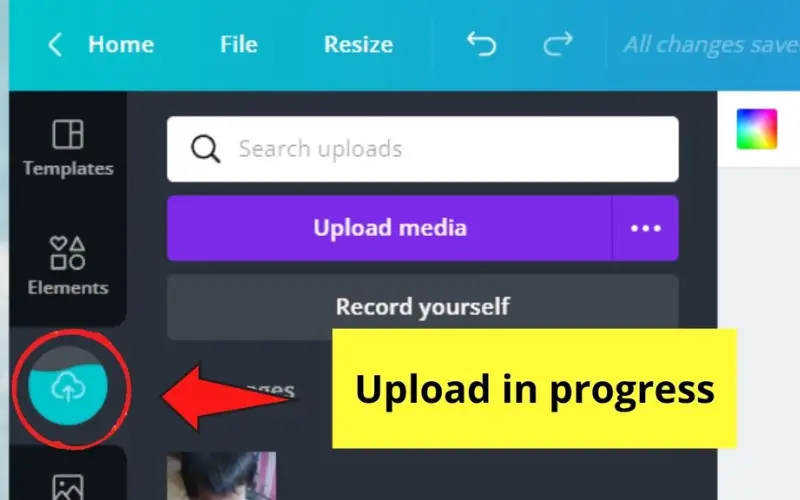
While working, there are a lot of elements to pick from. Still, if Canva still needs to get that in its library, it allows you to upload the images, videos, GIFs, and music needed for your design to look like someone created a masterpiece.
8. Share The Link
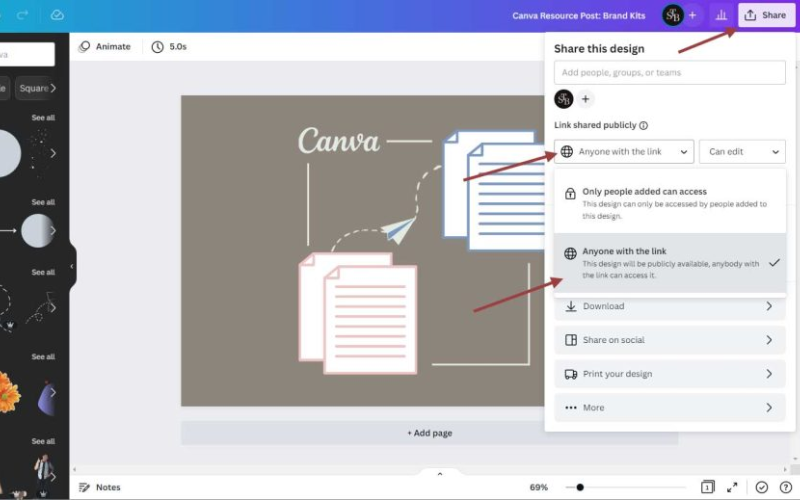
Canva supports real-time collaboration, allowing others to work together on design projects. If the user requires help, you must send the design to another member for further work. You can share the link with them by changing the setting and how much you allow the other person to interact with your design.
9. Create Teams
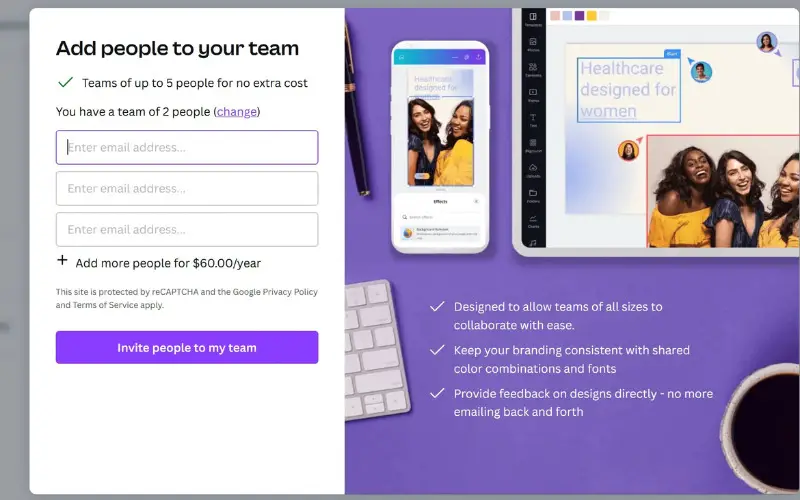
Sharing links is efficient for a couple of designs, but adding those members to the teams is more recommended if you need to work with others on numerous designs. The benefit of a team is you don’t have to share links for the designs. Every design you make is accessible to the other team members.
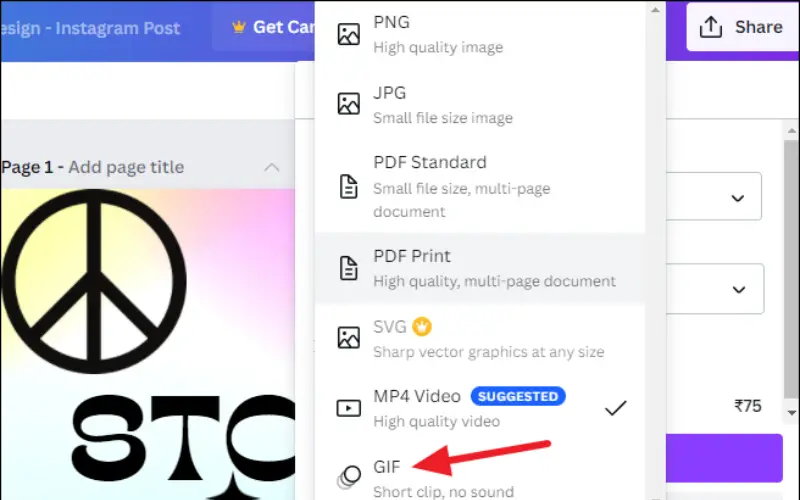
10. Export In Different Formats
Design can be exported in various formats, both digital and print. Canva also offers options for printing designs as physical products. Canvas also allows the download of different formats to make the design compatible with different software. You can export a design into PDF, PNG, DOCX, SVG and other doctypes.
