Windows users sometimes run into issues when trying to access the Internet. The error message “Windows can’t connect to the network” is the most typical of these Windows errors. Additionally, we have heard a lot of people complain about these problems, and we are all aware of how inconvenient it can be when our computer is unable to as required, connect to the Internet.
1. Restart Your PC
Although this technique may appear overused for resolving issues with our devices, it works well for these network failures. You can restart the computer after restarting it to clear up any corrupted caches. So, try a computer restart to see if it resolves the issue. Try the next option if that does not work.
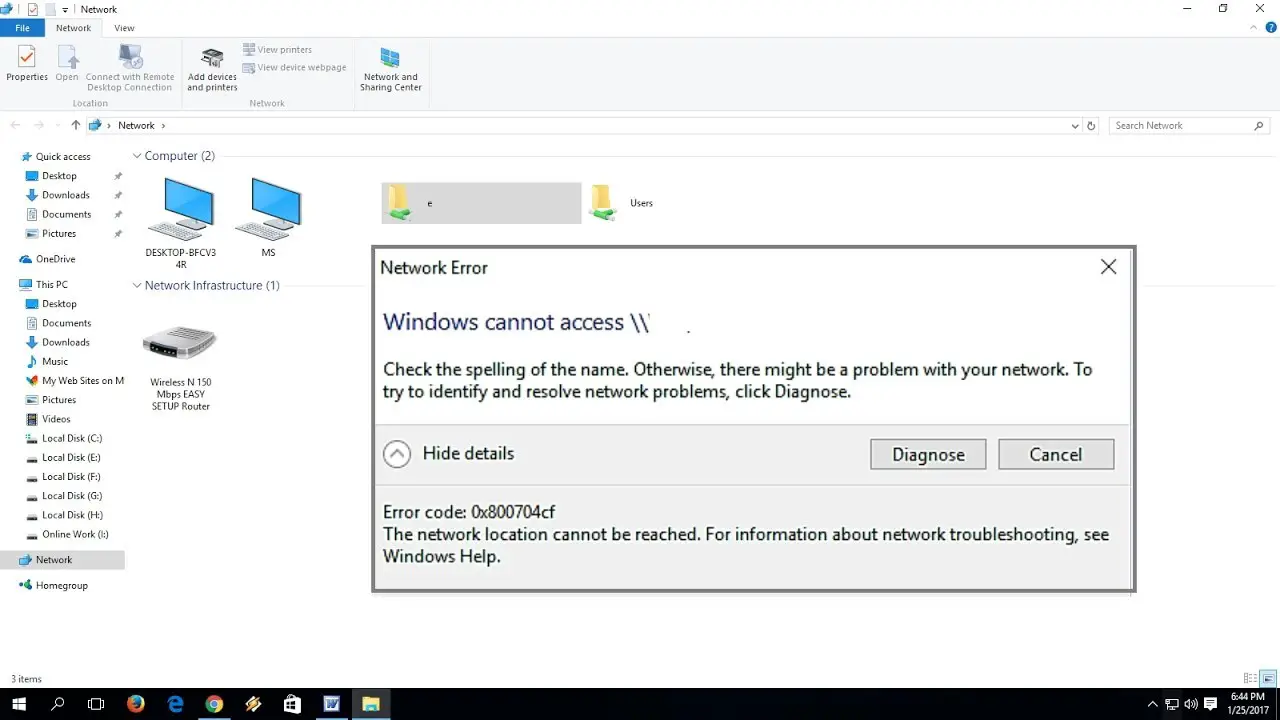
2. Forget Network
To facilitate future logins, a system stores the credentials when it connects to a network. However, the system might be unable to connect to the device when the provider makes changes to the settings. In that situation, you must disconnect from the network and then reconnect to it to resolve the network error.
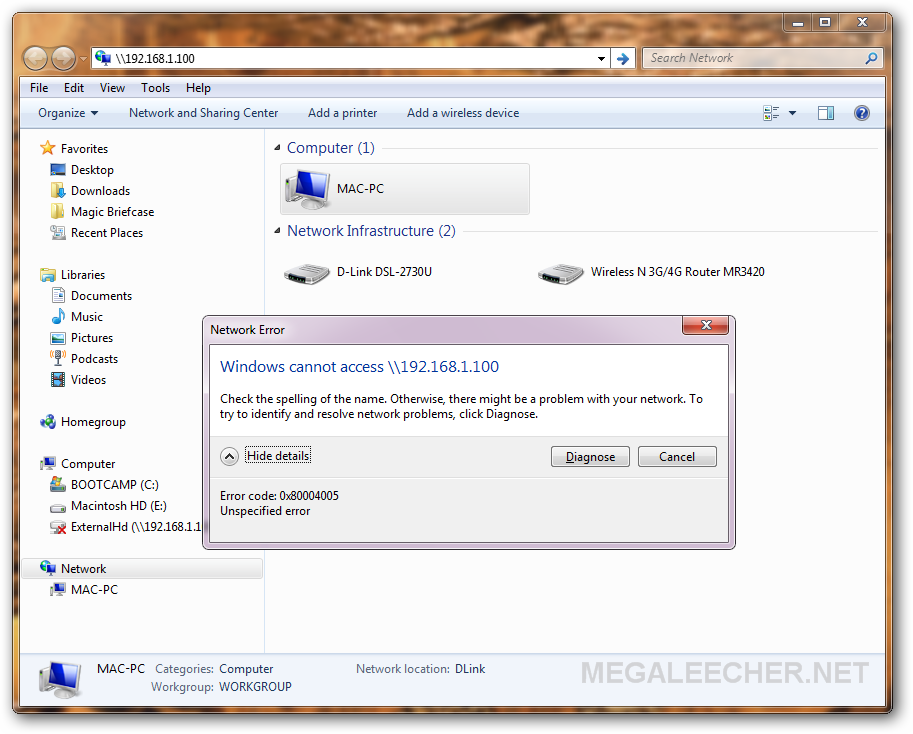
3. Run Network Trouble-shooter
Even if there is no network troubleshooting option in the Wi-Fi error message, you can still manually run it to find out what is causing your network connectivity issues & how to fix them.
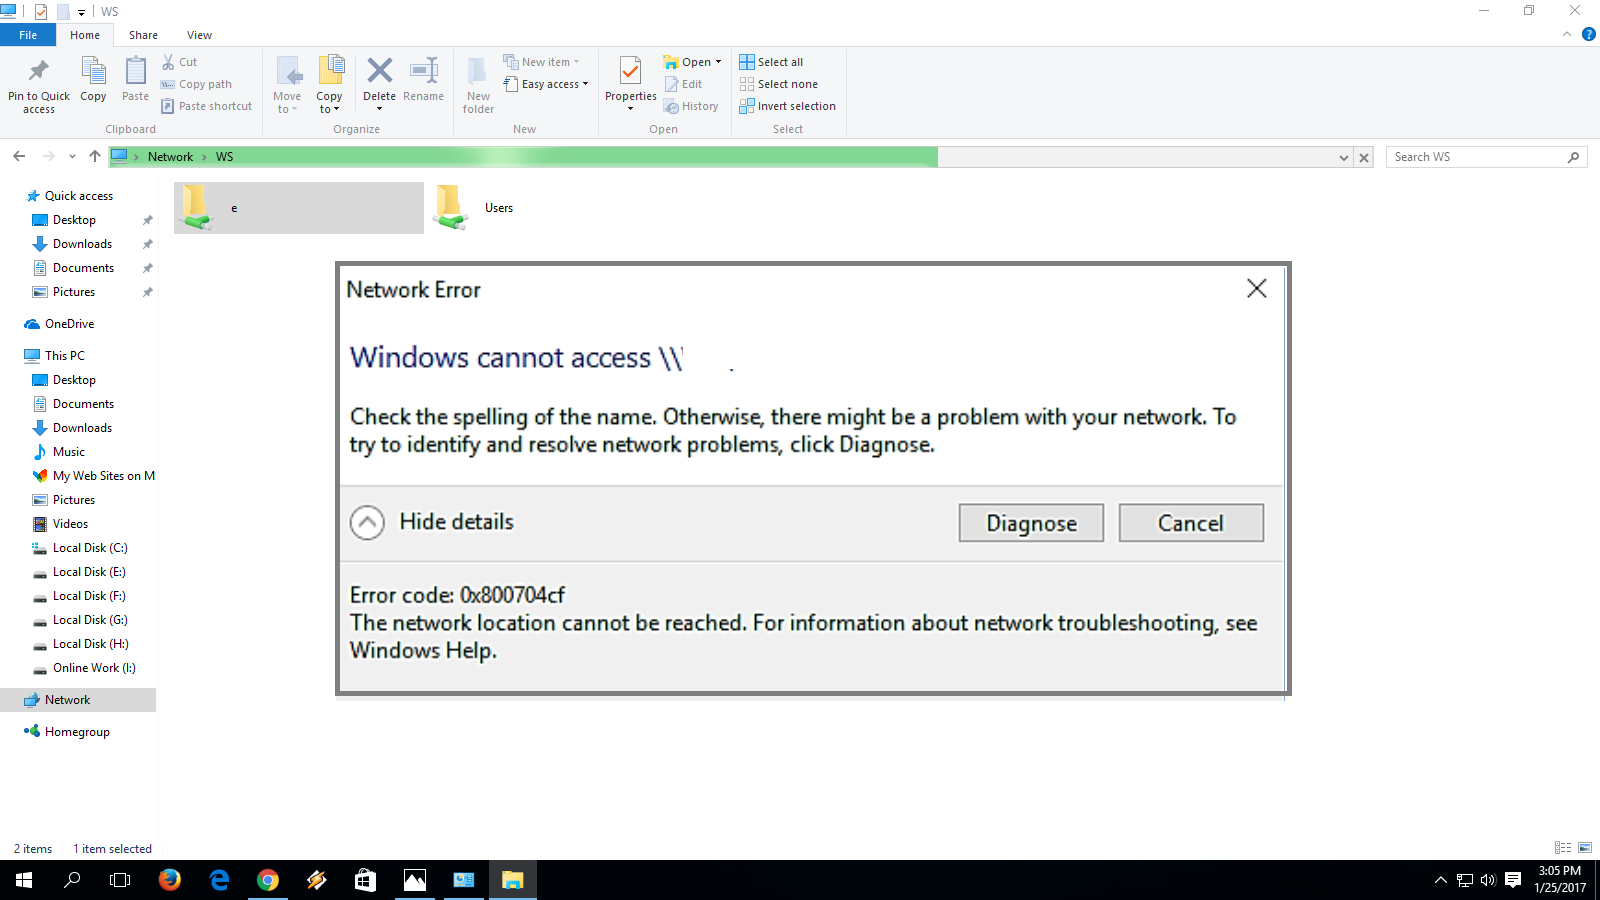
4. Enable/Disable Airplane Mode
Users of Windows have access to a function known as Airplane mode. Users can utilize the functionality to disable and terminate all the system’s connections. Therefore, to successfully connect to a network, you must first enable the Airplane mode and then turn it off.
5. Uninstall Network Adapter Driver
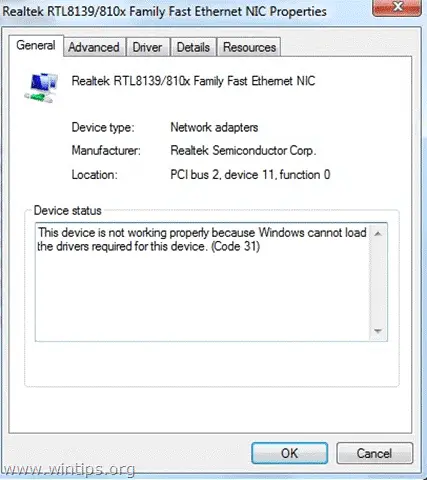
The Network Adapter driver may be broken. The Network Adapter driver oversees the creation and maintenance of a connection to the network. To solve the problem, the user must remove and reinstall the Network Adapter driver.
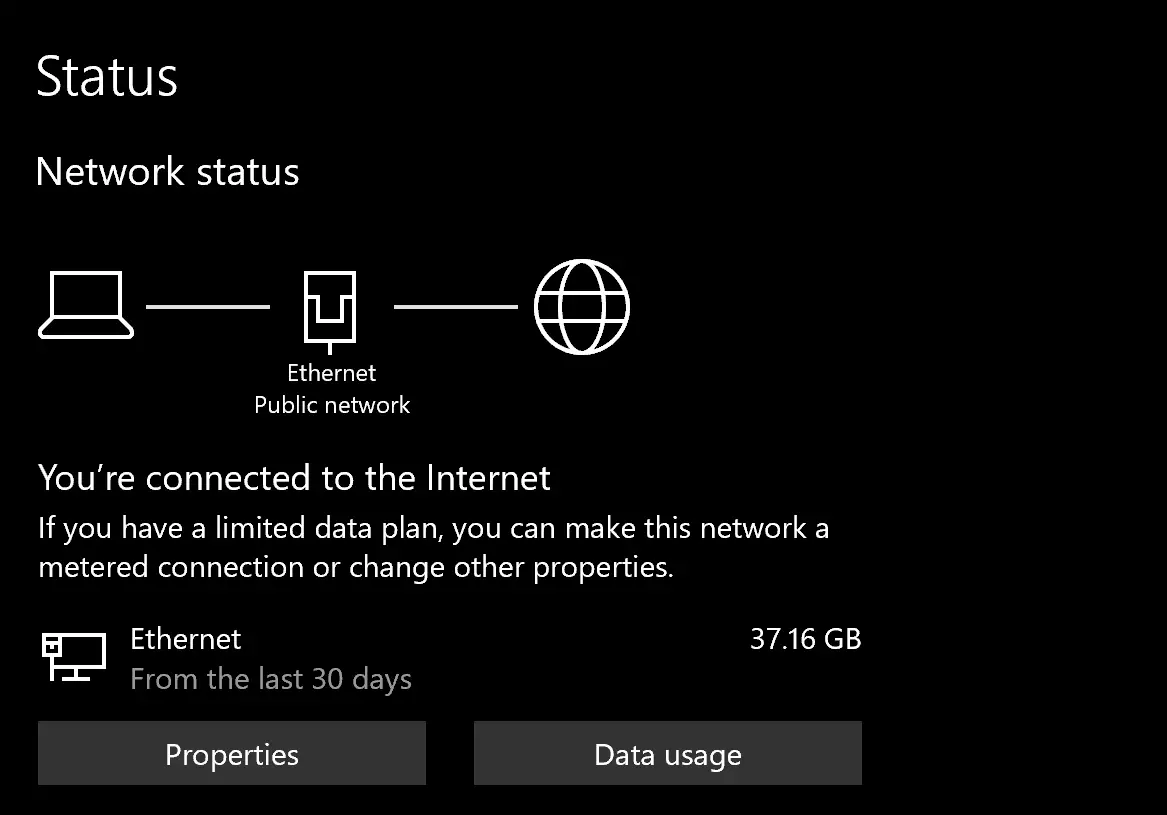
6. Run Network Adapter Troubleshooter
To resolve issues with the network adapter, the user can run a Network Adapter troubleshooter on the system.
7. Uninstall Network Adapter Driver
Network connections are created when network adapter drivers are present. Errors like these will arise if there is a driver issue with your machine. However, you can resolve the “Windows cannot connect to this network” error by removing the network adapter driver from your machine.
8. Turn On The Physical Wi-Fi Switch
Some computers have a physical Wi-Fi switch that must be turned on for you to connect to a network. Therefore, if you are using one of these computers, flip on the switch and attempt reconnecting to your Wi-Fi once again.
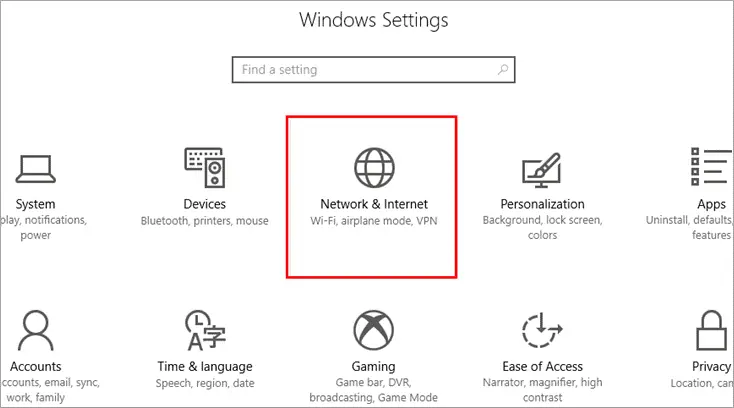
9. Reset Network
For whatever reason, a change in network setup may be the cause of the network issues you are currently experiencing on your PC. Windows not being able to connect to the network can be fixed by resetting the network.
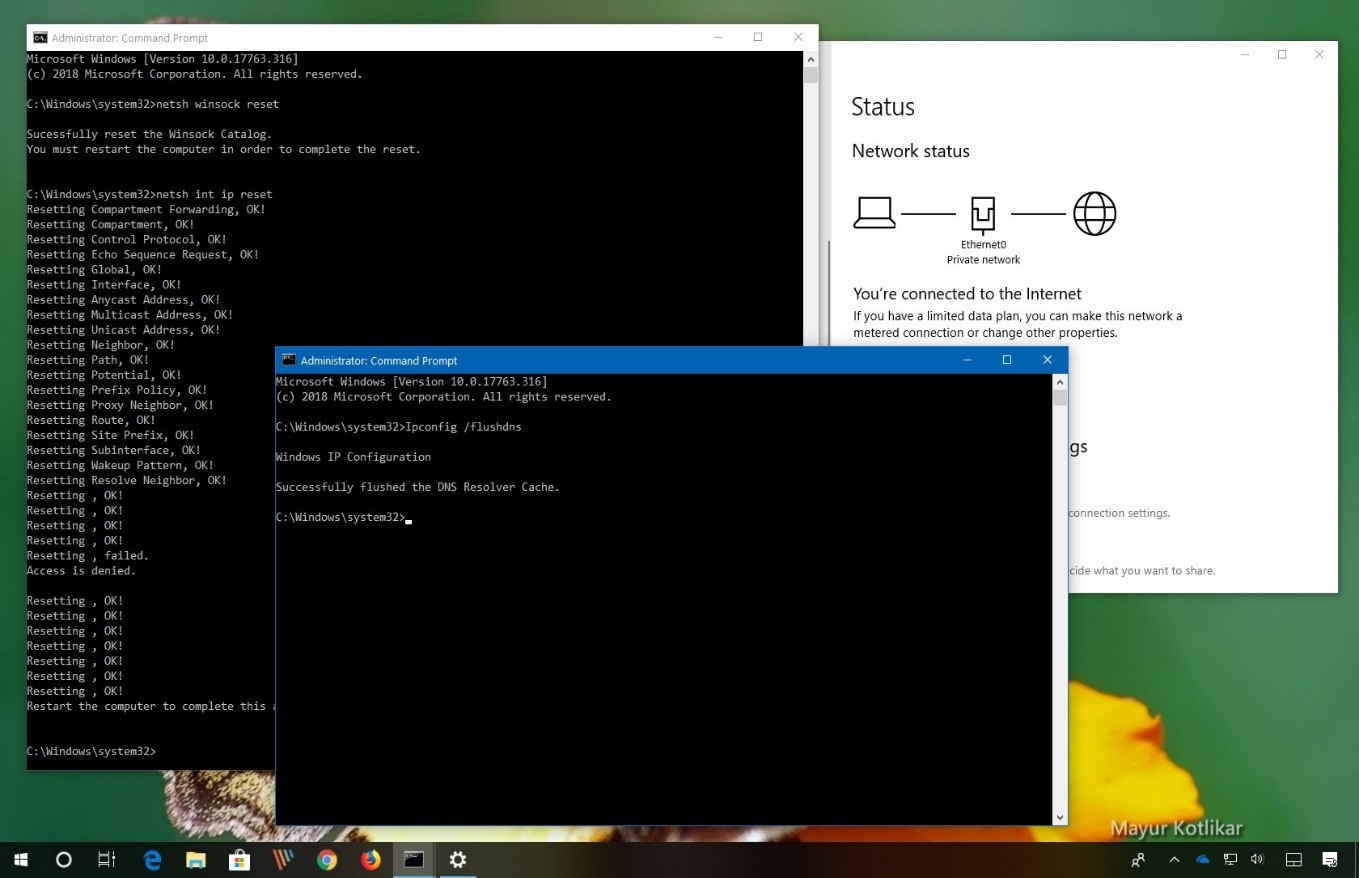
10. Release The IP And Flush The DNS Cache
This method can help with resolving the “Windows 10/11 cannot connect to this network” error and is not as hard as it may appear.


