
The vertical cell alignment is bottom by default in Microsoft Excel every time we start. How can we change this default alignment?
Changing default cell alignment in Excel
Hi there,
It seems you have trouble setting the default headers and footers alignment in MS word 2003. Let me first say that 2003 is an outdated version of Microsoft office. I suggest an Upgrade to 2007 or if possible the best option would be Microsoft office 2010.
Many features are included, 1000s of them. I love the one Note application. It helps me with quick notes.
If you still want to continue with MS office 2003 then I suggest trying this way:-
1. First of all I didn't find any relevant direct methods to do it.
3. Follow the guide and make a template file and then copy paste it to the respective destination.
Good luck.
Changing default cell alignment in Excel
There are lots of different users who are also complaining they can’t change the default cell alignments of Microsoft Office Excel and wanting to change them but there’s no way of changing them no matter how hard they try. I think the reason for this is because they only rely on the buttons available in the application.
Even if it may sound impossible to change, there is still a way of modifying the default cell alignments of the application and this is by creating your own template and automatically using it each time you use Microsoft Office Excel. Here’s how. If Microsoft Office Excel is already running, close it and then open it again to make sure you are using a fresh sheet.
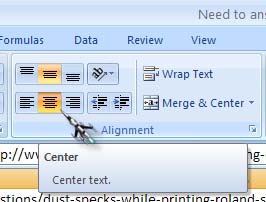
Then create a blank workbook. Format everything the way you want it like set the vertical alignment to Middle Align, the horizontal alignment to Center, and so on. See image.
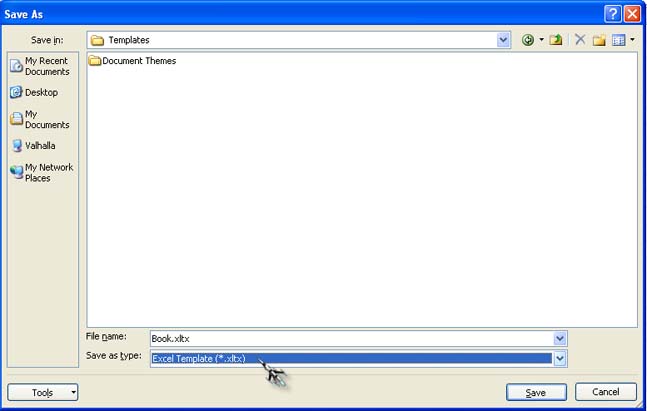
Save it as Excel Template and name it as “Book.xltx”. Click the Office Button then select Save As or simply press F12. In “Save as type”, select “Excel Template (*.xltx)”. See image.
Copy it in “C:Documents and Settings[username]Application DataMicrosoftExcelXLSTART”. To view this folder enable “Show hidden files and folders” in the Folder Options of Windows Explorer. This will be used when creating a new blank workbook. Create a copy of the file containing only one sheet and save it also as an Excel Template in the same folder. Name it as “Sheet.xltx”.
This will be used when inserting a new sheet.


