Asked By
Nabeela
150 points
N/A
Posted on - 09/08/2016

I need to share my network and someone suggested that I can do it through USB. IS it really possible? How to add usb printer to network?
How To Add Usb Printer To Network?

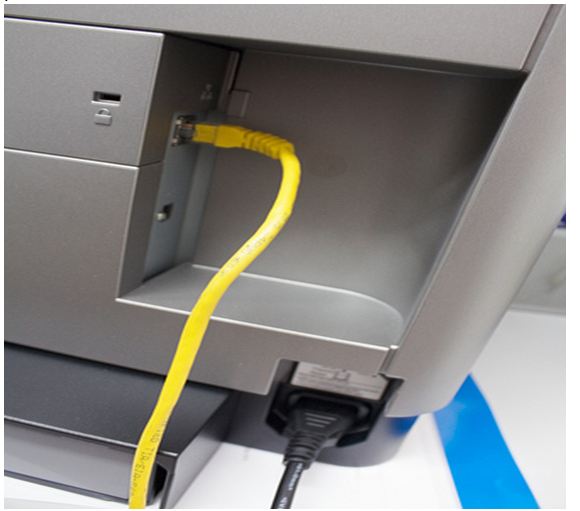
It is quite possible and, in my very honest opinion, one of the easiest ways to share your printer network. Let me explain how it is done: All modern printers come with their own usb cable. Just attach it to the computer as shown in picture below.

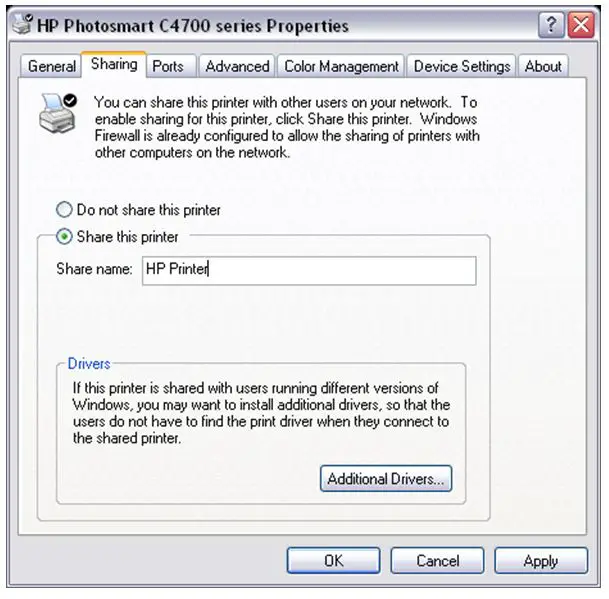
To share the printer, open devices and printers and open the sharing tab as shown below:

Click on share this printer and in the name box, add the name of your printer. Click ok. Now, if other people are connected to your network, they will be able to see and use the printer.
How To Add Usb Printer To Network?

If you have a printer and you want to share it on your network, before doing that, make sure the printer is installed properly on your computer and you can use it without any problems. You can download the latest driver from the manufacturer’s website. Before you can use a device like a printer or scanner across a network, the device must be shared properly.
To share your scanner or printer properly across the network, on the computer where the printer or scanner is directly connected, click “Start”, “Control Panel”, “Printers and Other Hardware” then “Printers and Faxes”. Here, right-click your printer or scanner then select “Sharing”.
In the printer or scanner’s “Properties” window, in “Sharing” tab, make sure “Share this printer” is selected then enter your device’s shared name in the “Share name” text field. For example, without quotes “Scanner network” then click “OK”. After this, you need to add the shared printer or scanner to the rest of the computers on the network.
To do this, on every computer, click “Start”, “Control Panel”, “Printers and Other Hardware” then “Printers and Faxes”. Next, click “Add a printer” then click “Next”. In “Add Printer Wizard” dialog, select “A network printer, or a printer attached to another computer” then click “Next”. Windows will then search the network for possible shared devices and display the results on the screen.
Select the shared device you created earlier called “Scanner network” then click “Next”. And that’s it. The shared printer or scanner should now appear on the computer. This should now allow you to use the network printer to print documents from any computer connected to the network.


