Asked By
Mark Leslie
20 points
N/A
Posted on - 06/16/2012

Hi,
I want to learn how doing body sculpting using Adobe Photoshop.
How can I fix bulging body parts without ruining the overall picture?
How to do body sculpting using Adobe Photoshop?

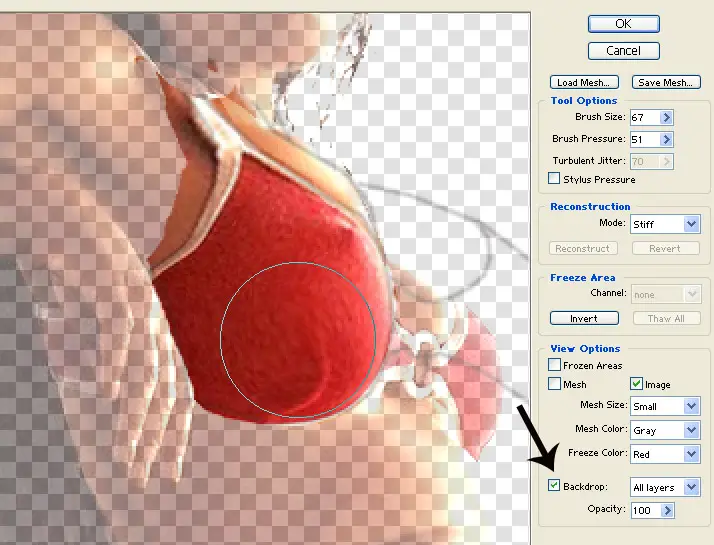
I am a huge fan of Adobe Photoshop myself and I’m quite amazed by how advance this software is when it comes to digital photo editing. One of the tools I always use is the Liquify filter which can be found in the Filter menu. This is quite a powerful utility that allows you remold anything in your image.
With it, you can contract, nudge, expand or alter areas of your choice. It is also perfect for making elusive modifications for body sculpting and face-lifting which is well-known to be used by photo editors on fashion magazine to make their models seem perfect and “Barbie-ish”.
You may use the following tools under the Liquify filter depending on your preferred subject’s enhancement:
FORWARD WARP TOOL probably is the most commonly used options which can be found in the top of the left panel toolbar. It pushes pixels in whatever direction you may choose. You may use this tool to reduce body parts like thighs, arms, hips, neck etc.
The ideal tool for effortlessly reducing the entire measurement of an area is PUCKER TOOL. You may use this for tummy-tucking and double-chin removal. BLOAT TOOL is definitely another tool to be familiar with as it acts as the opposite of pucker tool. It broadens the clicked-on area. To protect certain areas that you don’t want to be affected by the alterations, there’s FREEZE TOOL for you. It works by painting a mask on the areas you want to keep as it is.
Hope this helps.


