Internet Connectivity Issue On PlayStation: Dns Error 80710101

Asked By 0 points N/A Posted on -
qa-featured

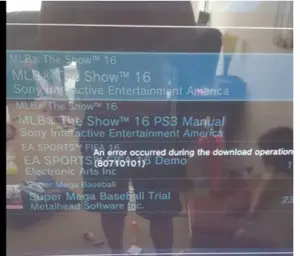
Every time I try to connect my PS3 to the internet it shows that there was an error occurred 80710101. How do I fix this?
 

SHARE
Answered By 0 points N/A #312050

Internet Connectivity Issue On PlayStation: Dns Error 80710101

qa-featured

This error simply means that your network is overloaded and mostly just restarting your main router would fix it. You could also reboot your PS3 and make sure that the network connection information is correct or else try creating a new connection by accessing the Network Settings menu option on your PS3. Please make sure your NAT is open while you do so.

Answered By 590495 points N/A #316645

Internet Connectivity Issue On PlayStation: Dns Error 80710101

qa-featured

PS3 error code “80710101” is the same with “80710102” which is a Sony PlayStation 3 DNS error. When you receive this error, you won’t be able to connect to the internet or load a website when browsing with the Internet Browser. To fix the problem, first, turn off your PlayStation 3 console.

Once it is turned off, press and hold the power button until the PlayStation 3 console beeps twice. Note: the first beep powers it on and the second beep powers it off. Keep doing this until you see the message “Plug your controller in using the USB to continue” displayed on your screen. Next, unplug both the power cable and the Ethernet cable from the PlayStation 3 console.

Also, make sure the Wi-Fi router is turned off and unplugged from the power. After this, wait about twenty to thirty seconds (20 – 30) before connecting every cable back. If this doesn’t work, another way is to change the settings. On your PlayStation 3 console, go to “Network settings” then “Internet connection settings”.

When you are prompted if you want to adjust network settings or make wired connection, just click “OK”. Next, select “custom” to select a method. On the next screen, select your connection method (wireless or wired). If your connection is wired or you connect to your router with a network cable, select “Auto detect” in “Ethernet operation mode”.

But if you connect via Wi-Fi, scan and select your Wi-Fi network then enter the password. After this, use the following configurations:

  • IP Address Settings: Automatic
  • DHCP Host Name: Do not set
  • DNS Settings: Manual
  • Primary DNS: 129.250.35.250 or use 8.8.8.8
  • Secondary DNS: 129.250.35.251 or use 8.8.4.4
  • MTU: Automatic
  • Proxy Server: Do not use
  • UPnP: Enable

When you are finished, save the settings then go back and log in.

Related Questions