Asked By
Jedei Powel
30 points
N/A
Posted on - 12/12/2012

Hi TechyV,
I wanted to sync iPhone with iTunes. I failed to complete the process. It threw an error message, “The iPhone cannot be synced. The required file cannot be found”. What does it mean? Have you any idea?
Please help me to get a remedy of this issue.
Thanks in advance for all solutions.
The iPhone cannot be synced. The required file cannot be found

Hi Mr. Jedi,
Your problem is common error for iTunes.
iTunes is an application of iPhone use for music right? Your problem is commonly occur when you application is not on update version so you must update it with the new version every now and then.
The message tells that iTunes cannot sync error is commonly seen for Mac and Windows this message will common appear with the users are using iPhone Cord or wireless phones.
Here some options on how to fix your iTunes so that you can use your iTunes in your iPhone.
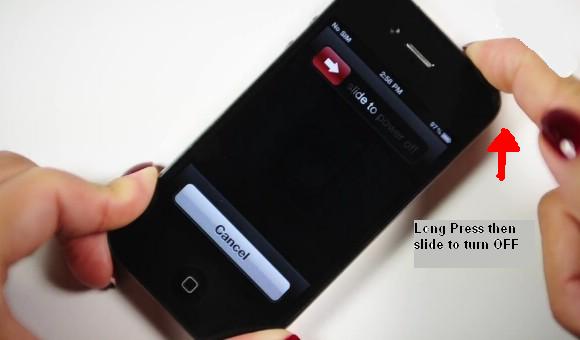
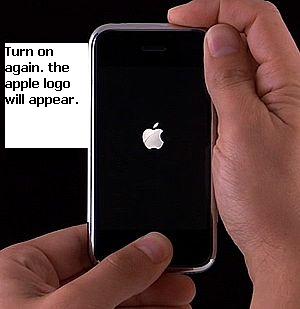
First option you must restart your phone
How to restart your iPhone?

= WAIT it more a minute or a second then
When you restart your iPhone or any devices. The phone sync error will gone that goes away when you restart it. It is usually the technique of some people so that the error of there phone will totally gone.
That is some technique. When it is not work. Just do this next step.
Second you must update your iTunes in very new version of the application
The problem you encounter is commonly appear in iTunes when it is OUTDATED means your version is old so you need to purchase or to download and install new version of iTunes. When it is OUTDATED the application you use is still not working. No choice you must update your all application into new version because when you are going to update the only application it will affect all application you install so you must install it all over again. That’s the only option I can give. I do suggest you must update all application
Third by automatic disable of all sync for new application is the other option to fix it.
How to disable the phone sync?
First go to the Application tab of iTunes, unchecked automatically SYNC NEW APPS and apply the changes. After doing it you will observe the changes of your application. It will back to the manual. When you’re done everything will be back to normal. Then you can re- enable the automatic syncing .
Hopefully these options and steps on how to fix this kind of error will help you to fix of your iPhone. I hope you will go to activate or use your iTunes again. Enjoy will you music’s. Thank you so much.
The iPhone cannot be synced. The required file cannot be found

The full error reads “The iPhone cannot be synced. The required file cannot be found”. You may receive this message when iTunes can’t locate the file required to synchronize your photos to your iPhone. You may also receive this error when you update iTunes, after an iOS update, or when you get warranty service on your iOS device.
Before trying any troubleshooting, first, make sure you have the latest iTunes installed. Download the latest iTunes and update the existing version on your computer. Once this is done, when synchronizing your photos to your iPhone, make sure you are synchronizing your iPhone with the computer you always use to synchronize photos.
If this is a different computer, go back to the computer you usually use to sync photos. To sync the photos, connect your iPhone to your computer using the USB cable that came with it then start iTunes. When your iPhone appears in iTunes, click your device then select the “Photos” tab.
Next, turn off or uncheck “Sync Photos” then click the “Sync” button to see if the message disappears. Doing this will remove all photos from your iPhone that are not in the Camera Roll. After this, close iTunes then disconnect your iPhone from the computer. Next, remove your device Photo Cache. Go to About Photo Cache folders to learn how to locate and delete your Photo Cache folder.
Next, connect your iPhone to your computer then start iTunes. Select your iPhone when it appears in iTunes then go to “Photos” tab and check “Sync Photos” again. Select your sync options then click the “Sync” button. This should fix the problem.


