Asked By
Dawn Knopf
40 points
N/A
Posted on - 05/10/2017

I am an Apple IOS user whenever I try to play music using Music App it shows me an error that Media file format not supported.
Media File Format Not Supported On IOS

Steps for fixing the problem:
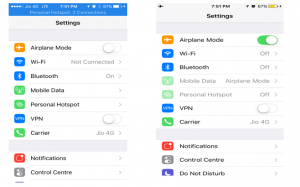
Step 1: Open Settings and then turn the phone on Airplane Mode

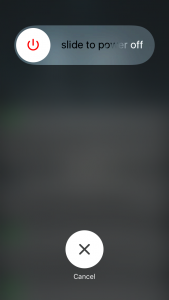
Step 2: Restart your device that is your Apple iPhone.

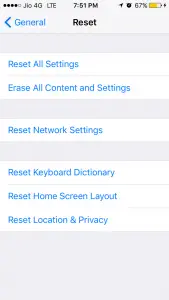
Step 3: If you have the problem while you are connected to only Wi-Fi try restarting the router and if the problem persists Reset the Network Setting.
Settings > General > Reset > Reset Network Settings. Then restart your Wi-Fi and router.

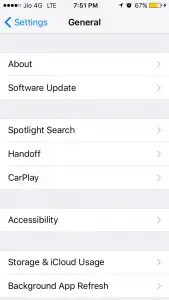
Step 4: Check for iOS update.
Go to Settings > General > Software Update and update your iOS device.

Step 5: Force restarts the button.
Until the Apple logo appears press and hold the lock (wake-up/sleep) button and the home button at the same time.
Media File Format Not Supported On IOS

If you can’t play music on your iOS device, you need to authorize your device. If you purchased several items from the Apple App Store but it seems you cannot use them afterwards, you need to check your computer and verify that your machine is authorized to perform purchases with iTunes.
When you authorize your computer, you allow it to have permission to access your music, movies, and other content. You are allowed to authorize up to five (5) computers which means you can play your content on five different machines or devices. Though you are allowed to authorize up to five machines, you cannot authorize a computer from another computer or from a portable device like iPhone, iPad, and or iPod touch.
Before you authorize a computer, make sure to update it to the latest OS X or macOS and iTunes to the latest version. Download the latest iTunes for your platform and install to update. For Windows users, start iTunes then log in with your Apple ID. Next, go to “Account,” “Authorizations” then select “Authorize This Computer.”
If you run out of authorizations, you can deauthorize a computer that you are no longer using. To deauthorize, repeat the same steps then select “Deauthorize This Computer” in the last step. If you sold or gave away your computer, you need to deauthorize that computer.


