OpenGL GLX Context not using direct rendering on Ubuntu 12.04

Asked By 0 points N/A Posted on -
qa-featured

I am running Ubuntu 12.04 and I am getting an error today.
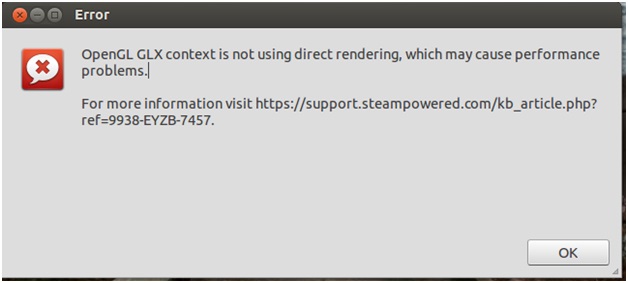
Error

OpenGL GLX context is not using direct rendering, which may cause performance problems.

For more information visit https://help.steampowered.com/en/.

OK

I checked the nvidia x-org file and its configuration and it appears that openGL doesn't have issues. I tried some troubleshooting but it doesn't work. So I am hoping that someone can help me with this. Thanks.

SHARE
Answered By 590495 points N/A #114764

OpenGL GLX Context not using direct rendering on Ubuntu 12.04

qa-featured

Here’s a little trick I found. The problem here is the conflict between your operating system, in case you are using x64, and the Steam client which is obviously x86. When loading Steam as well as any other 32-bit programs, the application requires loading the x86 library file “libGL.so”. But the problem is that the NVIDIA drivers for 64-bit Ubuntu don’t correctly configure the “ldconfig” so the operating system can use the video card’s version of “libGL.so” designed for x86 applications.

So when you run Steam or any other x86 applications, it will end up loading several other non-NVIDIA graphics library and which eventually triggers the application to display the message that says direct rendering is not applied and the game doesn’t starts. Try something like this to fix the problem. Go to “/usr/lib” and you should find there a folder called “nvidia-304”, “nvidia-304-updates”, or “nvidia-319” and so on.

This folder contains the NVIDIA OpenGL library files. For example the directory you found is labeled “nvidia-304”, edit this file as root: “/usr/lib/nvidia-304/alt_ld.so.conf”, then insert the following lines:

  • /usr/lib32/nvidia-304
  • /usr/lib/nvidia-304

You may also notice that the said file is originally blank. In case you see a different folder something like “/usr/lib/nvidia-304-updates”, edit the file as root: “/usr/lib/nvidia-304-updates/alt_ld.so.conf”, and add the following lines:

  • /usr/lib32/nvidia-304-updates
  • /usr/lib/nvidia-304-updates

In case you see a different name on the folder like “/usr/lib/nvidia-[something else]”, edit the file as root: “/usr/lib/nvidia-[something else]/alt_ld.so.conf”, and then insert the following lines:

  • /usr/lib32/nvidia-[something else]
  • /usr/lib/nvidia-[something else]

After that, run the following command in the terminal:

  • sudo ldconfig

When prompted for a password, just enter your administrator password.

Related Questions